How to Format a DVD–RW Disc
DVD-RW discs allow you to format and record data multiple times ('RW' stands for 'rewrite'). You'll be able to use DVD-RW discs again and again to transfer or save files. Before 'rewriting' a DVD-RW disc, you need to erase the data on the disc (if any). This allows you to reformat the disk to change how and where you can use it to meet your data needs. The process for erasing and formatting a DVD-RW disc varies depending on the operating system (such as Windows or Mac) you're using, but is generally quite simple.
Table of Contents
Format DVD-RW disc on Windows
Insert the DVD-RW disc into the DVD recorder. You need to make sure that the player is capable of burning DVDs, otherwise you won't be able to erase, reformat, or copy new data to the disc.
With Windows XP or any older version of Windows, you need to download and install Service Pack 3 to recognize DVD-RW discs.
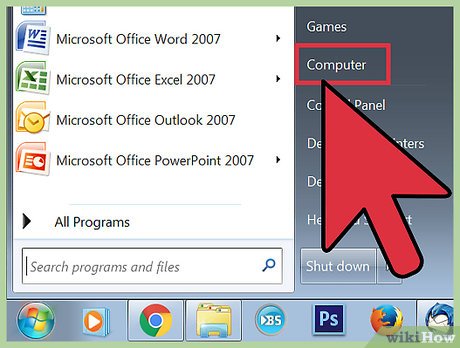
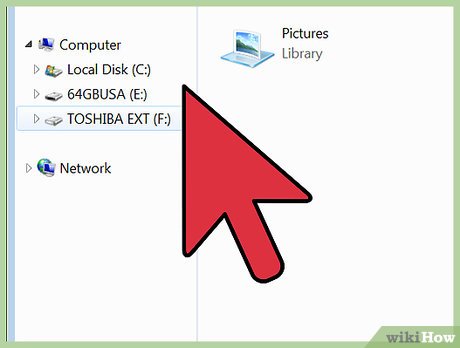
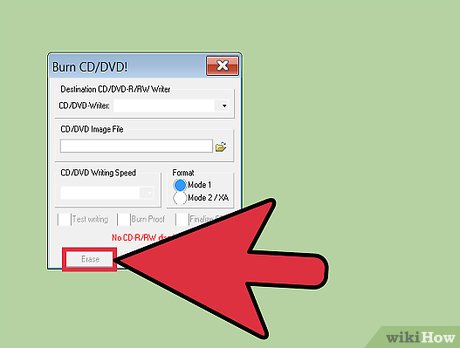
Delete existing data on the disk. If the DVD-RW disc contains data, you need to erase the data on the disc first. Click "Start"->"Computer"->"Windows Explorer" and then click the DVD icon. The DVD burning software will open. In the toolbar, click "Erase this disc" and follow the instructions.
On Windows 8 and 10, you'll need to click the "Manage" tab first.
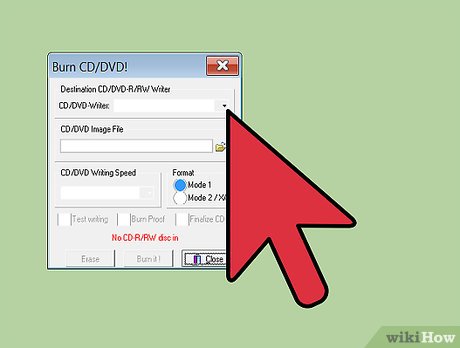
Access the "Burn files to disc" window. This window appears when you insert a blank disc, or double-click on a blank disc in the computer window.
If no window appears automatically after you erase the disc's contents, remove the disc and put it back in the drive for the window to appear.

Name the disk. You will be asked to name the disc. This name is used to identify when the disc is inserted into the computer. If possible, you should choose a name that represents the contents on the disc.
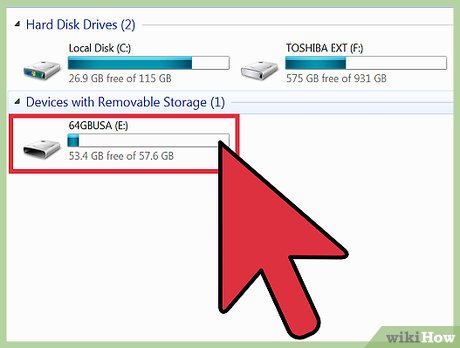
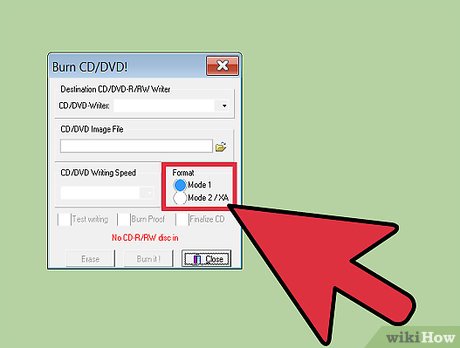
Select the format you want to use. You have two options when formatting a DVD-RW disc on Windows: "As a USB flash drive" (Live File System format) or "With CD/DVD player" (Mastered format). Depending on how you use the disc, you choose accordingly.
The Live File System format is suitable if you want to add or remove files from the disc at any time. The disc will now be similar to a USB and the file will be written to the disc as soon as you add it.
Note: Live File System discs created this way are only compatible with Windows.
The Mastered format is suitable if you want the disc to operate as a closed system. When using this format, the entire file is only written to the disc once. After you finish adding the file, it will be impossible to add the file again if you do not delete all data on the disc first.
Note: Mastered format is suitable for recording more files. In addition, Mastered discs will also be compatible with other operating systems.
Complete the formatting process. After you choose the format method, the drive prepares the disc. This process takes a few minutes. When done, you will be able to start adding files to the disk.
Add files to disk. Open the disc in an Explorer window and start dragging the mouse to drop the file you want to burn. If you use the standard Live File System, the file will be written when you drop it onto the disc and everything will be done when you remove the disc. If using the Mastered format, once all the desired files have been added, you will need to click "Burn to disc".
Format DVD-RW disc on Mac

Insert the DVD-RW disc into the drive. Most players on Mac computers have the ability to copy DVDs. If your Mac computer doesn't have a drive, you'll need to connect an external optical drive.
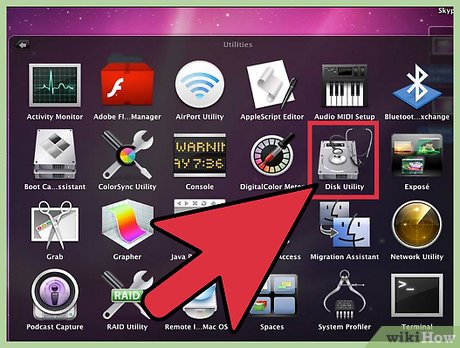
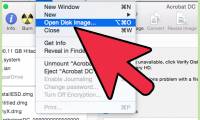
Open Disk Utility. You can find this feature under "Utilities" in the Applications folder.
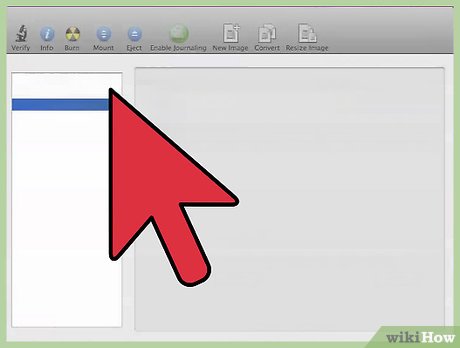
Find the DVD-RW disc in "Utilities". Select your DVD-RW disc in Disk Utility. You can find it in the list on the left side of the window.

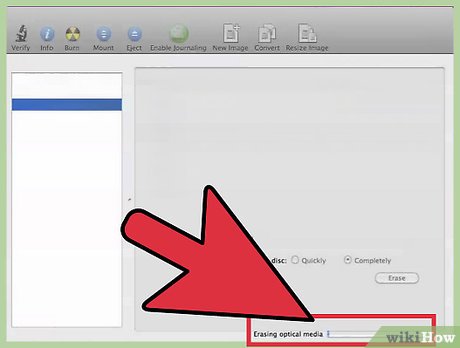
Click the "Erase" tab to open the formatting utility. You will be asked to choose "Quickly" or "Completely" deletion process. Usually the "Quickly" option is enough, but if your disk has problems, select "Completely".
The "Completely" option takes as little as a few minutes, significantly longer than the "Quickly" mode.
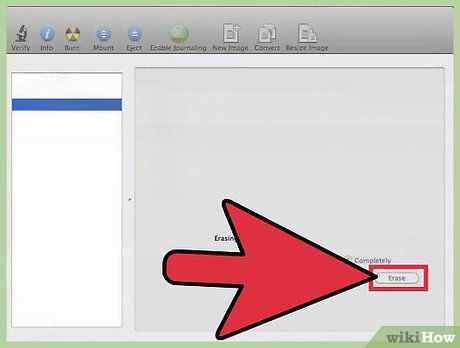
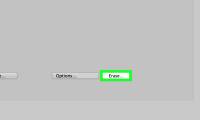
Click the "Erase" button. Once this process is complete, your DVD-RW disc will be blank and ready to copy data to.
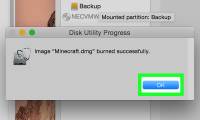
Burn data to DVD-RW disc. Double-click the disc on the desktop and drag the file onto the disc in the Finder window that opens. After adding the file, click the "Burn" button to burn the file to disc. This disc will be compatible with other operating systems.
Was this article helpful?
Your feedback helps us improve.


Reader Comments 0
Sign in with email or Google to join the discussion.