How to Install a New Processor
The microprocessor, or 'CPU', is the central nervous system of the computer. Like other components, with the frequent release of new, more powerful versions, processors quickly become outdated. Although it can greatly improve the performance of your computer, upgrading the processor is also much more expensive than other types of upgrades. Therefore, you need to carefully consider compatible processors before doing so..
Check motherboard compatibility
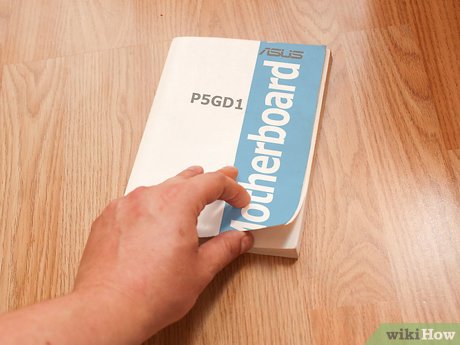
Find your motherboard's user manual. The type of slot on the motherboard is the most important factor in deciding which processor you can install. AMD and Intel use different types of slots and both feature multiple types of slots on the same motherboard, depending on the processor used. Your motherboard's manual will provide this necessary information.
You cannot install an Intel CPU on an AMD motherboard and vice versa.
Not all processors from the same manufacturer use the same types of slots.
You cannot upgrade the processor on a laptop.

Use the CPU-Z program to determine your slot type. CPU_Z is a free utility software capable of identifying the type of hardware being installed. This is the easiest to use software to help determine the slot type of the motherboard.
Download and install CPU-Z fromwww.cpuid.com.
Run CPU-Z.
Click the "CPU" tab and note what appears in the "Package" field.

If you can't find the documentation, you can look at the motherboard with your eyes. Disassemble the computer and find the motherboard's product code to look it up online from this information.
Click here for detailed instructions on how to observe and check the motherboard.
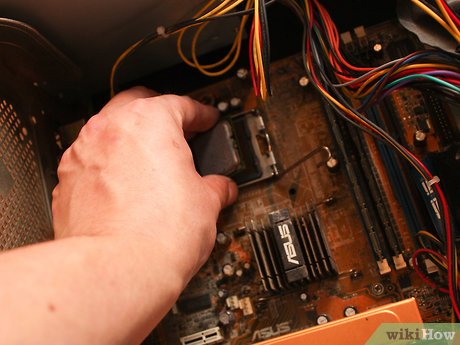
Take the old processor to a computer store if you can't identify it yourself. If you still can't determine the socket type, remove the old processor from the motherboard and take it to a computer specialist store. The technician will tell you what type of slot it is and suggest suitable replacement options.

Consider buying a new motherboard if you want to upgrade. When you upgrade your old computer with a newer processor, there's a good chance the slot won't be compatible. As time goes on, finding a new processor that fits your old motherboard will become increasingly difficult. The problem will be solved when you replace both the motherboard and the processor.
Note: When upgrading the motherboard, you may also have to upgrade RAM because old RAM is often not compatible with new motherboards.
Remove the old processor
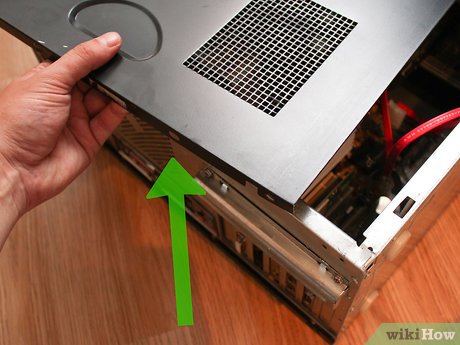
Open the case. To operate the processor, you must open the case. Turn off your computer and unplug all cables. Place the computer horizontally, with the rear connector closer to the table. Remove the side cover using a screwdriver or Phillips screwdriver.
Refer to the instructions for disassembling the computer case.

Self-insulating. Make sure you are properly insulated before working with components inside the case. Connect the anti-static belt to a bare metal part of the case or to some metal faucet.
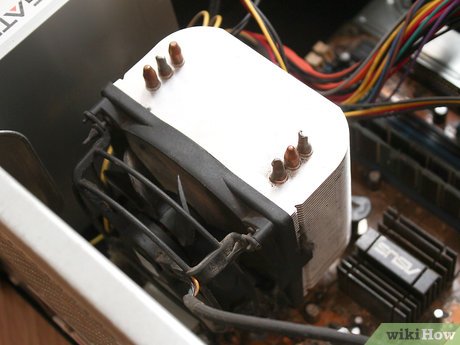
Find the CPU cooler. Almost every processor has a heatsink located on top. Usually it's a metal heatsink with a fan attached. You will have to remove the device before you can operate the microprocessor.

Remove any cables or components that are in the way. The case can be quite cramped and it is likely that part or all of the CPU heatsink will be covered by cables and other devices. Remove them if necessary and don't forget to put them back in the right place when you're done.

Remove the CPU heatsink. Unplug the heatsink from the motherboard and remove it. Most commonly used heatsinks have four forks that can be removed by hand or with a flat-head screwdriver. Some CPU coolers also have a bracket on the back of the motherboard. In that case, you must remove this bracket first.
After removing the heatsink from the motherboard, it is likely still attached to the processor thanks to thermal paste. Gently rotate the heatsink until it is completely separated from the processor.
To reuse the CPU heatsink on a new processor, you need to use medical alcohol to clean off the remaining thermal paste on its base.
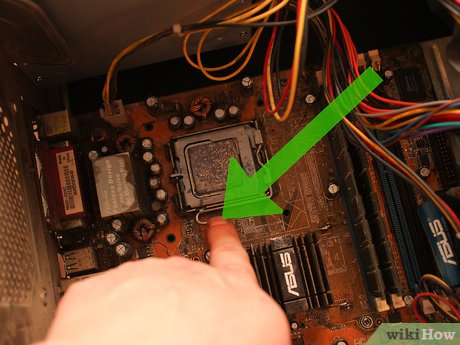
Remove the lever on the side of the CPU socket protective cover. The protective cover will pop up, allowing you to remove the CPU.
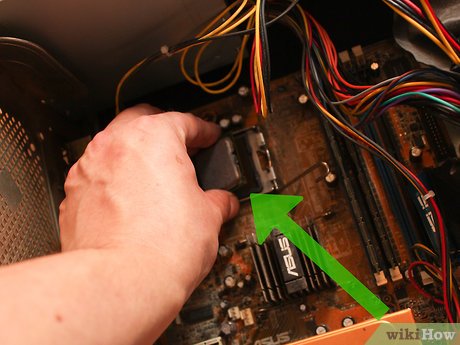
Gently lift the CPU out vertically. Hold the CPU firmly by its sides and lift it straight up so as not to damage its delicate pins. You may have to tilt a little to get the processor from under the socket's protective cover. In that case, make sure there are no pins stuck before proceeding.
To store your old CPU, you need to put it in an anti-static bag. If it's an AMD CPU, you should also press it into anti-static foam to protect the pins.
Install the new processor

Install a new motherboard (if necessary). To upgrade your motherboard to use a new CPU, you should perform this step first. Remove all cables and components from the old motherboard and then remove the motherboard from the case. Install the new motherboard into the case, using new standoff screws if necessary.
Click here for detailed instructions on how to install a new motherboard.

Self-insulating. Check again to see if you have insulated yourself before removing the processor from the case. Electrostatic charge can easily burn out the microprocessor and render it useless.
Touch the metal faucet again if you feel unsure.
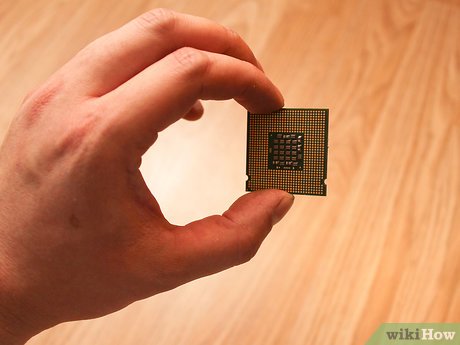
Take the new processor out of the case. Don't forget to hold the processor by the edges and avoid touching the feet or other contacts.
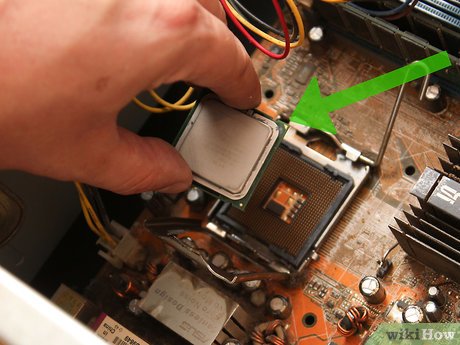
Line up the notches or triangles on the processor with the slots. Depending on the socket and processor used, the processor may have some slots on the edges or corner triangles to ensure the ability to fit the CPU in the right position.
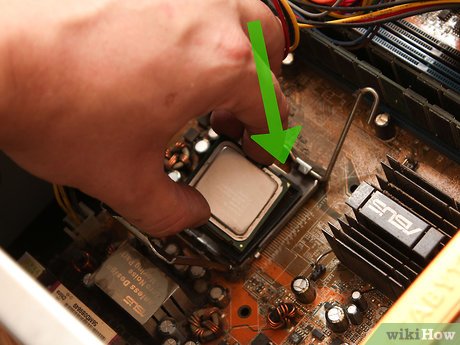
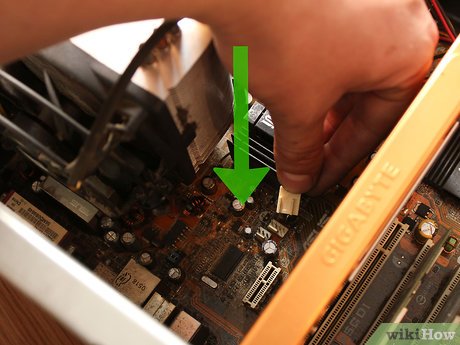
Gently place the processor into the slot. Once the processor is oriented correctly, gently push the processor straight into the slot. Do not insert the processor in any direction other than vertically.
Never force the processor into the slot. If you use force, you may bend or break the pins, making the device inoperable.
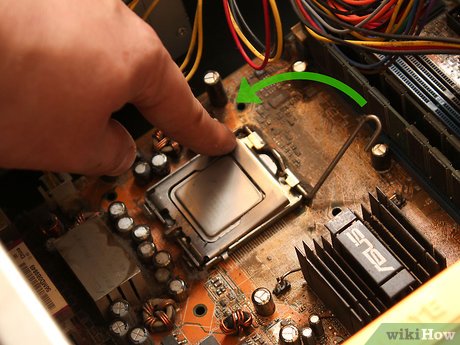
Lock the slot cover. Once the processor is properly mounted, close the slot cover and lock it to secure the processor.
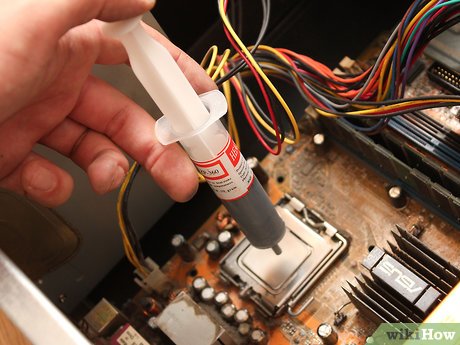
Apply thermal paste to the processor. Before installing the heatsink, you should apply a thin layer of thermal paste to the top of the CPU. This layer of thermal paste will eliminate all defects on the contact surface and conduct heat from the processor to the heatsink.
See more about how to apply thermal paste.
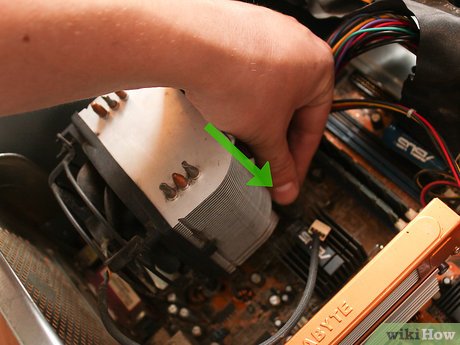
Fix the heatsink. This process is not uniform across different device types. Intel's commonly used heatsinks connect to the motherboard with four prongs while AMD's commonly used heatsinks are mounted at an angle on metal cards.
Don't forget to plug the heatsink into the connectorCPU fanon the motherboard to power the fan.
Plug in or reconnect any cables/devices you removed. Before closing the case, anything you removed to work with the CPU needs to be plugged in/reconnected.
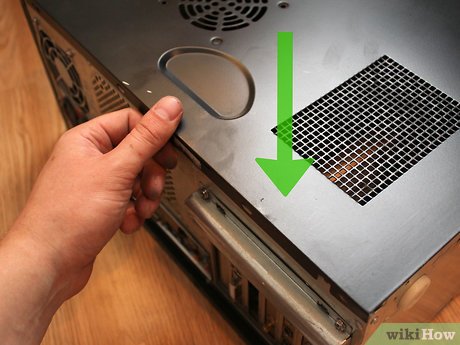
Close the case. Put the side cover back in place and secure with screws. Place the computer on the table and reconnect all cables.
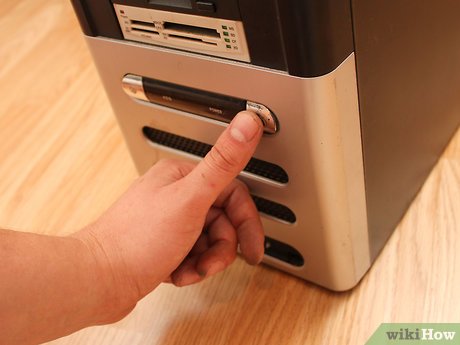
Try turning on the computer. If you only replace the processor and keep the motherboard, the computer will most likely boot normally. Open CPU-Z or the System Properties window ( ⊞ Win+ Pause) to make sure your new processor is recognized.
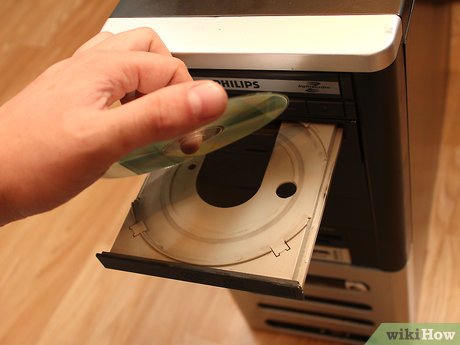
Reinstall the operating system (if necessary). In case you replace the motherboard or install a processor that is much different from the old one, you will likely have to reinstall the operating system. Reinstalling the operating system will help the computer operate normally again and eliminate boot problems after installing a new processor. Please refer to the reinstallation instructions:
Windows 8
Windows 7
Windows Vista
Windows XP
OS X
Ubuntu Linux