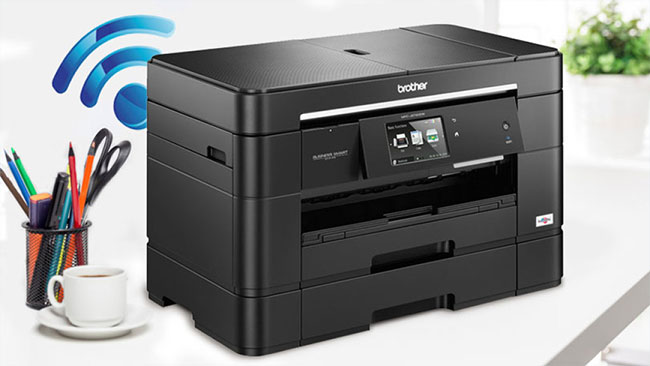
How to install the printer via LAN
Note:
- Do not turn off the power or unplug the printer during the settings on Control Panel.
- Network settings while accessing the memory card may interrupt access.
- This setting and the DNS / proxy server address setting are not available to all printers or may not be enabled.

Step 1. Turn on the printer.
Step 2. Enter Setup mode .
Step 3. Select Network Settings.
Step 4. Select General Network Setup .
Step 5. Confirm the printer name.
The printer name is used to access or identify printers on the network.
Note:
The default setting is 'EPSONXXXXXX' (X: Last 6 digits of the MAC address). To change the printer name, re-enter the text.
Step 6. Set up TCP / IP Setup.
Typically, the broadband router or access point will automatically assign an IP address to the printer using the DHCP function. If the router's DHCP (or access point) function is on, select Auto.
Note:
To assign a unique IP address to the printer, select Manual and enter the IP Address, Subnet Mask and Default Gateway .
Step 7. DNS server setup.
Typically, a broadband router or access point will automatically assign the DNS server address to the printer. To use this option, select Auto.
Note:
To specify a DNS server address, select Manual and enter the Primary DNS Server and Secondary DNS Server address.
Step 8. Select Do Not Use .
Note:
To use a proxy server, select Use , and enter the Proxy Server and Port address.
Set up wireless LAN using the Setup Wizard
You can simplify manual setup using the Setup Wizard.
Step 1. Select Wireless LAN Setup .
Step 2. Select Setup Wizard.
Note:
When inserting a memory card into the printer, a warning message may be displayed. If a message appears, check the message and then click OK.
Step 3. Select the SSID.
Note:
If the wireless network cannot be found, a warning message is displayed. Check the LAN environment being used, go back to Wireless LAN Setup and try again. To enter the SSID manually, select Other SSIDs . at the bottom of the SSID list.
Step 4. Enter the security key located in the router.
Automatic setup of WPS Wireless
If the access point supports the WiFi Protected Setup (WPS) standard, security settings can be done automatically.
Note:
This setting is not available for all printers or may not be enabled.
Verify that the access point is turned on and that communication is available.
Step 1. Enter Setup mode .
Step 2. Select Network Settings.
Step 3. Select Wireless LAN Setup .
Note:
When inserting a memory card into the printer, a warning may be displayed. If a message appears, check the message and then click OK.
The printer supports WPS Push Button method ( WPS push button) and WPS PIN code method ( WPS PIN code ). The process differs depending on the methods.
Note:
For details on the WPS function of the access point or how to troubleshoot the problem, see the access point's instruction manual.
If the access point (wireless router) is not detected within about two minutes, an error message is displayed. In that case, make sure the access point is working, then do a WPS setup from scratch.
Set the Push Button mode
Step 1. Select Push Button Setup (WPS) ( Push Button (WPS) for 1.5 inch LCD monitor), then press OK.
Step 2. If the warning screen appears, check the message and then select Yes.
Step 3. Press the access point's WPS button (or corresponding button) to set up WPS.
Note:
For the location of the WPS button, see the access point's (wireless router) instruction manual. Please note that in some cases this will be the router's software installation rather than a physical node.
Step 4. Wait until the preparation to establish communication with the access point is complete (for example, the WPS light is flashing) and then press OK.
Note:
It may take time for the WPS Wireless setup to terminate properly. Wait until the message of completing installation appears.
Step 5. When the completion message screen appears, click OK.
Set up PIN code mode
Note:
The method of PIN code registration differs depending on the access point (wireless router). See the access point's (wireless router) instruction manual.
Step 1. Select PIN Code Setup (WPS) ( PIN Code (WPS) for 1.5 inch LCD monitor).
Step 2. If the warning screen appears, check the message and then select OK.
Step 3. Register the PIN displayed on the LCD screen for the access point within two minutes, then press OK.
Note:
It may take time for the WPS Wireless setup to finish correctly. Wait until the message of completing installation appears.
Depending on the access point, the PIN input method will vary. For details, see the access point's instruction manual.
Step 4. When the completion message screen appears, click OK.
Create general network settings