How to Format a Flash Drive
This article shows you how to change the default file format of a flash drive. Formatting a flash drive often deletes files or folders stored on it; So, remember to back up your files before formatting your drive..
On Windows operating system
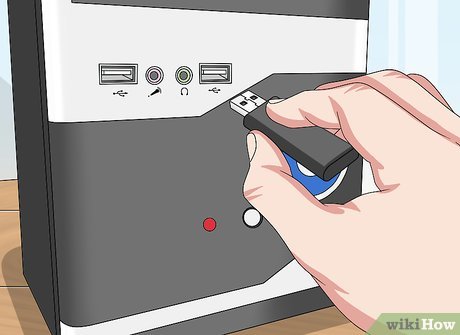
Connect the USB flash drive to the computer by inserting it into one of the flat rectangular USB ports on the outside of the computer.
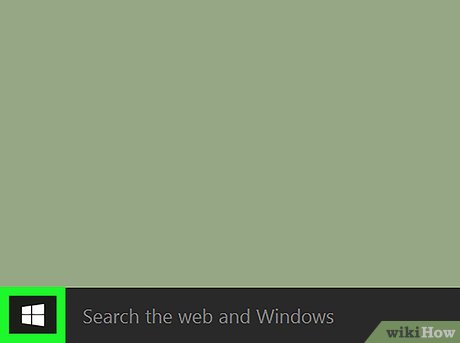
Open Start . Click the Windows icon in the bottom left corner of the screen, or press the key ⊞ Win.
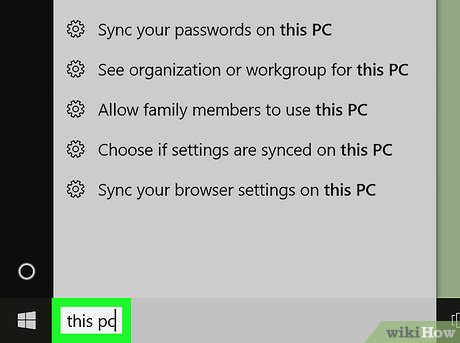
Type "this pc" into Start. You'll see a desktop icon appear at the top of the Start window.
On Windows 7, click Computer on the right side of the Start window.

Click This PC , the desktop icon at the top of the Start window, to open the This PC window.
Skip this step on Windows 7.

Right-click the flash drive icon below the "Devices and drives" heading in the middle of the page to open a list of options.
On a laptop, you use two fingers to touch the trackpad instead of right-clicking.
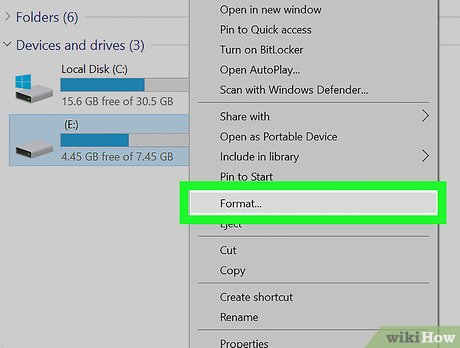
Click Format . It's near the middle of the drop-down list to open the Format window.
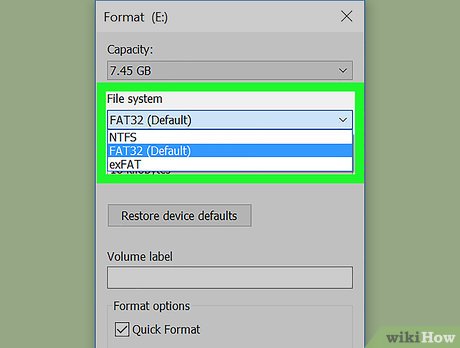
Click the "File System" box below the "File System" heading near the top of the page. The screen will display a list with the following options:
NTFS - The default format of the Windows operating system. If your drive is used as a secondary drive for Windows, you should select this option.
FAT32 - The widest compatible format. Suitable for most computers and game consoles.
exFAT - Similar to FAT32 , but designed specifically for external hard drives (such as flash drives) and more convenient.
Click a format option. The choice used will depend on your drive usage needs. For example, choose FAT32 if you want to format a flash drive for game consoles, or choose NTFS if you want to create a Windows-specific backup drive.
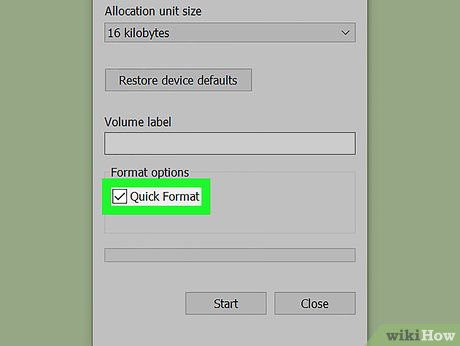
If you have previously formatted the drive and you are confident the drive is not damaged, you can check the Quick Format box.
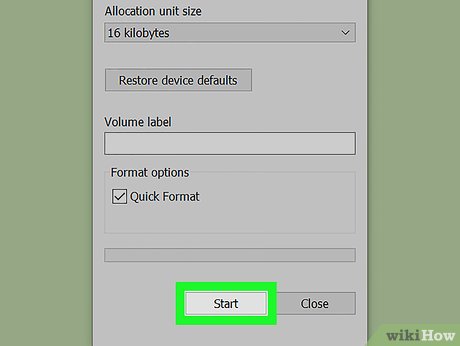
Click Start , then select OK to let Windows begin the process of formatting the flash drive for you.
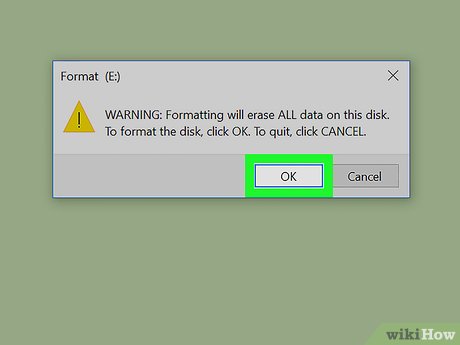
Click OK when prompted. So, your flash drive has been formatted successfully.
On Mac operating system
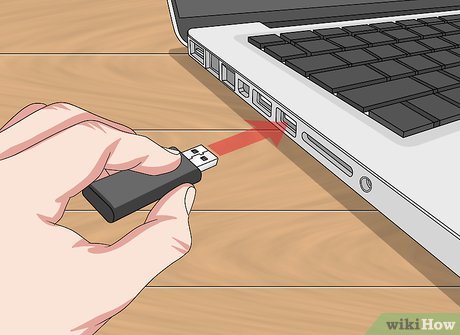
Connect the USB flash drive to your computer by inserting it into one of the flat rectangular USB ports on the outside of your Mac computer.
Some Macs don't have USB ports, so you'll need to buy an adapter.
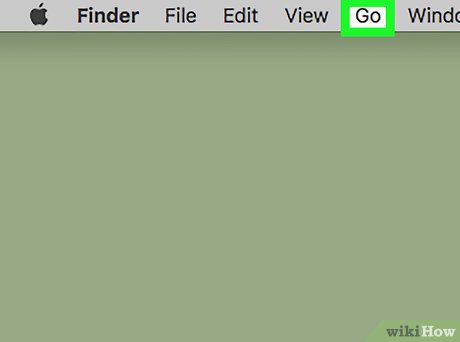
Click Go in the menu bar in the top left corner of the screen.
If you don't see Go , first click the Finder icon with the blue face in your Mac's Dock.
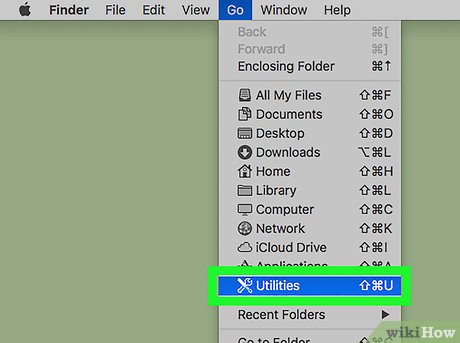
Click Utilities in the Go drop-down list .
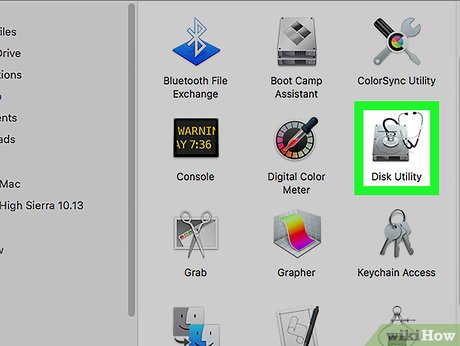
Double-click Disk Utility . It's in the middle of the Utilities page.
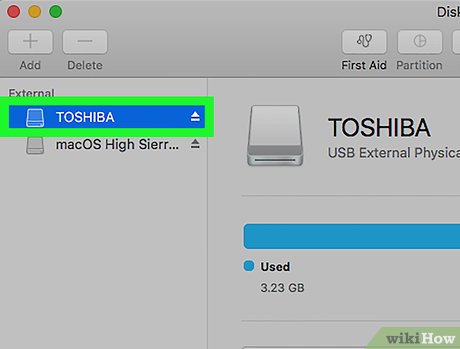
Click the flash drive's name on the far left side of the Disk Utility window.
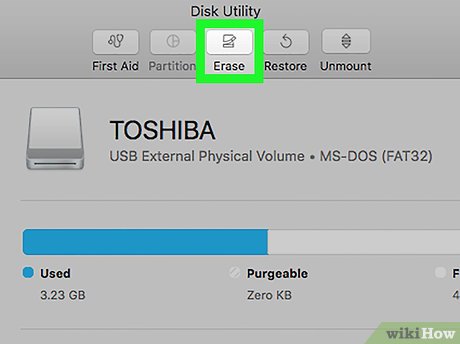
Click the Erase tab at the top of the Disk Utility window.
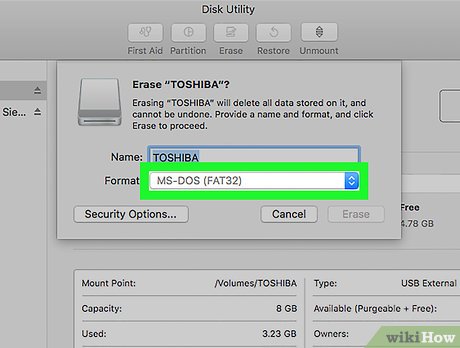
Click the "Format" box in the middle of the page to open a list with the following options:
Mac OS Extended (Journaled) (Journaled)
Mac OS Extended (Journaled, Encrypted) (Journaled, Encrypted)
Mac OS Extended (Case-sensitive, Journaled )
Mac OS Extended (Case-sensitive, Journaled, Encrypted )
MS-DOS (FAT)
ExFAT
Click a selection. Typically, you will use one of the Mac OS options for a flash drive used on your Mac (such as a backup drive), although you can choose MS-DOS (FAT) or ExFat for compatibility. better.
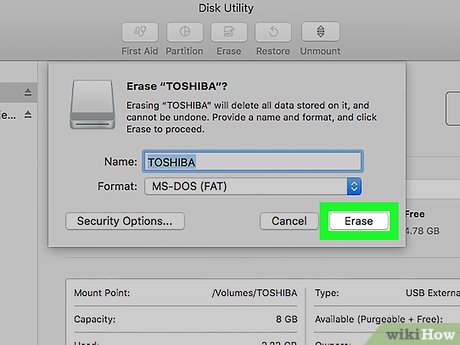
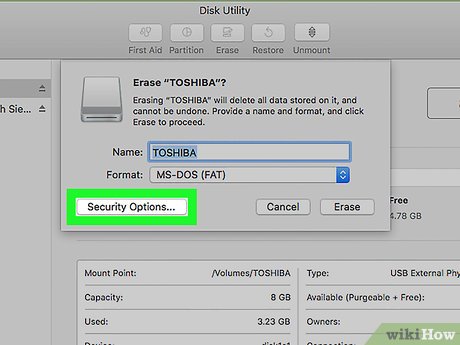
Click Erase , then click Erase when prompted to begin the formatting process. Once the formatting process is complete, you'll see the flash drive icon appear on your Mac screen.