How to Format a Write–Protected Pen Drive
If your pen drive is write-protected, you may not have the ability to modify files or format the drive. There are a few things you can do to remove write protection from a USB drive. However, it's also possible the drive may be failing or...
Table of Contents
Method 1 of 3:
Using Diskpart (Windows)
-
 Toggle the switch on the USB drive. If your USB drive has a physical write-protection switch on its exterior, it might be in the wrong (locked) position. Try toggling the switch before you continue with this method.
- In some instances, a pen drive can be locked using security software that prevents permission changes on a flash drive. If this is the case, you may not be able to remove write-protection from the USB drive.[1]
-
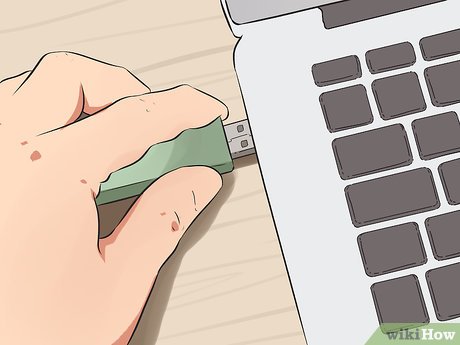 Insert the pen drive into an open USB slot. You can use any available USB slot on your PC.
 -
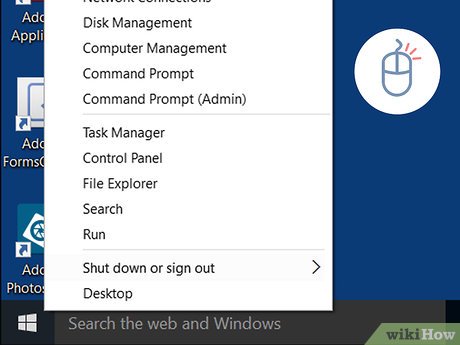 Right-click the Startmenu. It's usually at the bottom-left corner of the screen. This displays a menu.
-
 Click Run. It's at the bottom of the menu that appears when you right-click the windows Start menu. This opens Run in a new window.
 -
 Type diskpart into Run and press ↵ Enter. This opens Diskpart in the Command Prompt.
 -
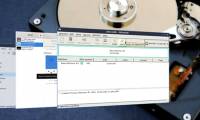
 Type list disk and press ↵ Enter. A list of all drives, including your pen drive, will appear. Each drive is labeled "Disk (number)", and each number is unique to that drive.
- You should be able to identify your USB drive by how much space it has listed under "Size". For example, if your USB drive is a 32 GB drive, it should say "32 GB" or close to that below "Size" in the Command Prompt.
-
 Type select disk # and press ↵ Enter. Replace # with the number of your pen drive (i.e. "select disk 3"). This selects the USB drive in Diskpart.
 -
 Type attributes disk clear readonly and press ↵ Enter. This should remove write-protected status from the drive.
 -
 Type clean and press ↵ Enter. This should remove the data from the drive. Once it's removed, you'll be able to set it up for use.
 -
 Type create partition primary and press ↵ Enter. This creates a partition on the USB drive.
 -
 Type format fs=fat32 or format fs=ntfsand press ↵ Enter. This formats the drive in a format that is readable on any operating system. If the USB drive storage is smaller than 32GB, type "format fs=fat32". If the drive is greater than 32GB, type "format fs=ntfs".[2]
 -
 Type exit and press ↵ Enter. This returns you to the standard command prompt. The drive should now be available for data storage and other uses.
Method 2 of 3:
Using the Registry Editor (Windows)
-
 Toggle the switch on the USB drive. If your USB drive has a physical write-protection switch on its exterior, it might be in the wrong (locked) position. Try toggling the switch before you continue with this method.
 -
 Open the Windows Registry Editor on your PC. Here's how:
- Press ⊞ Win+S to open the search bar.
- Type regedit into the search field.
- Click Registry Editor in the search results.
- Click Yes to run the app.
-
 Go to the Control folder. Use the following steps to navigate to the Control folder in the system registry. You should see several more folders inside the Control folder.
- Click the HKEY_LOCAL_MACHINE folder.
- Click the SYSTEM folder.
- Click the CurrentControlSet folder.
- Click the Control folder.
-
 Click the StorageDevicePolicies folder (if it exists). If you see this folder in the left panel (under the "Control" folder), double-click it to display its contents in the right panel. If you don't see this folder, perform the following steps to create it:[3]
- Right-click a blank area of the right panel to open the context menu.
- Select New and then Key on the menu.
- Type StorageDevicePolicies and then click the blank area to save the new key.
- Click StorageDevicePolicies in the left panel to open it.
- Right-click a blank area in the right panel and select New > DWORD.
- Type WriteProtect and then click anywhere to save the DWORD.
-
 Double-click WriteProtect in the right column. A dialog window will appear.
 -
 Enter "0" as the "Value Data" amount and click OK. Enter the numerical zero without the quotes.
 -
 Close Registry Editor and restart your PC. Changes you make in the Registry Editor usually require a restart to take effect.
 -
 Connect the pen drive to the PC and open File Explorer. You can open the File Explorer by pressing ⊞ Win+E or by right-clicking the Start menu and selecting File Explorer.
 -
 Right-click the pen drive and select Format. Your options for erasing and reformatting the drive will appear.
 -
 Select your formatting preferences and click Start. This should delete the contents of the pen drive and prepare it for use.[4]
- If this method did not work for you, try the "Using Diskpart (Windows)" method.
Method 3 of 3:
Using Disk Utility (Mac OS X)
-
 Toggle the switch on the USB drive. If your USB drive has a physical write-protection switch on its exterior, it might be in the wrong (locked) position. Try toggling the switch before you continue with this method.
 -
 Insert the write-protected pen drive into a USB slot on your Mac.
 -
 Open Finder. It's the first icon on the Dock, which is usually at the bottom of the screen.
-
 Click the Applications folder. It should be in the left panel. Some icons will appear in the right panel.
 -
 Double-click the Utilities folder. It's in the right panel.
 -
 Double-click Disk Utility. It's the hard drive icon with a stethoscope in the right panel. This opens a tool you can use to format drives.
 -
 Select your pen drive in the left panel. Some info about the drive will appear in the right panel.
 -
 Click the Erase tab in the right panel. It's near the top of the panel.[5]
 -
 Enter a name for the drive (optional). You can keep the default name if you wish.
 -
 Select a file system type from the "Format" menu. If you want your pen drive to be compatible with both PCs and Mac, select MS-DOS (FAT) (pen drives under 32GB) or ExFAT (drives over 32GB). Otherwise, choose your desired Mac filesystem type.
 -
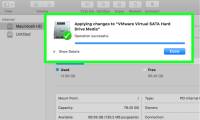
 Click the Erase button. It's at the bottom-right corner of the active window. Your Mac will reformat the write-protected pen drive and change the sharing and permissions status to 'read and write.[6]"
- If this process does not make your drive usable, the issue is likely mechanical and you should replace the pen drive.
Was this article helpful?
Your feedback helps us improve.


Reader Comments 0
Sign in with email or Google to join the discussion.