How to add Copilot to Microsoft Office 365
Copilot Pro integrates AI Copilot directly into Microsoft 365 applications such as Word, PowerPoint, Excel, OneNote and Outlook....
Table of Contents
Copilot Pro integrates Copilot AI directly into Microsoft 365 apps like Word, PowerPoint, Excel, OneNote, and Outlook when you sign up for a Copilot Pro and Microsoft 365 Personal or Family subscription. So when you edit the above documents in Word, process data in Excel or create presentation slides in PowerPoint, Copilot Pro will be a success to support you whenever needed. Below are instructions for adding Copilot to Microsoft Office 365.
Instructions for adding Copilot to Microsoft Office 365
Basically, when you have signed up for Copilot Pro and Microsoft 365 Personal or Family, Copilot automatically displays in the Microsoft applications interface for use. If you don't see it, follow the steps below.
Step 1:
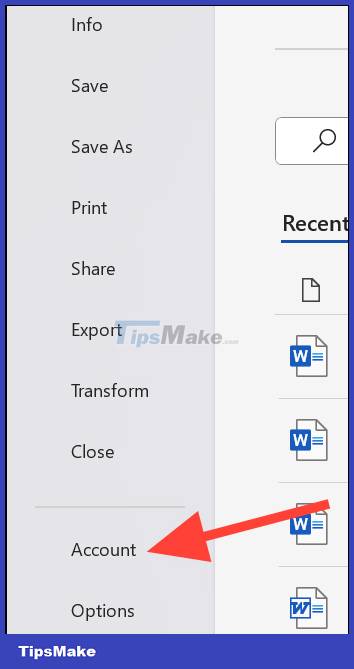
First, at the interface in Word, click on File and then click on Account on the left edge of the interface as shown.
Step 2:
You look at the content next to it and then click the Update License button to upgrade your account to use Copilot Pro.
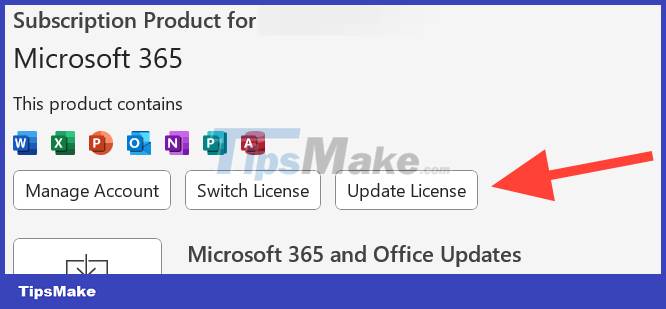
At this time, the user is asked to log in to their Microsoft account to confirm the account has registered for Copilot Pro and Microsoft 365.

Step 3:
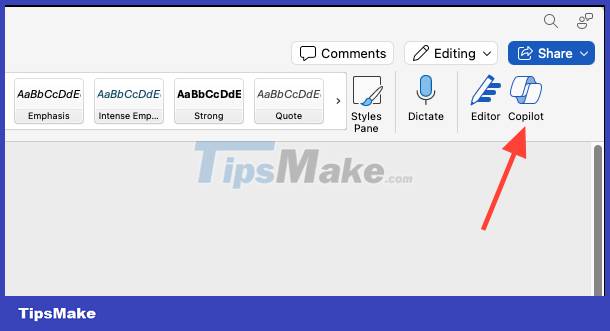
The user then closes all open Microsoft Office 365 applications and reopens them to see Copilot displayed in the Word interface as shown below.
In case you have done the above steps and still do not see Copilot, you need to reinstall the Microsoft 365 application.
Was this article helpful?
Your feedback helps us improve.
Related Articles
 Why has the Copilot button disappeared from your Office applications?3 minutes read
 What are Copilot Labs?4 minutes read
 What is Microsoft Copilot AI? How to use it effectively?5 minutes read
 Reasons to cancel your Copilot subscription and switch to Claude for Office tasks.8 minutes read
 Overview of Copilot Studio10 minutes read
 How is Copilot Pro different from Copilot? Should I upgrade?5 minutes read
Reader Comments 0
Sign in with email or Google to join the discussion.