How to compress and decompress files on iOS
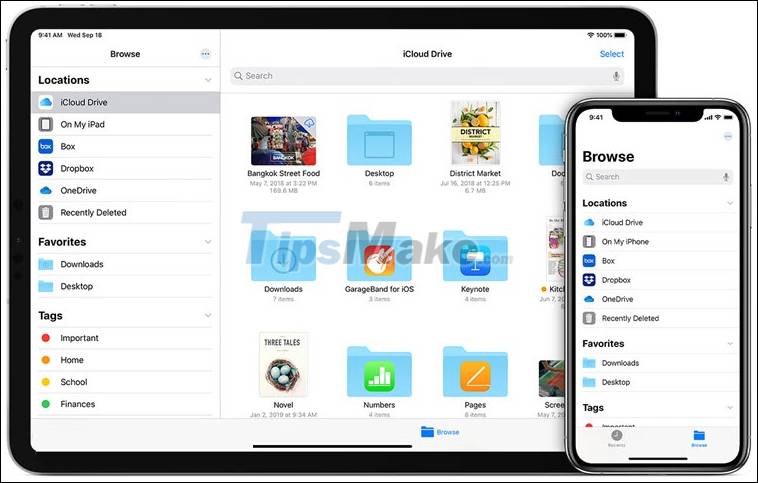
Managing files on iOS has always been a complicated issue due to Apple's tightly secured mobile ecosystem. The Files app announced in iOS 11 has made things a lot simpler, but with iOS 13 you can zip or unzip Zip files on your phone.

How to compress files on iOS
If you want to store your data files in a Zip file, do the following:
Step 1. Open the Files app on your iPhone or iPad.
Step 2. Open the folder containing the file you want to compress.

Step 3. If you want to compress a file, just press and hold the file and choose Compress from the list.

Zip file will appear right at the folder containing the original file:

Step 4. In case you want to compress multiple files, click on the three dots in the top right corner >> Select.

Step 5. Click to select the files you want to compress, then click the three dots in the lower right corner >> Compress.

Step 6. The compressed file will also appear here and you can press and hold on it to rename it.

How to unzip files on iOS
Similarly, if you want to unzip the file, this shouldn't be difficult.
Step 1. Open the file app and navigate to the zip file you want to extract.
Step 2. You just need to do a simple touch on it and the file will automatically be extracted to the side.

Step 3. You can also press and hold the file and choose Extract.

So, you already know how to use the Files app to compress and decompress files on iOS. Hope you are succesful.
 How to fix email out of sync on Android
 Google Drive iOS has a built-in security feature
 Memory management tips on Android you should not ignore
 How to fix memory leaks on Android
 How to sync Google Calendar with iPhone
 Google Calendar troubleshooting doesn't sync with iPhone