How to compress and decompress files on iPhone
On iOS 13, there is a feature to compress and decompress files so you can easily send mail without having to use another application.
Table of Contents
From iOS / iPadOS 13 and above, the operating system has been provided with a lot of new features to change to help users more convenient to use, as well as to bring more interesting experiences. And the file compression and decompression feature on iOS / iPadOS 13 has helped us a lot in reducing the size of the file, especially sending files right on iPhone / iPad. Previous operating systems that want to compress or decompress need a different application, but with iOS 13, you immediately use the available features. The following article will guide you how to compress and decompress files on iOS / iPadOS 13.
Instructions to compress and decompress files on iPhone
Step 1:
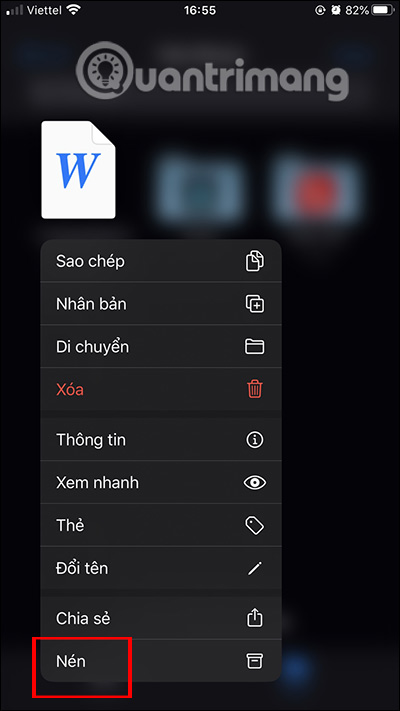
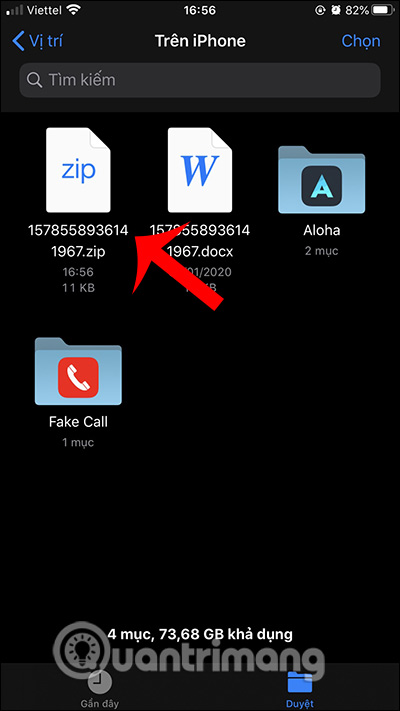
Users open the Files app on iPhone or iPad, then press and hold on the file you want to compress . If you want to compress multiple files at once, you should group them into one folder. Then display the interface as below, click Compress . As a result, you have got the file zipped file.
Step 2:
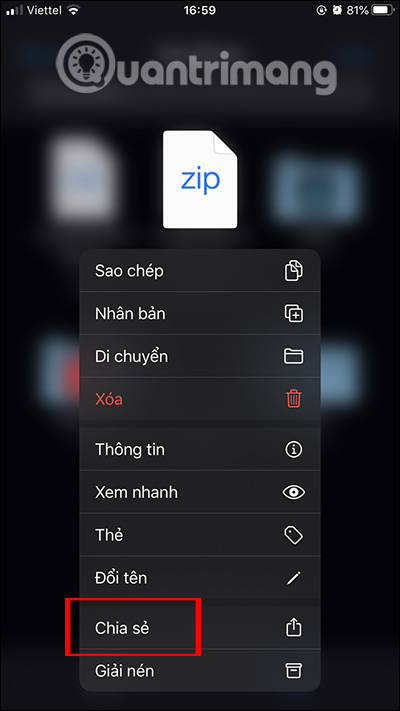
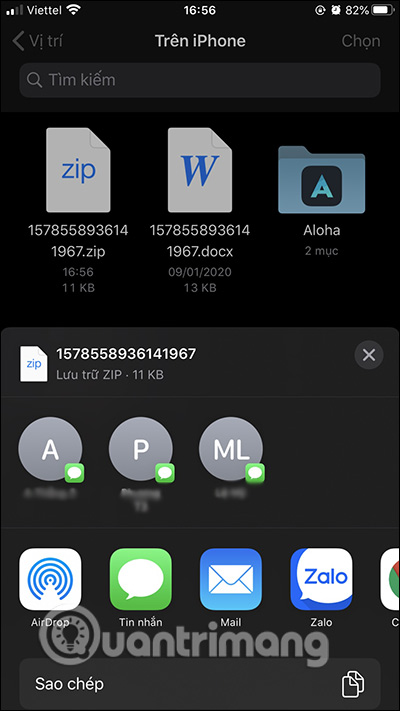
Now you can press and hold on the compressed file and select Share . We then choose how to share data on the iPhone, with a lot of options such as sending via the application or sending via Messages depending on the user choice. By default, compressed files on iOS 13 are in .zip format.
Step 3:
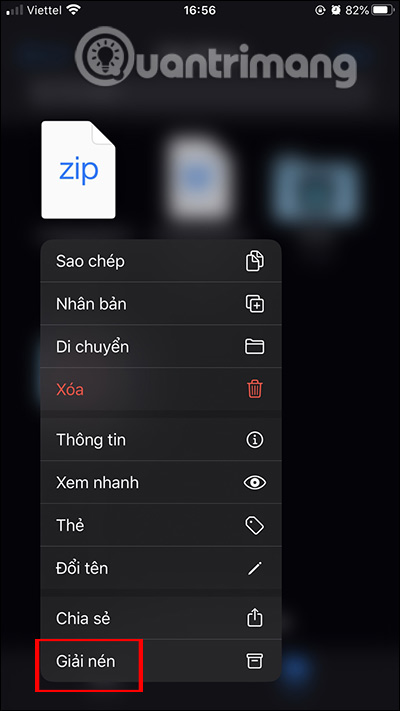
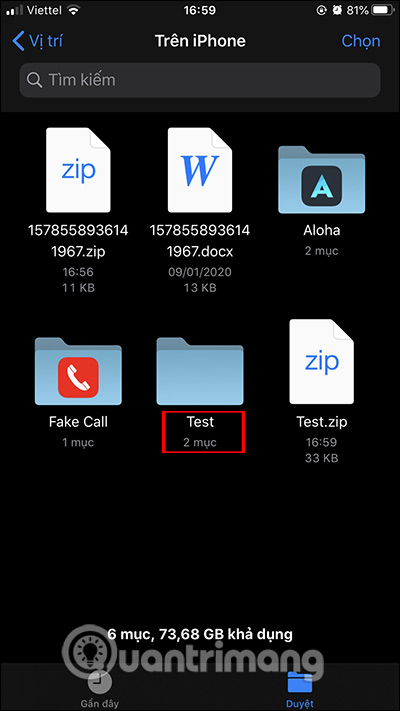
To decompress the data is also very simple, press and hold on the compressed file and then select Extract . The result is that you extracted the folder from the zip file.
Was this article helpful?
Your feedback helps us improve.
Related Articles
 How to compress and decompress files and folders on a Mac3 minutes read
 How to compress and decompress files in Node.js6 minutes read
 How to compress and decompress ZIP files quickly5 minutes read
 How to compress and decompress files on Windows 103 minutes read
 How to compress and decompress files on Windows 114 minutes read
 How to compress and decompress files without installing additional software on Windows 103 minutes read
Reader Comments 0
Sign in with email or Google to join the discussion.