How to Change the Dock Size on a Macintosh Computer
Some people find a large dock distracting while others may find a small dock unfriendly or hard to read. If you are wondering how to find the perfect dock size for you, start with step 1 to customize your Mac's dock. Log onto your...
Table of Contents
Method 1 of 2:
Using System Preferences
-
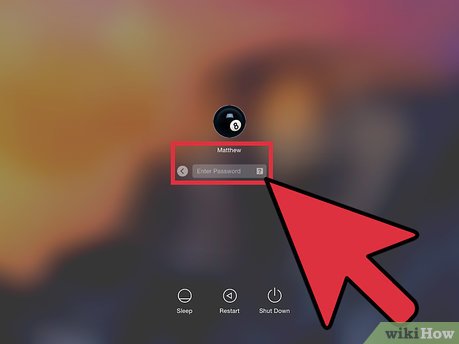 Log onto your computer. You'll need to be on the user you want to change the dock for.
 -
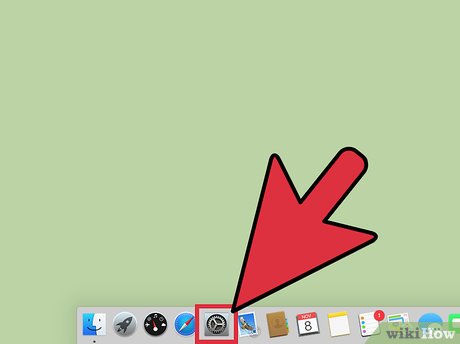 Open the System Preferences app. It looks like a grey icon with gears inside it. It should be present in the dock. If it is not there, check the Launchpad.
- You can also open it from the Apple menu. The Apple menu icon looks like the Apple logo. It is present in the extreme left of the menu bar. Click on it, and then click on the System Preferences option from the drop-down list that appears.
-
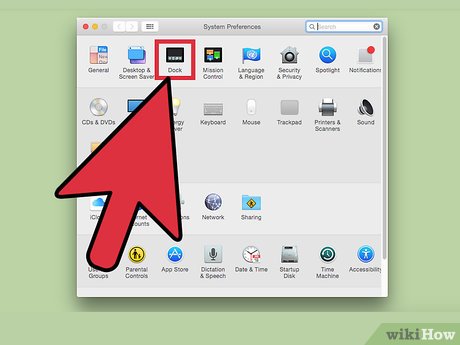 Click on the dock option from the main System Preferences window. It is located in the topmost row of the window, and is depicted by a blue or black icon with white or blue icons inside it.
 -
 Move the slider bar with the heading 'Size' to change the size of the dock. It is the first option in the menu. Move the slider left to make it smaller, and right to make it bigger. Note that the number of icons you have on the dock limits how much bigger you can make it.
Method 2 of 2:
Using a Shortcut
-
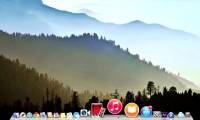
 Move your mouse pointer to the line in the dock that divides the app icons with the Documents, Downloads, Trash and all minimized windows, if any. Notice that the mouse pointer changes into a double headed arrow.
 -
 Click and hold on the line.
 - Move your finger or mouse up and down to adjust the size. Moving up increases the dock's size while moving down decreases it.

Was this article helpful?
Your feedback helps us improve.
Related Articles
 Application to create the best dock for Windows 7, 8 / 8.1 and Windows 104 minutes read
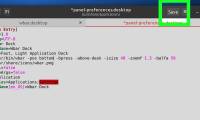 How to Change the Position of the Wbar Dock in AV Linux3 minutes read
 How to Change Font Size on a Computer11 minutes read
 How to change the font size on Windows 105 minutes read
 Add the Dock for Mac Snow Leopard4 minutes read
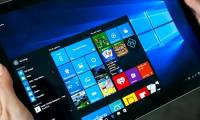
 How to Add a Mac-Style Dock to Windows 10/11 Using Winstep Nexus5 minutes read
Reader Comments 0
Sign in with email or Google to join the discussion.