How to change screen lock timeout in Windows 10
If you feel your computer screen lock time is too fast or too long, causing you to frequently log in to your computer to use it, read this article to change the screen lock timeout for Windows 10.
Table of Contents
You may want to change the lock screen timeout setting because this time is too long or too fast for Windows to lock the screen when the computer is inactive. Windows locks the computer screen automatically after not using it for a certain period of time and it will display a screen that protects or just turns off the display. This is a good feature to protect computers.
- Ways to turn off Windows 10 computer
- 4 ways to lock Windows 10 computers super fast
In the past, computer screens were used to prevent CRT screen recording, but today it is a security feature. For example, if you do not use the computer for several hours, someone can access the file or password if the computer is not locked or turned off. But if you set the lock screen timeout correctly, the screen will automatically turn off after the computer is idle for a few minutes and if someone tries to access it, Windows will require a login password.

The only problem with this security feature is that sometimes the waiting time for the lock screen is set for a short time, which means that the computer will lock the screen after it has been inactive for that time. This setting can make many people feel troublesome because their computer will lock often and must enter a password to use, thus wasting time. To prevent this from happening, you need to increase the lock screen timeout setting in Windows 10 .
Note: Be sure to create a restore point in case something goes wrong.
Method 1: Increase screen lock timeout from Windows installation
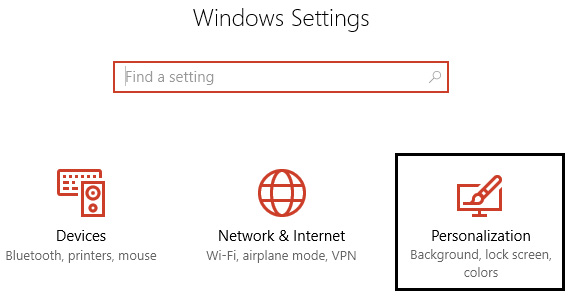
Step 1: Press Windows + I key to open Settings, then click Personalization .
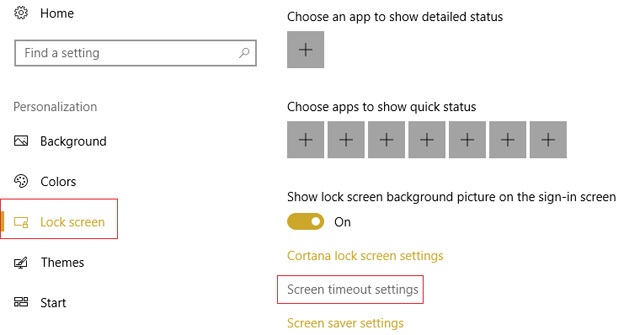
Step 2: From the menu on the left select Lock Screen.
Step 3 : Now scroll down until you find the Screen timeout settings and select it.
Step 4: Set the Screen time setting to a higher value if you want to avoid turning off the screen often.

Step 5: If you want to completely disable this installation, select Never from the drop down menu.
Step 6: In addition, make sure that the Sleep time is set higher than the time to turn off the screen otherwise the computer will "go to sleep" and the screen will not be locked.
Step 7: It's best to disable Sleep mode or set the time at least 30 minutes or more.
Step 8: Restart the computer to save changes.
Method 2: Change the lock screen timeout setting from Control Panel
Note: This is just an alternative to the above method, if you have done this, skip this step.
Step 1: Press Windows + X key and select Control Panel.

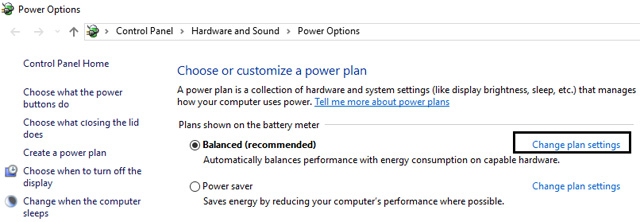
Step 2: Click System and Security , then click Power Options.

Step 3: Click Change plan settings next to the active Power plan .
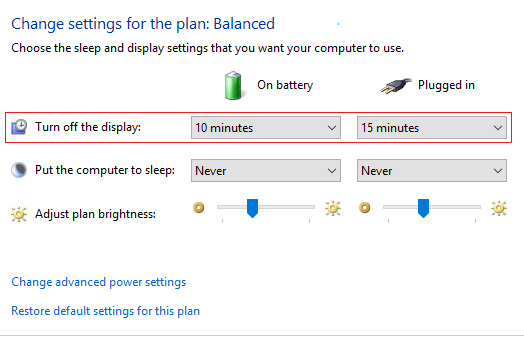
Step 4: Set up the same settings as above method.
Step 5: Be sure to set the settings for both batteries and when plugging into the power outlet.
Method 3: Use the Registry
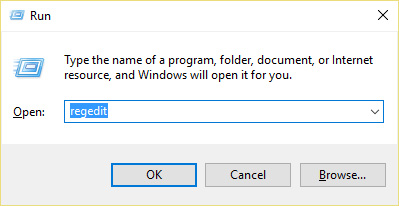
Step 1: Press Windows + R key and then type regedit and press Enter to open the Registry Editor.
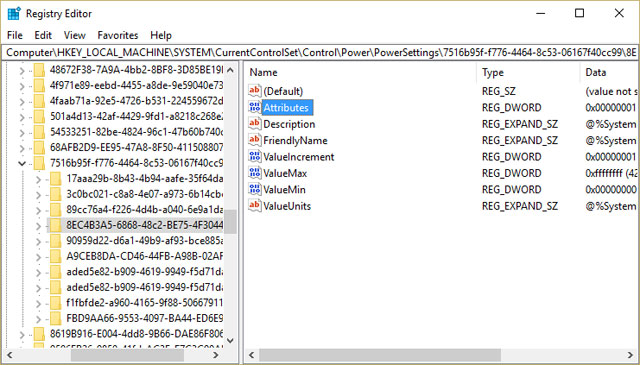
Step 2: Follow the following path in the Registry:
HKEYLOCAL_MACHINESYSTEMCurrentControlSetControlPowerPowerSettings7516b95f-f776-4464-8c53-06167f40cc998EC4B3A5-6868-48c2-BE75-4F3044BE88A7
Step 3: On the right pane double click on Attributes DWORD.
Step 4: If you can't find it, you need to create a DWORD, right-click an empty area in the right window and select New > DWORD (32-bit) .
Step 5: Name Attributes and double click on it.

Step 6: Now change the value from 1 to 2 and click OK .
Step 7: Start the computer to save changes.
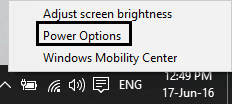
Step 8: Right-click the Power icon in the system tray and select Power Options.
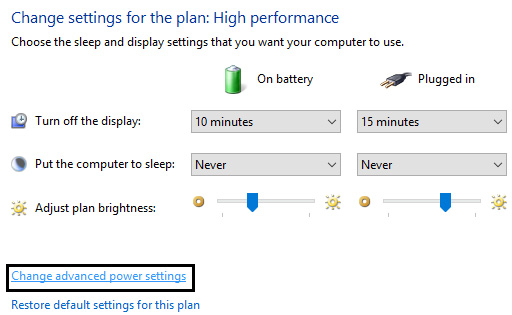
Step 9: Click Change plan settings .
Step 10: Then click Change advanced power settings.
Step 11: Scroll down until you see Display , then click it to expand the settings.
Step 12: Double-click the Console lock display off timeout and then change the value from 1 minute to the time you want.

Step 13: Click Apply and OK .
Step 14: Restart the computer to save changes.
Method 4: Change the screen timeout using the Command Prompt
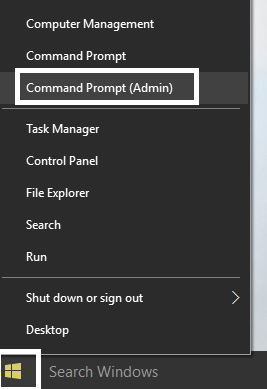
Step 1: Press Windows + X key and select Command Prompt (Admin).
Step 2: Type the following command and press Enter :
powercfg.exe / SETACVALUEINDEX SCHEME_CURRENT SUB_VIDEO VIDEOCONLOCK 60
powercfg.exe / SETDCVALUEINDEX SCHEME_CURRENT SUB_VIDEO VIDEOCONLOCK 60

Note: You must replace "60" in the above command with the desired screen timeout (in seconds), for example if you want 5 minutes and set it to 300 seconds.
Step 3: Then enter the following command and press Enter :
powercfg.exe / SETACTIVE SCHEME_CURRENT
Step 4 . Restart the computer to save changes.
I wish you all success!
Was this article helpful?
Your feedback helps us improve.
Related Articles
 How to change Windows 11 screen lock timeout2 minutes read
 How to Change Windows 11 Lock Screen Timeout3 minutes read
 3 Ways to Change the Windows 11 Lock Screen Timeout5 minutes read
 How to change lock screen and screensaver timeout settings on Windows8 minutes read
 How to change the lock screen background in Windows 105 minutes read
 Tricks to customize the Windows 10 lock screen7 minutes read
Reader Comments 0
Sign in with email or Google to join the discussion.