How to Boot from USB on Windows 7
Today's TipsMake will show you how to boot from a USB flash drive instead of a hard drive on a Windows 7 computer. The process of booting from USB allows you to perform many tasks such as launching a lightweight operating system or using command line service like Clonezilla. You can even use USB to install Windows 7 if necessary.
Table of Contents
Prepare to launch
You need to understand how it works when your computer boots from USB. By default, the computer boots by reading operating system information from the built-in hard drive. You can change this order by telling your computer to prioritize the attached USB item over the built-in hard drive.
Settings for your computer's startup behavior are located in the BIOS menu, which is a pre-boot menu that you can access by pressing a key specific to your computer model at startup.
To boot from USB, the flash drive needs to be set up as a bootable item, and the USB must also have a disk image file (ISO) pre-installed with a similar operating system or service.

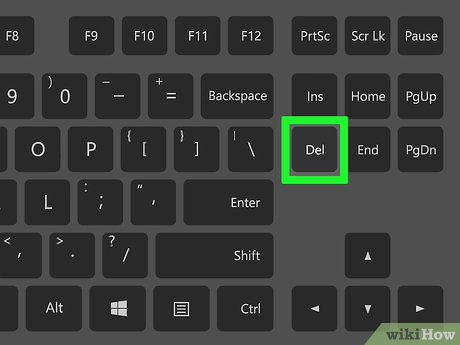
Identify your computer's BIOS key. The key you press to access the BIOS will depend on the computer manufacturer and product model. You can look up your computer's BIOS key by entering the computer's model name and manufacturer, followed by the keyword "bios key" into the search engine and then viewing the results. Or if you still have the manual, look for information in it.
Most computers use a function key (e.g. F12) as the BIOS key, but some computers will use the Esc or Del key .

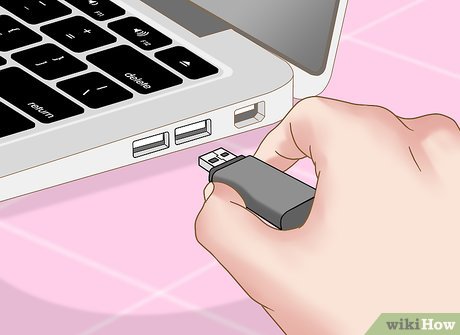
Plug the USB into the computer. The flash drive needs to be plugged into one of the rectangular USB ports on the body.
The USB port is usually located on the side of the laptop body, front or back of the desktop computer case.

Create bootable USB . With a regular USB, you need to use Command Prompt or one of the Windows installation tools to create a bootable drive.
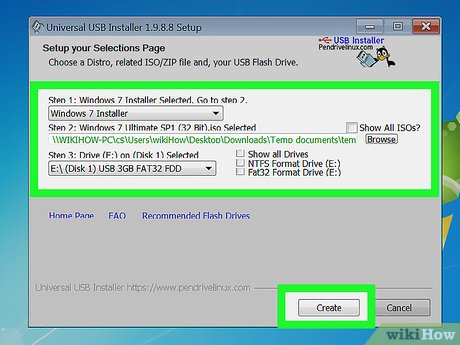
Add the file you want to boot to the USB. Copy the ISO file you want to use for booting by clicking on the file then pressing Ctrl+ C, then opening the flash drive then pressing Ctrl+ Vto paste the contents.
For example, if you are wanting to install or use Ubuntu Linux from a flash drive, paste the Ubuntu ISO file into the USB window.
Skip this step if you created a bootable USB using the Windows 7 or 10 installation tool.
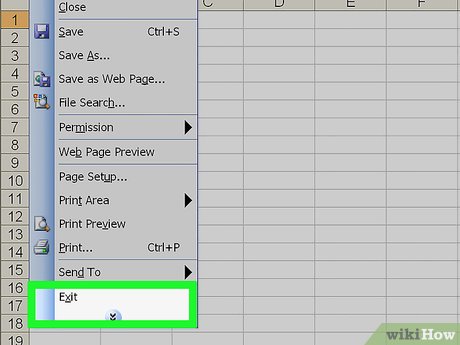
Save and close all open sessions. Before continuing to access the BIOS, you need to save any open sessions and close all programs so that progress is not lost.
Access BIOS
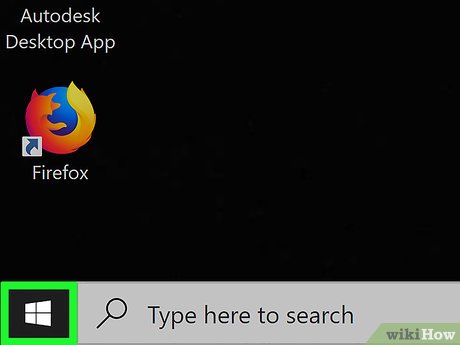
Open Start . Click the multicolored Windows logo in the lower left corner of the screen.
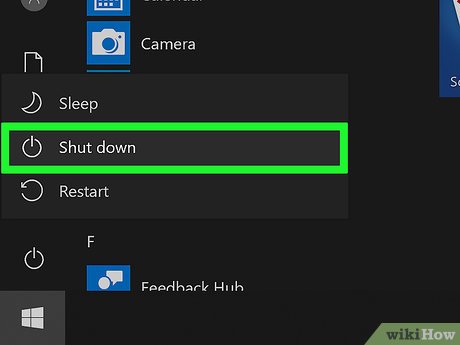
Click Shut down. It's on the right side of the Start menu. The computer will begin to shut down.
You may need to confirm this decision.
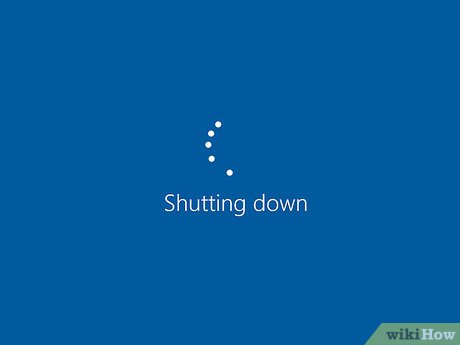
Wait for the computer to turn off completely. Once the machine becomes completely silent, you can continue.
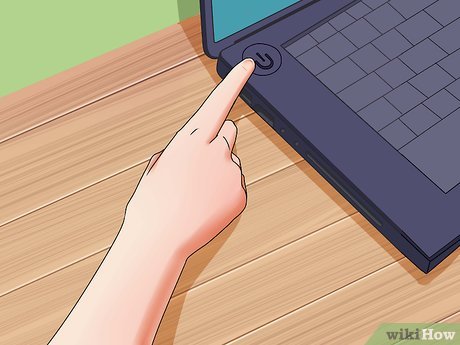
Press the computer's power button. The computer will begin to boot.

Immediately, start pressing the BIOS key. You need to proceed quickly as soon as you release the power button, and don't stop until the BIOS screen appears.
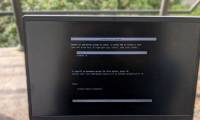
Stop pressing the BIOS key when the BIOS page starts loading. The BIOS page usually has a blue screen interface with white text, but your BIOS may be slightly different. At this point, you can change the computer's boot order.
Change boot order
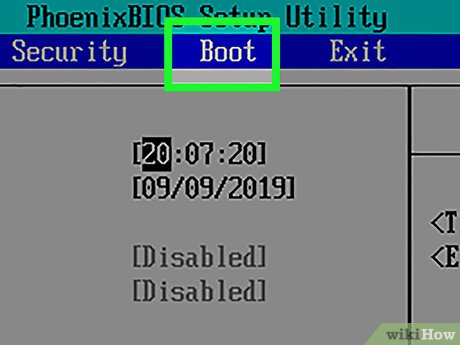
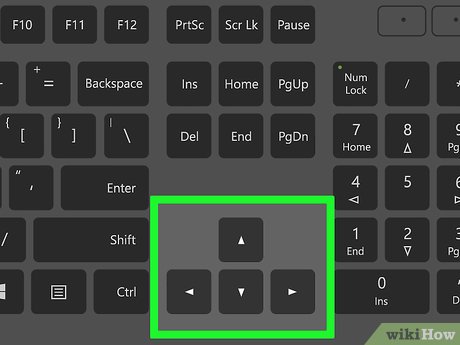
Look for the "Boot Order" section. This option is on the BIOS screen, but you may need to scroll left or right (using the left and right arrow keys respectively) through the tabs at the top of the screen until you find the "Boot Order" section.
You'll probably find this section under the Advanced tab , but there are also many BIOS variations with separate Boot Order tabs.
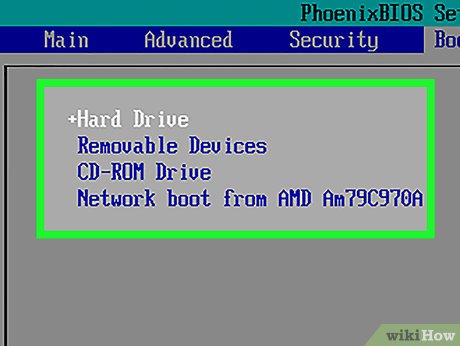
Open the "Boot Order" menu. If "Boot Order" is a menu item instead of a title, select it using the arrow keys and then press ↵ Enter.
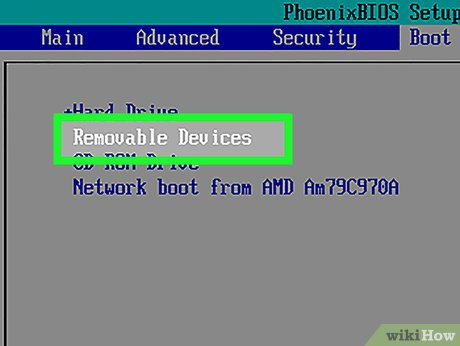
Select the "USB" item. Find and scroll down to the "USB" option in the boot point list.
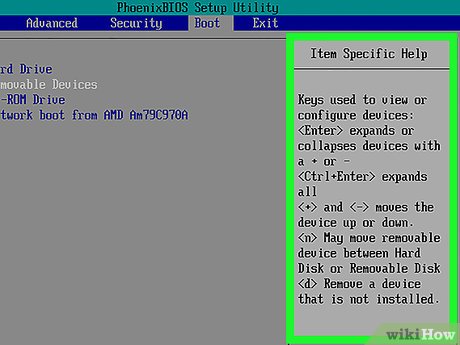
See key legend. This section is usually located at the bottom right of the screen, sometimes it can also be at the bottom of the screen.
Specifies the key to press to move the selected item up. Usually you will press the + key to move the selected item up, but check the key legend information to be sure.
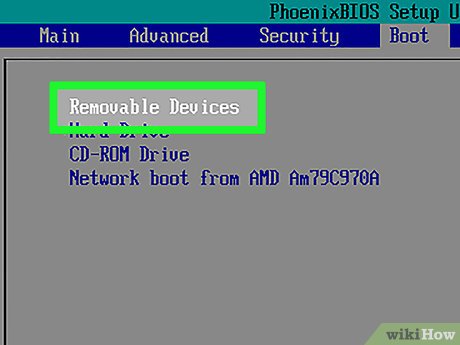
Move the "USB" option to the top of the list. Press the appropriate key until the "USB" option is at the top of the "Boot Order" list. This will ensure that when starting up, the computer will look for the USB boot option instead of the hard drive as default.
Boot from USB
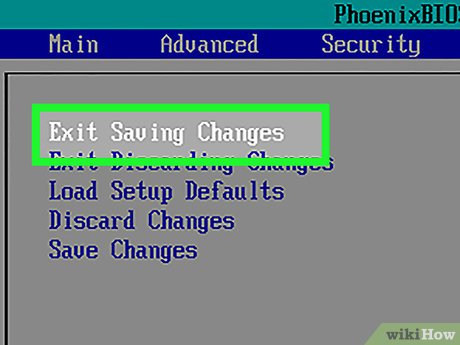
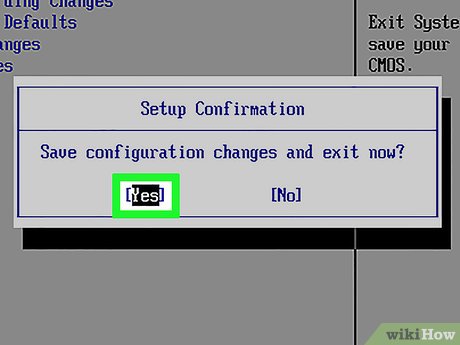
Save changes and exit BIOS. Press the "Save and Exit" key indicated in the key legend, then press the "Confirm" key when prompted.
For example, you may need to press Esc to save your changes and then press Y to confirm that you want to save and exit.
Restart the computer if necessary. If the computer does not boot from the USB flash drive the first time, the system may have selected the hard drive as the boot point. At this point, you need to restart the computer (with the USB plugged in) before continuing.
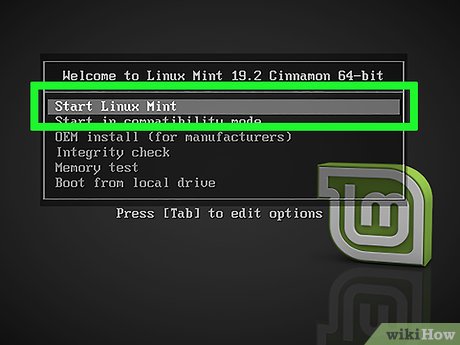
Wait for the USB program menu to appear. Once the computer recognizes the USB as a boot point, the program, service, or menu pre-installed on the flash drive will appear.
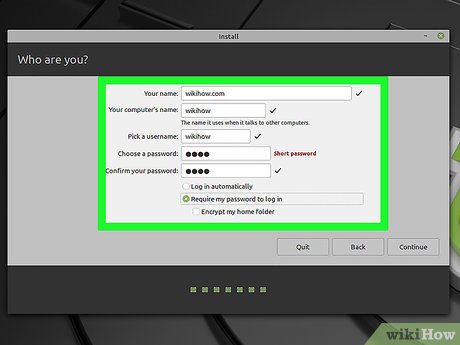
Follow the instructions on the screen. When the menu appears, you can continue to launch or install the program/service located on the USB.
Was this article helpful?
Your feedback helps us improve.
Related Articles
 How to implement Clean Boot on Windows 10/8/73 minutes read
 Windows 10 won't boot? Here are 10 steps to fix Windows 10 not starting8 minutes read
 How to fix Windows 10 not booting error11 minutes read
 How to fix boot errors on Windows 86 minutes read
 Instructions to edit or replace Boot.ini file on Windows XP3 minutes read
 Steps to fix dual boot option not showing in Windows 106 minutes read
Reader Comments 0
Sign in with email or Google to join the discussion.