How to check Secure Boot has been enabled on your computer or not?
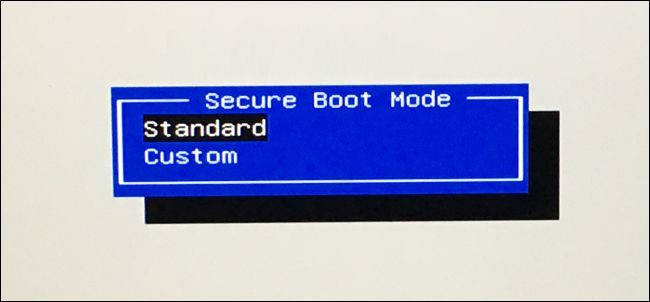
On Windows 8 and Windows 10 versions, Microsoft integrates on a feature system called Secure Boot, and by default this feature has been activated. The Secure Boot feature supports security on your system but in some cases you will have to disable this feature to run older versions of Windows or Linux versions.
So how to know if the Secure Boot feature has been activated on your Windows computer, please refer to the following article of Network Administrator.

Instead of rebooting and searching on UEFI firmware or BIOS Settings screen, you can search for this information right on Windows.
1. Use the System Information Tool
To check whether Secure Boot is enabled on your system using the System Information Tool. The first step is to open the tool, to do this, open the Start Menu, then enter System Information in the Search box and press Enter .

In the System Information window, select System Summary in the left pane and find the Secure Boot State entry in the right pane.
If seeing the value as ON means that Secure Boot is enabled, if the value is OFF it means that Secure Boot is disabled and if it is Unsupported it means that the hardware on your system is not supported.

2. Use PowerShell Cmdlet
Also you can check Secure Boot right on PowerShell. With PowerShell Remoting, you can use PowerShell cmdlets to check whether the Secure Boot feature on a remote computer is enabled.
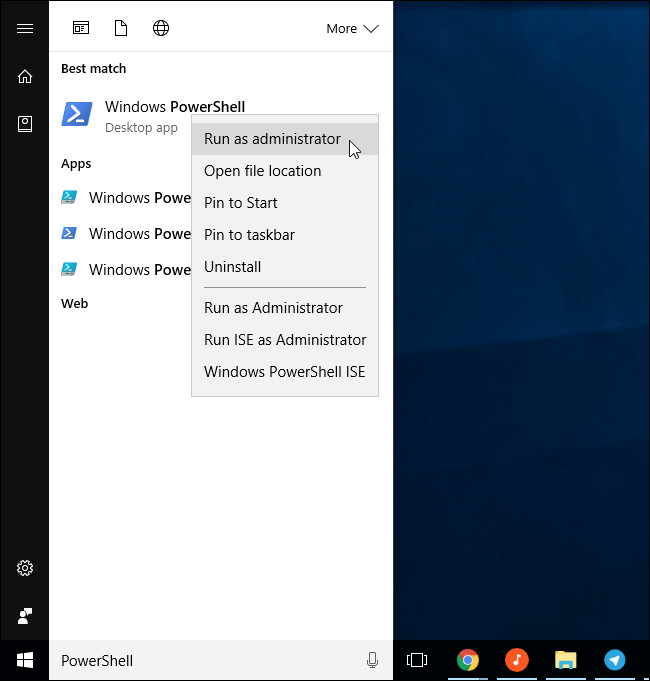
This process requires PowerShell to run under Admin. First enter powershell in the Search box on the Start Menu, then on the search results list, right-click the ' Windows PowerShell ' shortcut and select Run as Administrator .

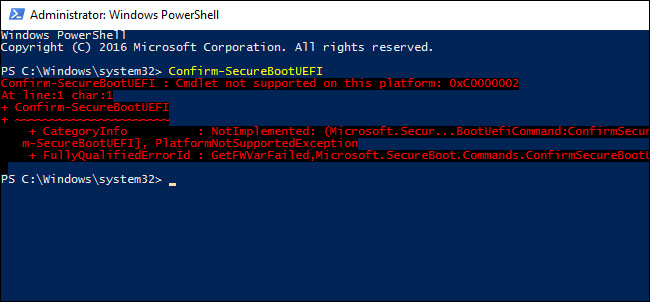
On the PowerShell window, enter the command below and press Enter :
Confirm-SecureBootUEFI
If True is seen as Secure Boot is enabled, if False means Secure Boot is disabled.

If your computer hardware does not support Secure Boot, you will see the error message ' Cmdlet not supported on this platform '.
If you see the error message ' Access was denied ', you will have to close the PowerShell window again and reopen PowerShell under Admin.

On Secure Boot-enabled computers, you can enable or disable Secure Boot from the UEFI firmware setting or the BIOS confirmation window. However, you will have to restart your computer and press a specific key during the boot process to access these windows.
In addition, readers can refer to the steps to disable Secure Boot on the BIOS here.
Refer to some of the following articles:
- How to enable or disable SuperFetch on Windows 10/8/7?
- Configure the "brain damage" PIN to log on to Windows 10
- To speed up the Windows 7 boot process, read this article
Good luck!