How to blur photos in PowerPoint
If you need to blur all or part of a photo that contains sensitive information, you can do it directly in PowerPoint and this is the way to do it.
Table of Contents
If you need to blur all or part of a photo that contains sensitive information, you can do it directly in PowerPoint and this is the way to do it.
- How to blur the background image in PowerPoint
- How to insert images below the word on PowerPoint
- How to create PowePoint color schemes
Blurring photos completely
First, open PowerPoint and navigate to the slide containing the image you want to blur. Select the image and you will see the Picture Format tab appear.

Next, select Artistic Effects from the Adjust group.

In the drop-down menu that appears, click on the Blur option.

The image will be completely blurred. If the opacity is not as expected, you can adjust it manually. Back to the Artistic Effects drop-down menu, select Artistic Effects Options .

From the Format Picture frame appears on the right side of the window. In Artistic Effects, find the bar next to Radius and drag the settings to the right to increase the image blur until satisfied.

If you just want to blur a specific part of the image instead of the whole image. Although it is not a simple process, it can still be done with the steps below.
Blur part of the image
According to Office, no blurring tool is specifically designed to blur part of an image. This trick requires the use of other tools.
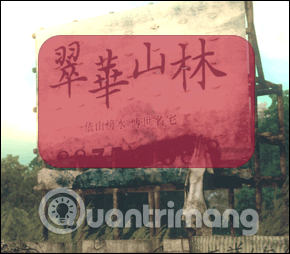
First, insert a shape on the part of the image you want to blur. You can use one of the default shapes from the Illustrations group on the Insert tab or draw any shape.
Once you've finished painting or inserting the image, adjust it to match the part you want to blur.
After inserting the shape, go to the Shape Format tab. In the Shape Styles group, select Shape Fill and then select Eyedropper from the drop-down menu.
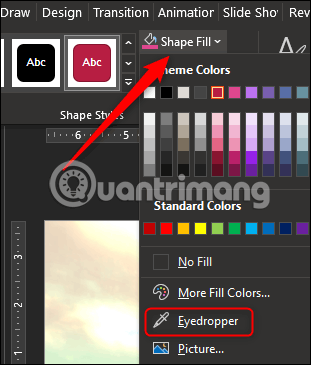
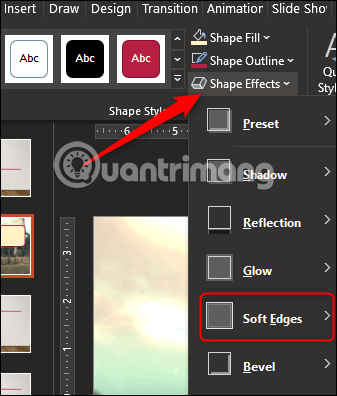
This will allow you to select a part of the image close to the color you want to create. Next, return to the Shape Styles group of the Shape Format tab. Click Shape Effects and then select Soft Edges from the drop-down menu that appears.
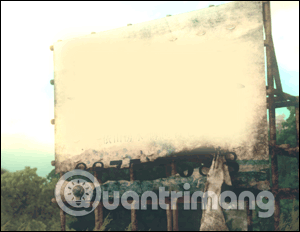
On the small menu that appears, you will see several different types of edges. Choose the most suitable one. For this example, we use 25 Point.
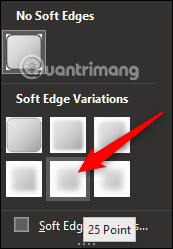
The specific part of the image has been blurred without unnecessary attention.
Now, you need to group images and shapes together if you want to adjust it later. To group, hold down Ctrl and click on both objects.

Now, in the Picture Format tab, select Group from the Arrange section. In the drop down menu, click on Group .

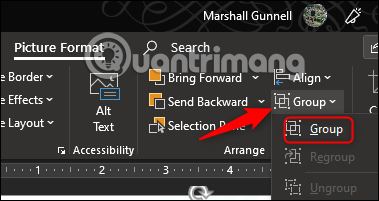
Two objects have been grouped together so you can adjust the background while the blurred shape remains in place.
I wish you all success!
Was this article helpful?
Your feedback helps us improve.
Related Articles
 How to blur text appears in PowerPoint2 minutes read
 Instructions for blurring photos on Canva are very simple3 minutes read
 How to blur photos on Paint 3D2 minutes read
 How to blur photos in Paint4 minutes read
 3 Ways to Add Motion Blur Effects to Photos (No Software Needed)5 minutes read
 How to blur background images in PowerPoint - Adjust background image display mode4 minutes read
Reader Comments 0
Sign in with email or Google to join the discussion.