3 tips to improve low-resolution image quality
When you need to handle low-resolution photos - how low resolution do we have to do if we want to enlarge those photos? Actually, the remedy is not so difficult and complicated as many people think
Table of Contents
When you need to handle low-resolution photos - how low resolution do we have to do if we want to enlarge those photos? Actually, the remedy is not so difficult and complicated as many people think. In the following article, we will show you how to solve this problem with Adobe Photoshop software.
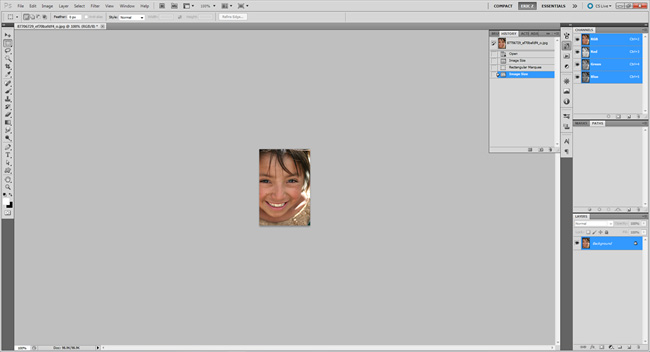
And here is our sample photo when in 100% normal mode.
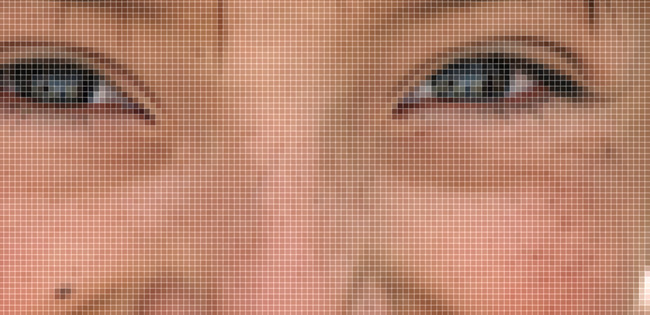
When zooming in:
Try changing the image size with a few simple steps:
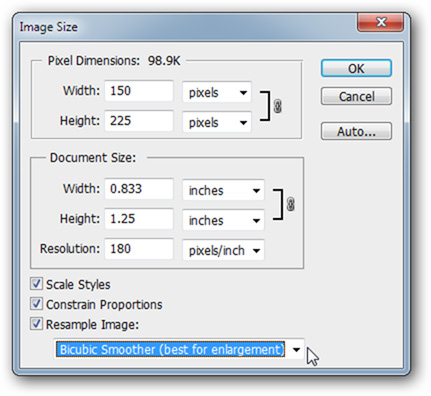
Select Image> Image Size menu , in Resample Image, you switch from default Bicubic to Bicubic Smoother (best for enlargement).

Note that Bicubic Smoother mode is a bit different from basic Bicubic . Based on the detail reduction mechanism in the picture, our work will become natural, smooth and no longer the same angle.
Improve quality when zooming in:

Most Photoshop users do not apply RGB or CMYK . And here, we will use a different color mode called Lab Color . Open the image to edit and select Image> Mode> Lab Color:

Make sure you're opening the Channel section by clicking Window> Channels , then selecting Lightness .
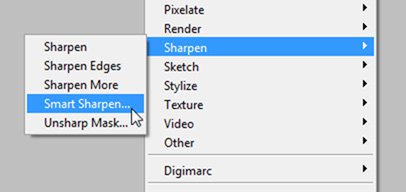
Once you've selected Lightness , continue with the Smart Sharpen filter via the Filter> Smart Sharpen menu .
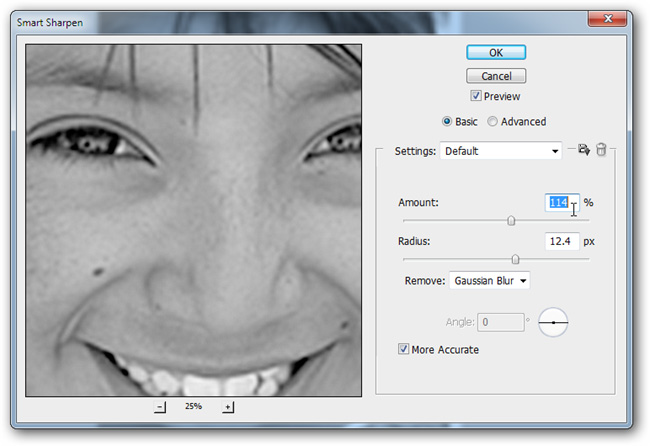
In this test, the filter above works quite well, but depending on the specific case, you apply many times or change the setting accordingly.
 Keep the setting in the Remove section to Gaussian Blur
Besides, you can keep Lab Color unchanged or change back to RGB mode if you want, unlike the conversion process between RGB and CMYK then RGB performs this quite perfectly, in other color mode We can combine multiple channelset by pressing Ctrl + 2:
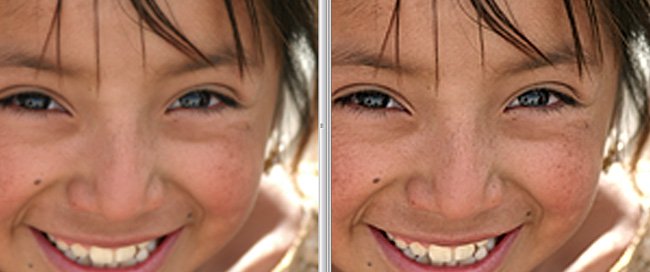
Obviously, with this approach, you can easily see the change.

With Typography :
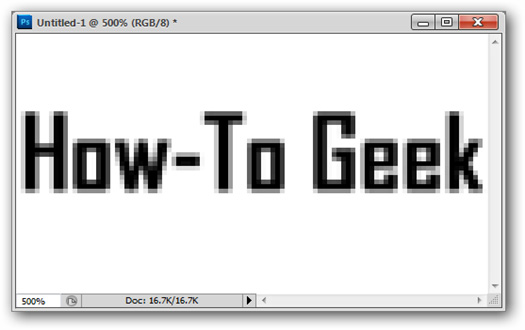
However, with Typography it is completely different. For example, with such a low resolution, just increasing the length by 100 pixels is much different.

Here, we increase the size of the photo by 10 times and apply the Nearest Neighbor setting .
And the result is as above. Let's see what we can do to fix it.

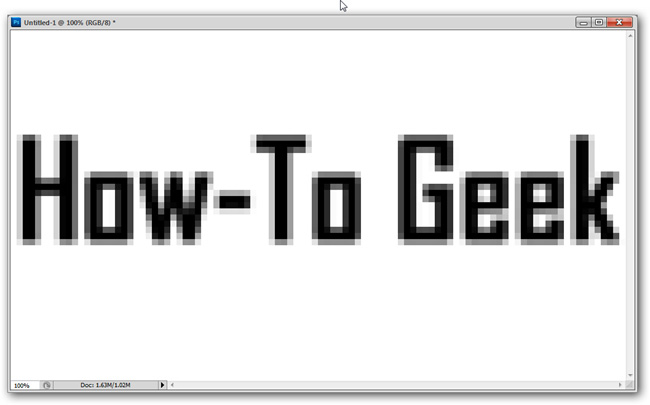
Apply Gaussian Blur filter by selecting Filter> Gaussian Blur to change the details of the text inside the image.
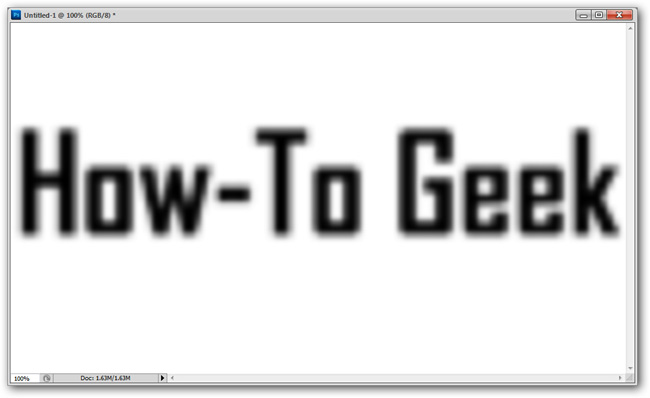
The temporary result here will look like the image above.
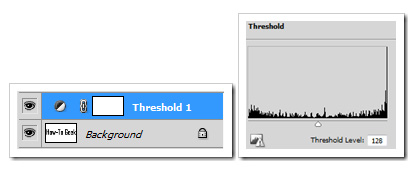
Next, using the Threshold feature to manipulate, click the icon next to the newly created Threshold layer in the Layers Panel to insert a new layer.
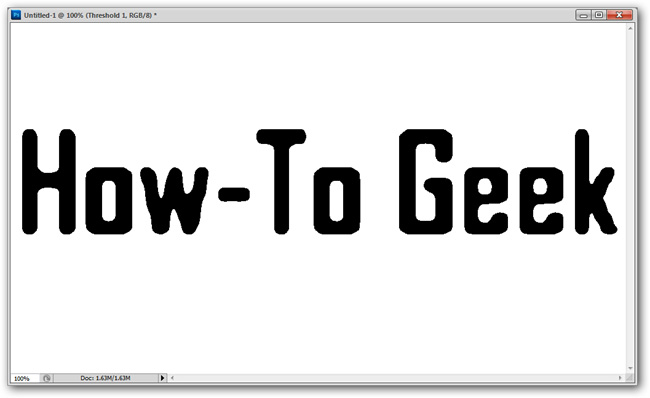
And the details in the photo have become smooth, less angular. If you are not satisfied, we can use more brush tools to edit more. Good luck!
See more:
- Use Photoshop online
- How to sharpen images in Photoshop in 2 ways
- How to use Photoshop CS5 - Part 5: Photo editing
Was this article helpful?
Your feedback helps us improve.
Related Articles
 TOP best AI tools for image resolution enhancement6 minutes read
 Tips to increase image quality3 minutes read
 What is the difference between DPI, PPI, resolution and image size?3 minutes read
 7 tools to improve low resolution on videos7 minutes read
 Photo compression tips for the highest quality6 minutes read
 What can you see with 8K resolution?7 minutes read
Reader Comments 0
Sign in with email or Google to join the discussion.