How to blur photo background in Adobe Lightroom
Widening the aperture on your camera is the best way to blur the background of your photos. But did you know that you can also add background blur effects in Lightroom Classic and Creative Cloud (CC).
Widening the aperture on your camera is the best way to blur the background of your photos. But did you know that you can also add background blur effects in Lightroom Classic and Creative Cloud (CC)? Keep reading to discover some of the best ways to do this.
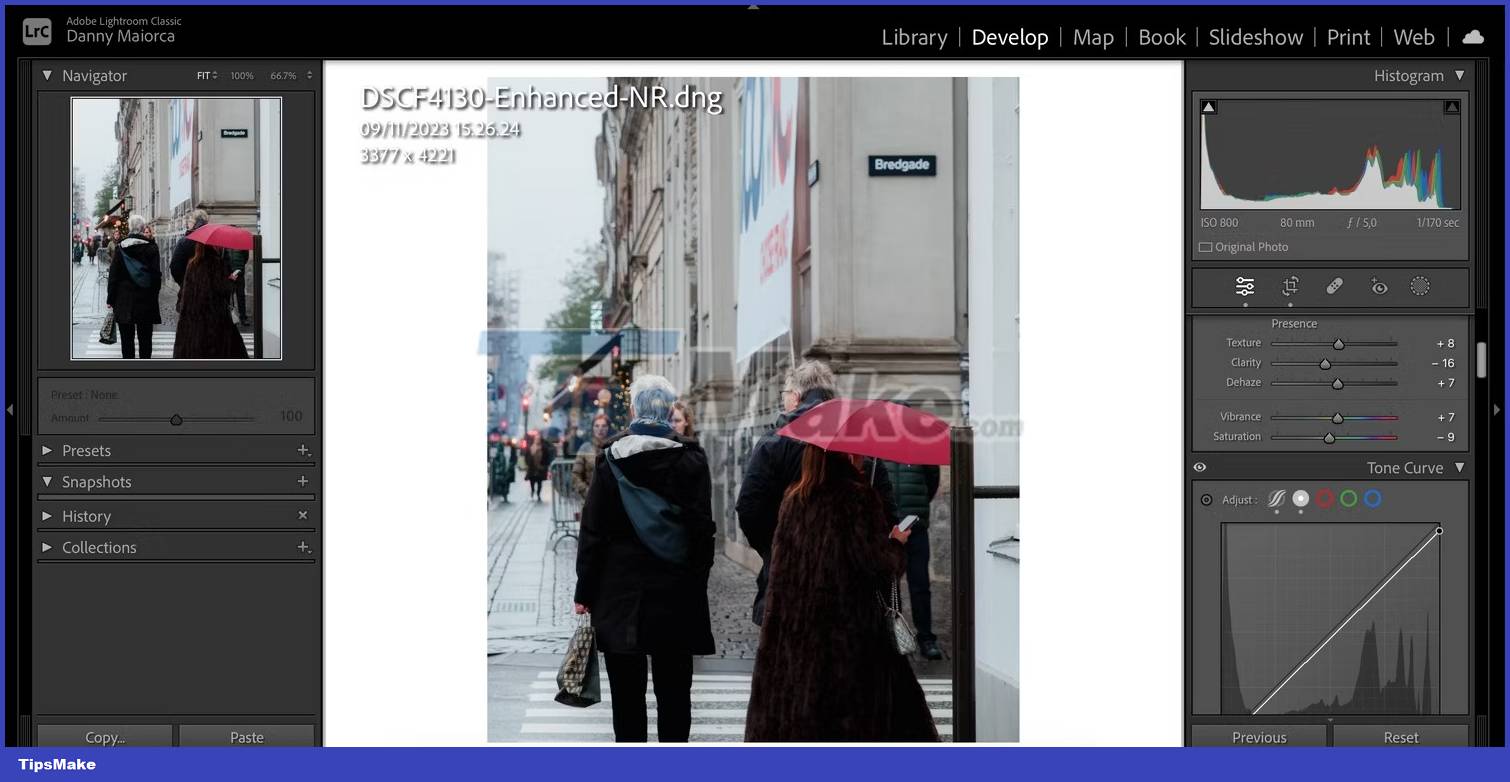
1. Reduce image clarity to create a blurred background
Reducing the clarity in your photo will help create a blurrier background. However, you should only use this if you want to minimize clarity in your main theme. Otherwise, you'll end up with an effect that doesn't look very good.
Here's how to reduce the overall clarity in your photo and then blur the background in Lightroom Classic and CC:
1. Scroll down to Clarity on the right toolbar. It is located between Texture and Dehaze.
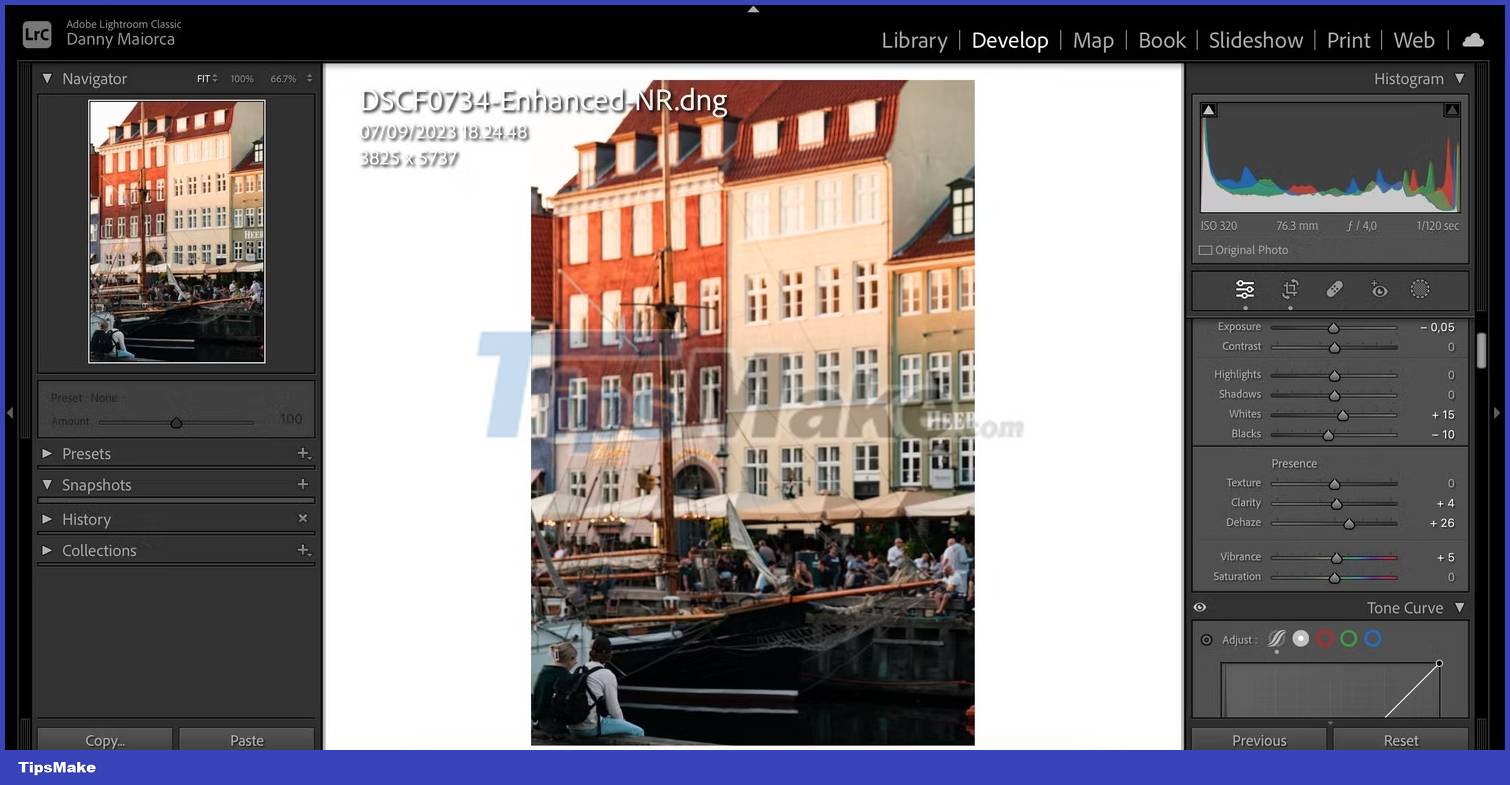
2. Move the slider to the left. Alternatively, click the number and type -[number] before pressing Enter.
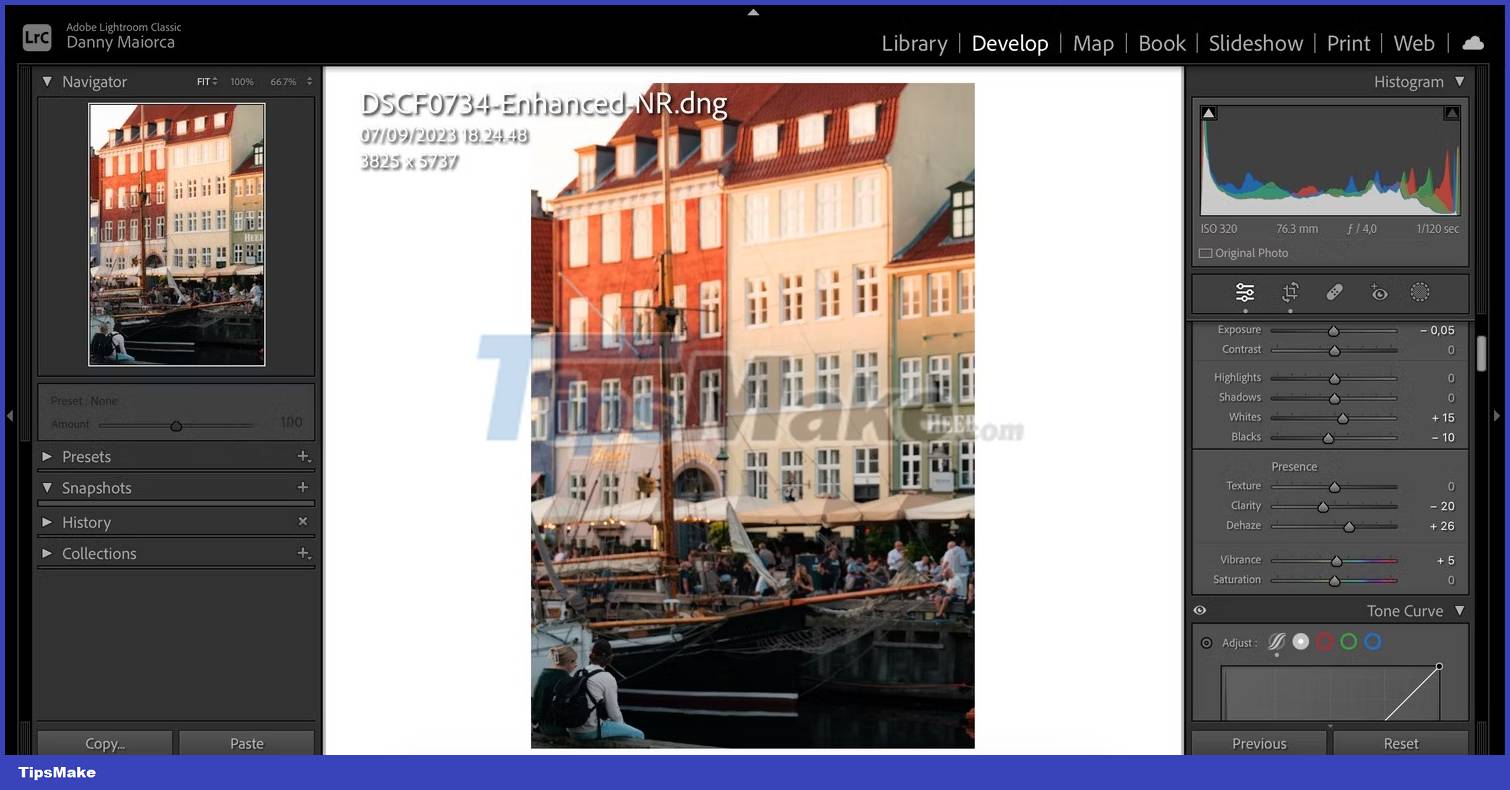
You should enter an approximate number that you think looks good before adjusting with the slider if necessary.
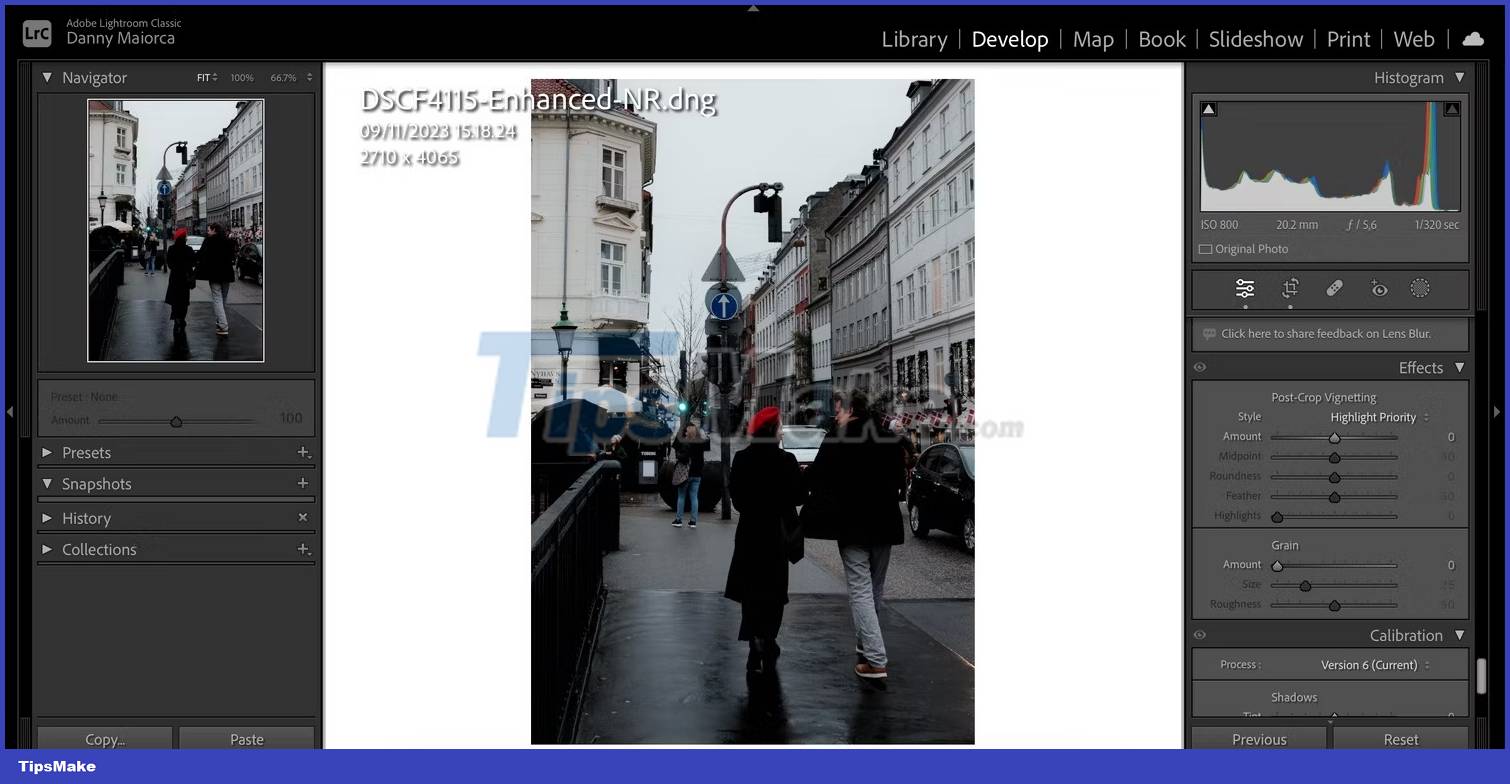
2. Use Lens Blur to add a background blur effect
Adobe added Lens Blur to Lightroom in 2023, and it's a great way to blur the background of your photos in the app. In addition to automatically adding blur to photos, you can use Lens Blur to create your own blur effects and more.
To use Lens Blur in Lightroom, follow these steps:
1. Scroll down to Lens Blur on the right toolbar and check the Apply box.
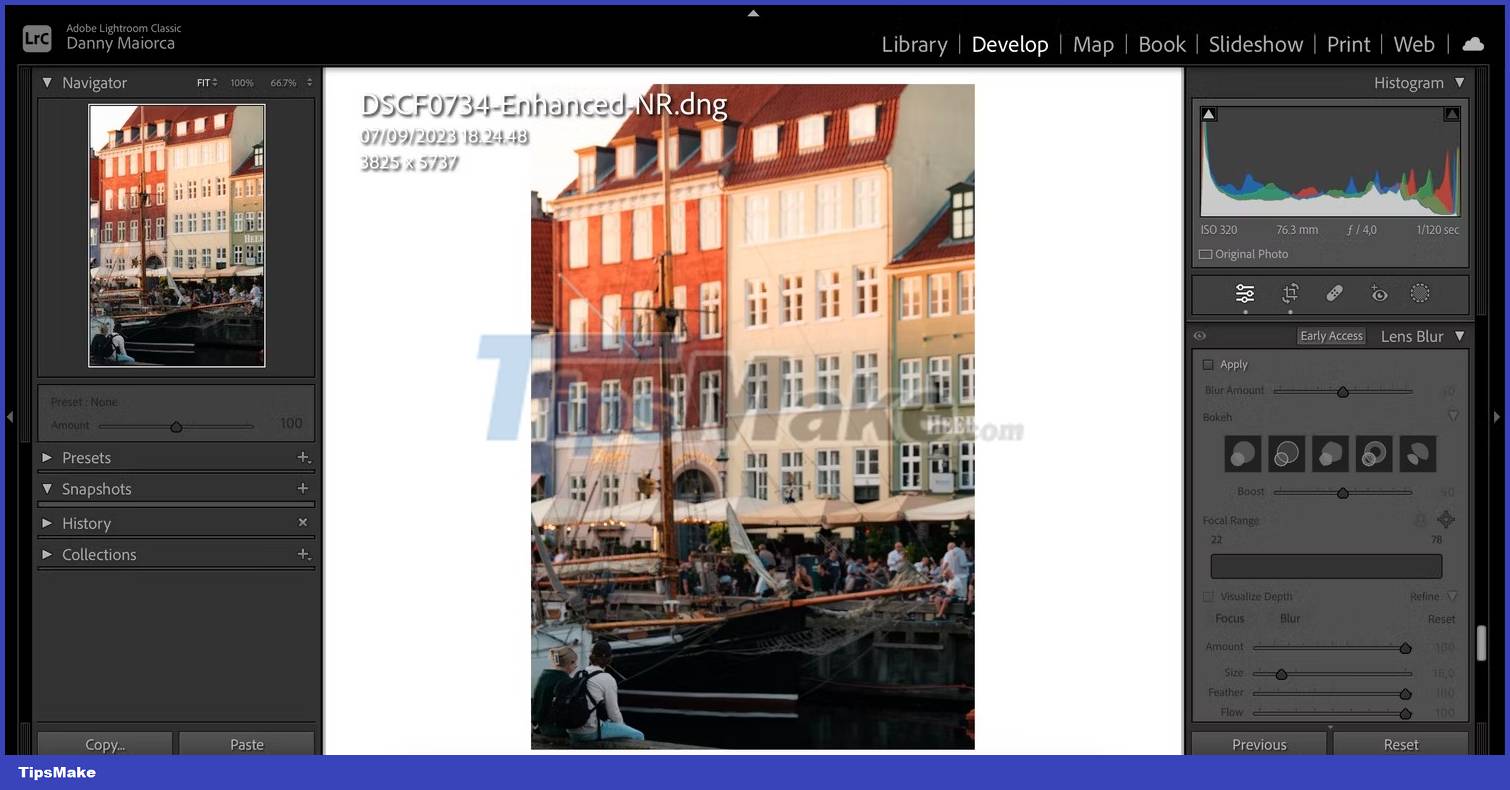
2. After a few seconds, Lightroom will add a blur effect to your photo. To adjust the level you want, move the Blur Amount slider.
3. Move the Focal Range slider to determine where you want the blur. You can also minimize the space that effects cover by moving both sides of the box.
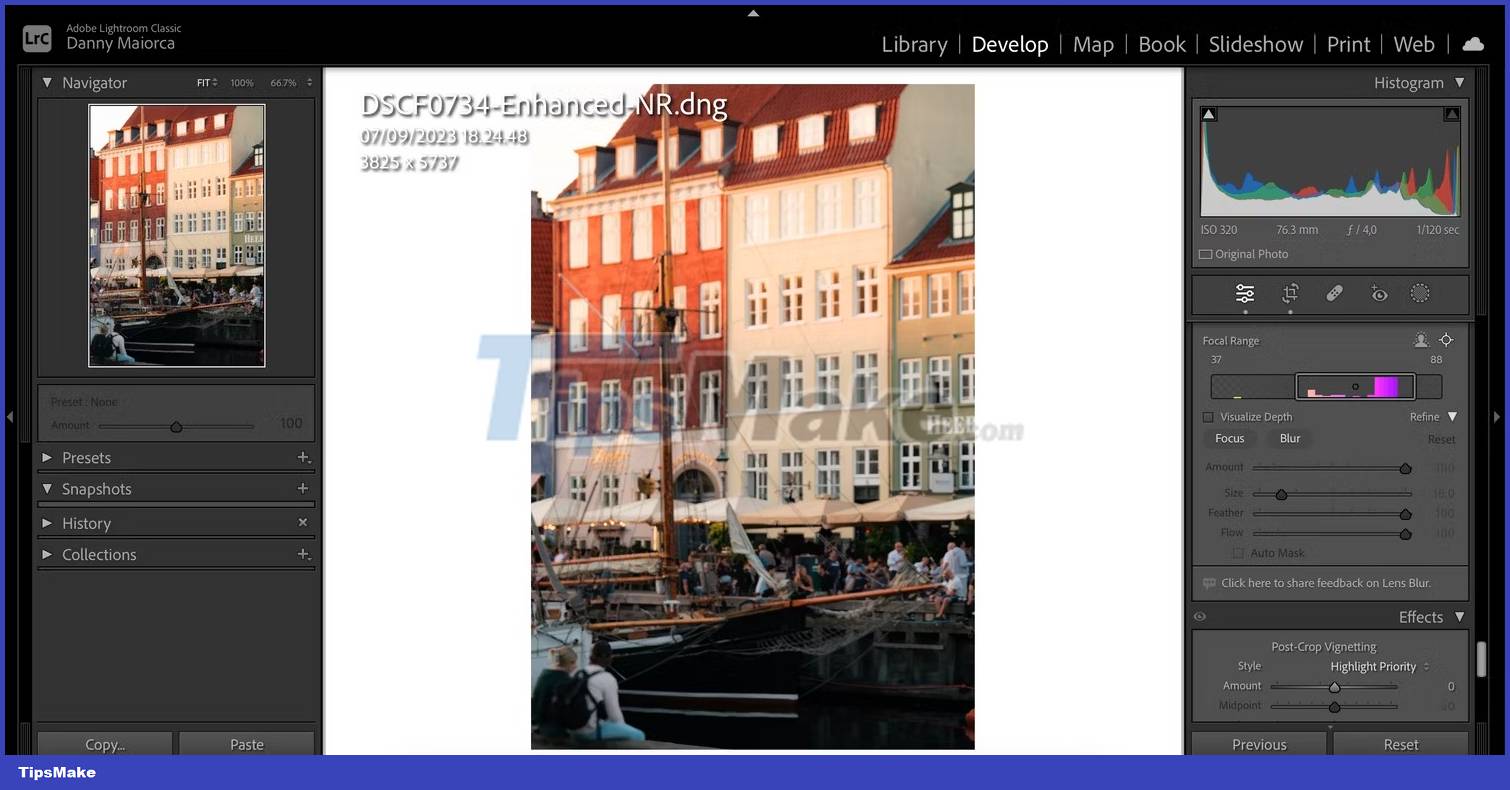
4. Select the Focus or Blur tab, depending on what you want to control.
5. Move the sliders in any section you choose.
6. Use the cursor tool to apply the slider's effect. Then, repeat the process for the remaining tab if necessary.
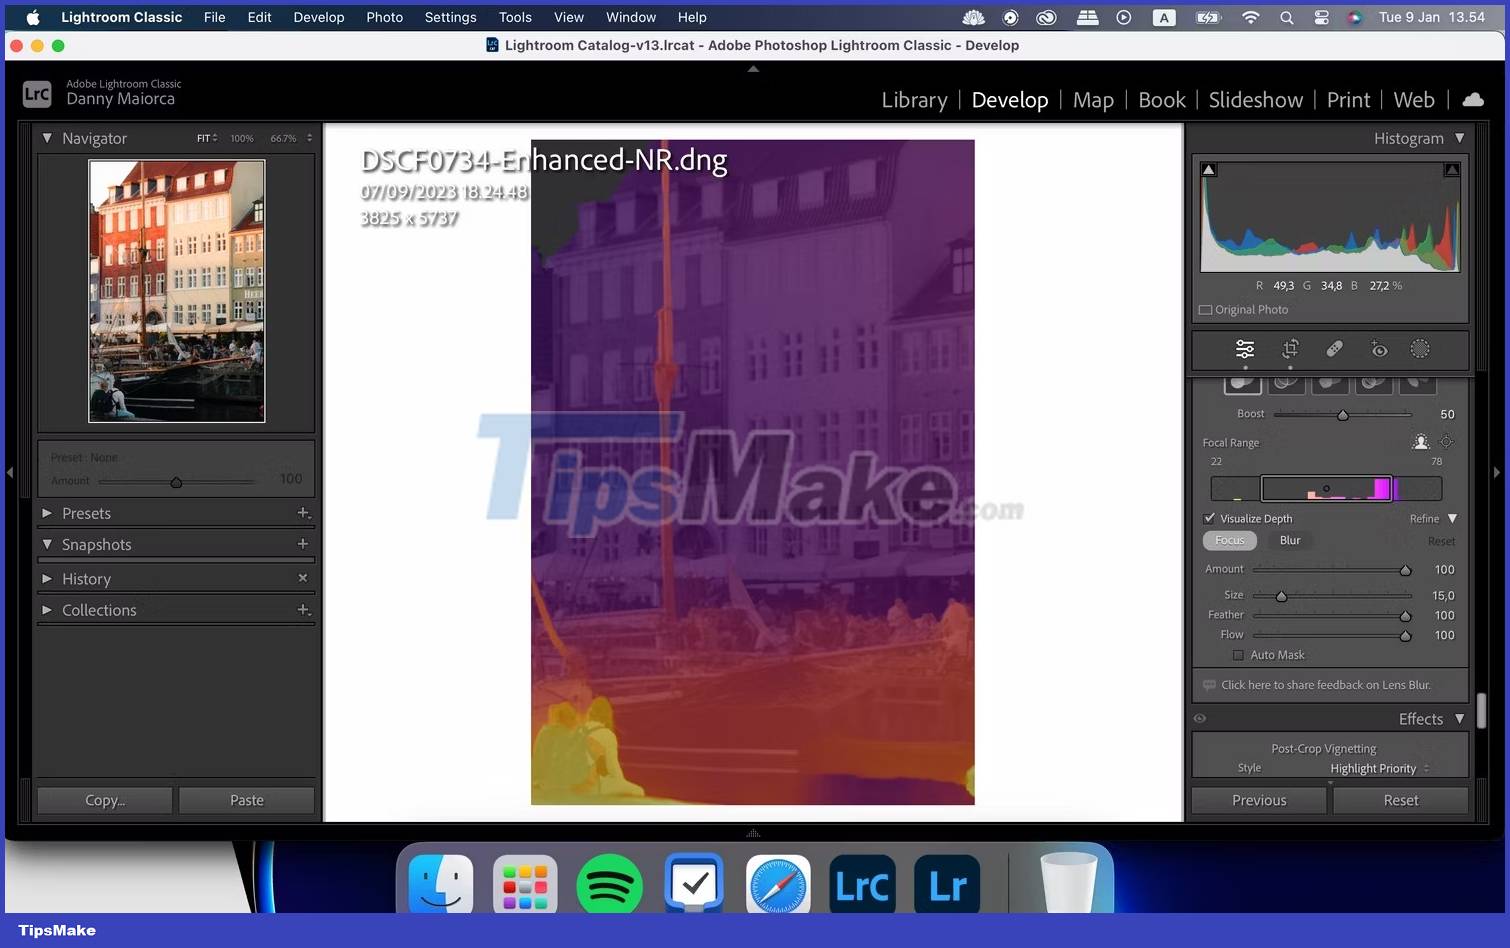
How to use the Lens Blur Visualize Depth feature in Lightroom
Visualize Depth allows you to view your changes and determine the amount of blur in the image. After enabling this feature, you can also control the areas where you add blur or focus. Thanks to that, your final results will be more accurate.
To use the Visualize Depth tool, simply scroll down to Lens Blur and check Visualize Depth.
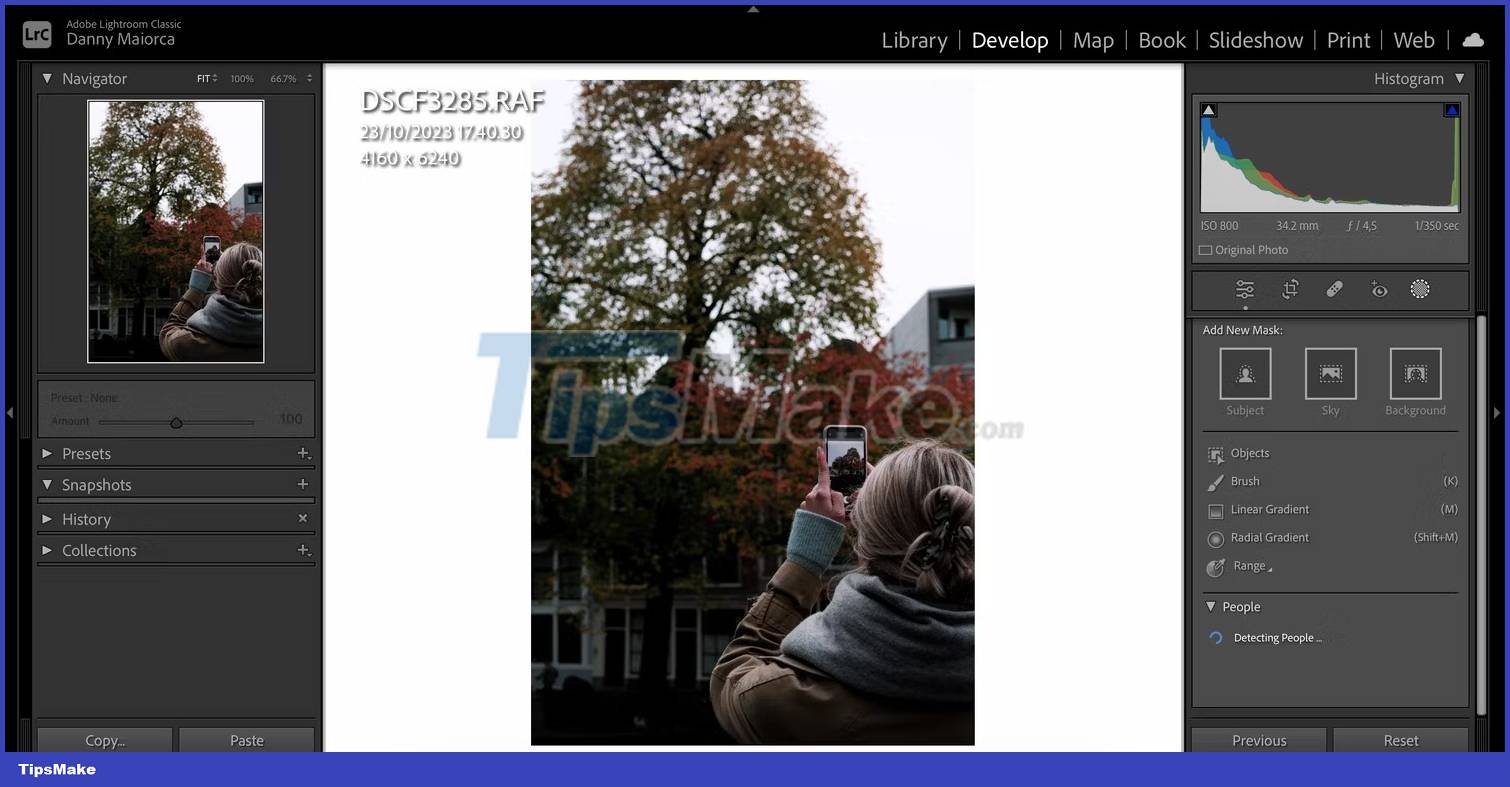
3. Use the AI background masking feature to blur the background
Lightroom Classic and CC both have an AI masking tool that helps you blur the background of your photo. You don't need to select anything manually, this is a simple option for masking if your photo has a very clearly defined background.
Use these steps to take full advantage of Lightroom's AI background masking feature.
1. Click the Mask icon. In Add New Mask:, select Background.
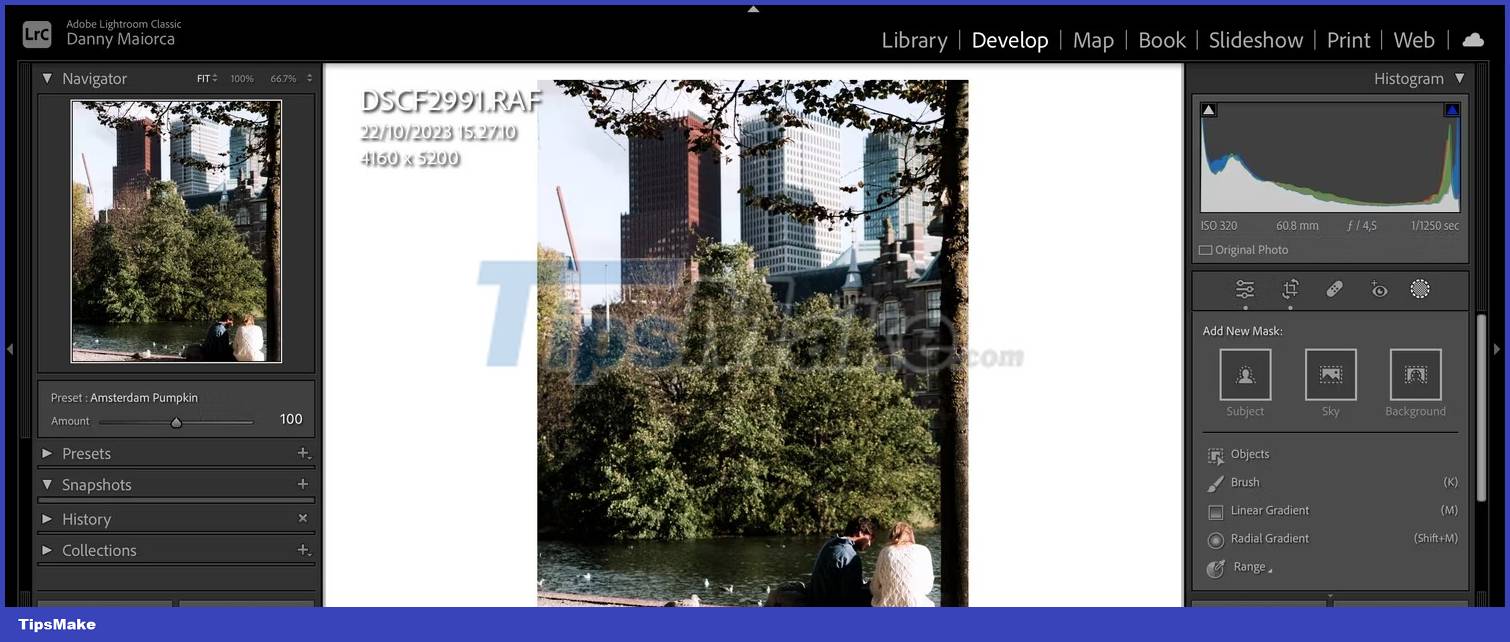
2. Use the Subtract tool to deselect any parts of the image that Lightroom might consider to be the background but are not (for example, people's faces).
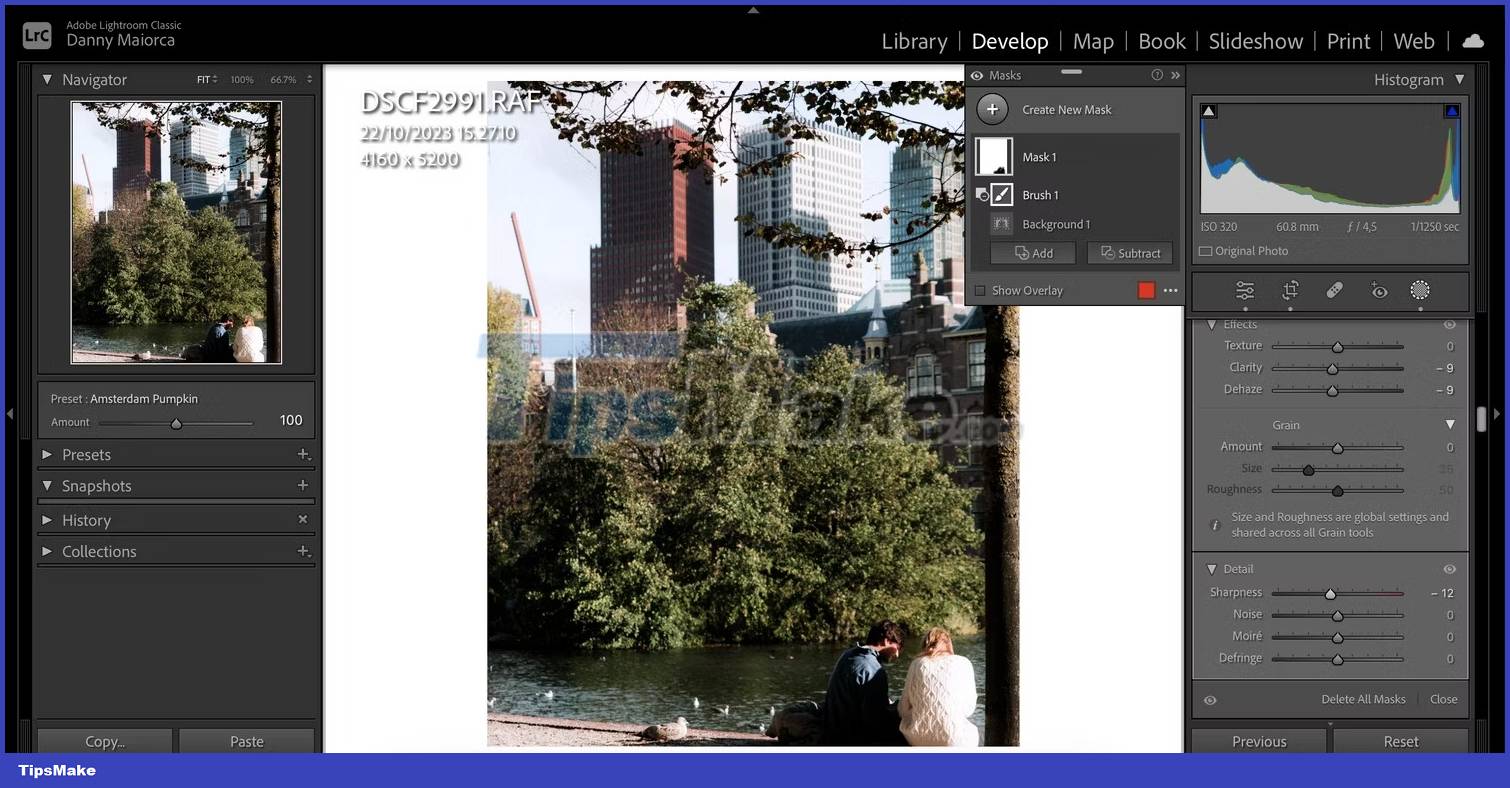
3. Click Brush when the drop-down menu appears.

4. After ensuring that only the actual background is selected, go to the slider on the right side.
5. Adjust the slider to blur the background. Moving Sharpness, Dehaze, Noise and Clarity to the left would be a good starting point.
6. When you are satisfied with the results, press the Enter key on the computer.
4. Use Linear Gradient to blur certain parts of the background
If you only want to blur the background in certain parts of the image, manually masking the background using Linear Gradient is a viable alternative to AI background masking. It's also ideal if Lightroom isn't detecting the background in your photo.
Linear Gradient allows you to select a large area of the image and add new effects. Here's how to use it:
1. Click on the Mask icon.
2. Select Linear Gradient.

3. Set the gradient range on your photo.
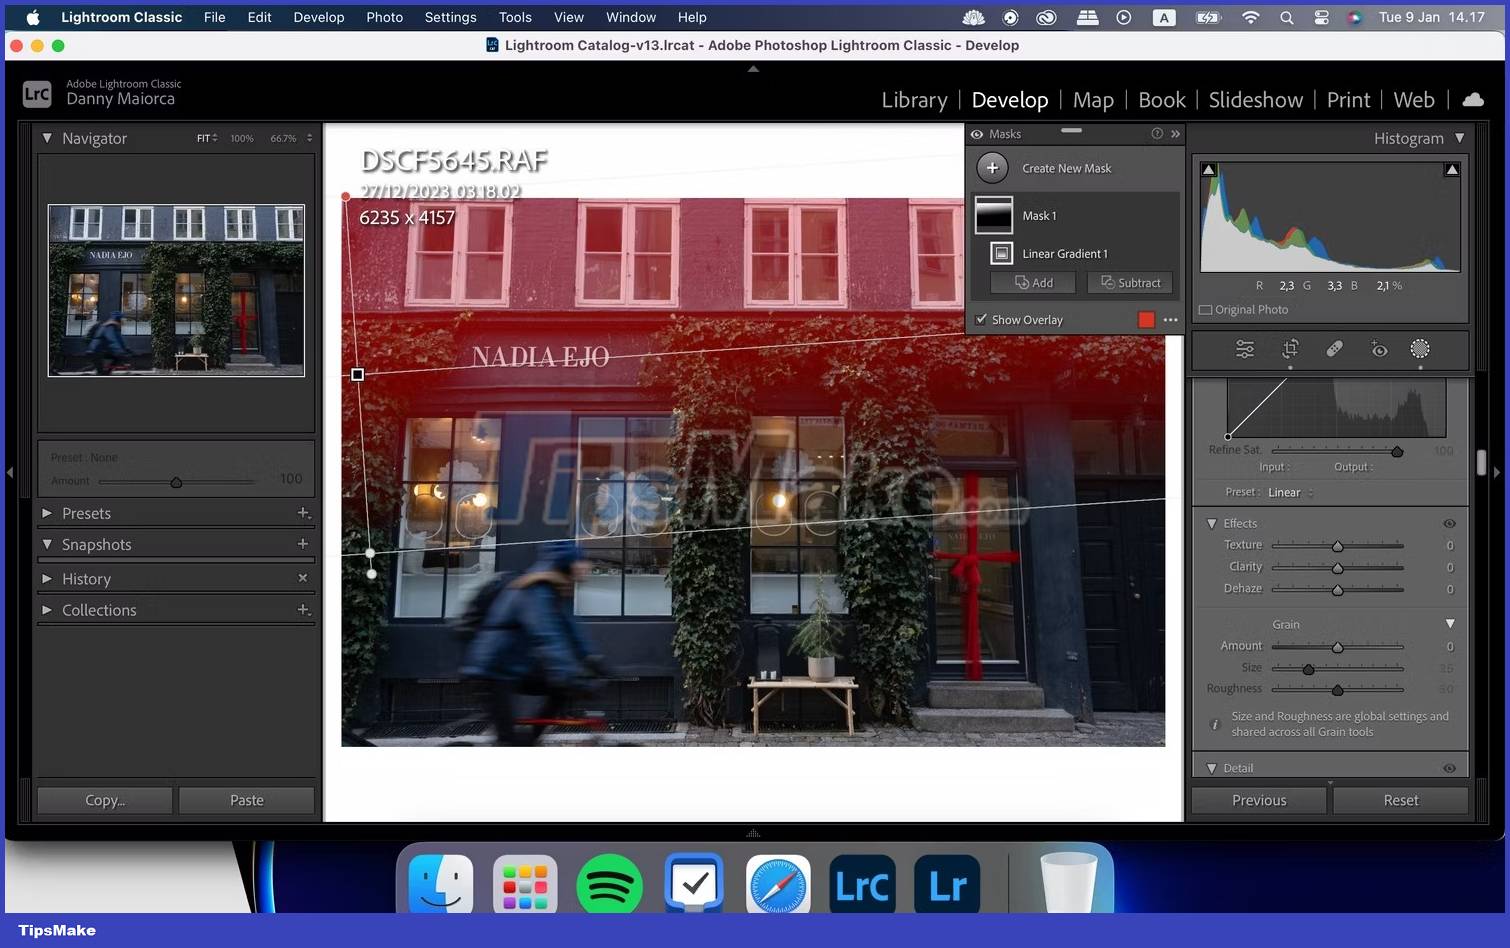
4. Move the slider until you are satisfied with the final result. The same sliders that are good for AI background masking will also work when blurring your background via Linear Gradient.
You can also use the Radial Gradient filter to add effects to parts of a photo in Lightroom.
5. Use the Brush tool to blur specific parts of the background
If you want to blur specific parts of the background that don't work with Linear Gradient, you can use Lightroom's Brush tool instead.
1. On the Mask tab, select Brush.
2. Adjust the Brush size via the Size slider.

3. Change the other sliders the way you want them to apply to your photo.
4. Scan over the parts of the photo to which you want to apply these effects by clicking on the keyboard while moving the cursor.
Use the Brush tool to increase the clarity of foreground objects
One way to make your background look blurry in Lightroom is to increase the clarity of foreground objects. After selecting the Brush tool, use the following steps to achieve this result:
- Increase the Clarity slider for your Brush.
- Use the Brush to paint on foreground objects in the photo.
6. Use the Dehaze tool to blur the entire photo
One way to blur your entire photo is to use the Dehaze tool. However, you should use it sparingly. Using too much can make your photos look fake.
To use the Dehaze feature in Lightroom, follow these instructions.
1. Scroll down the right toolbar until you see the Dehaze slider.
2. Move the Dehaze slider to the left.
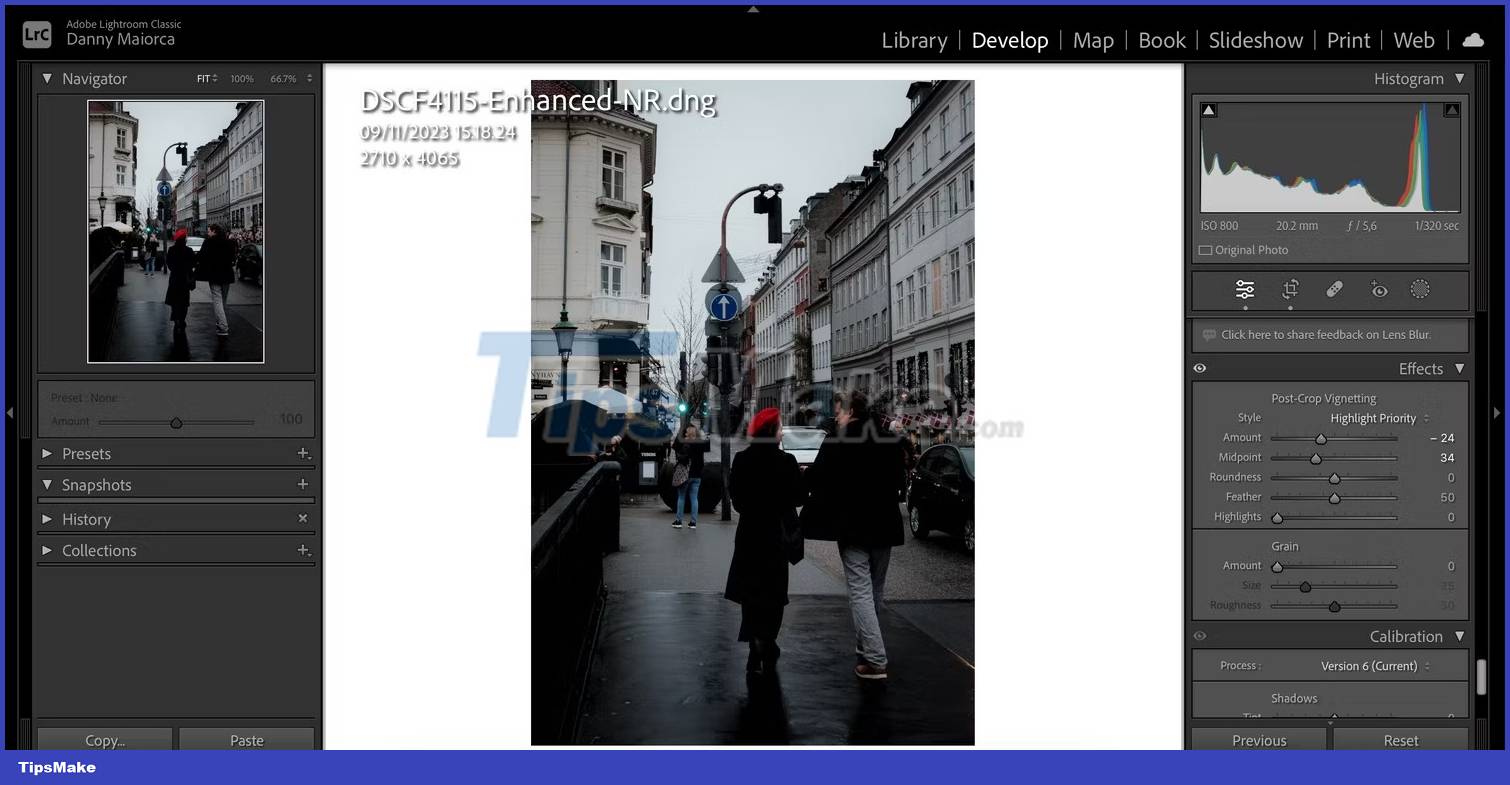
7. Use the Post-Crop Vignetting feature to blur the corners of your photo
Post-Crop Vignetting will blur the background at the corners of the image. This is a great tool if your photos have high contrast and is really easy to use:
1. Scroll down to Effects > Post-Crop Vignetting.
2. Move the Amount slider to the left.
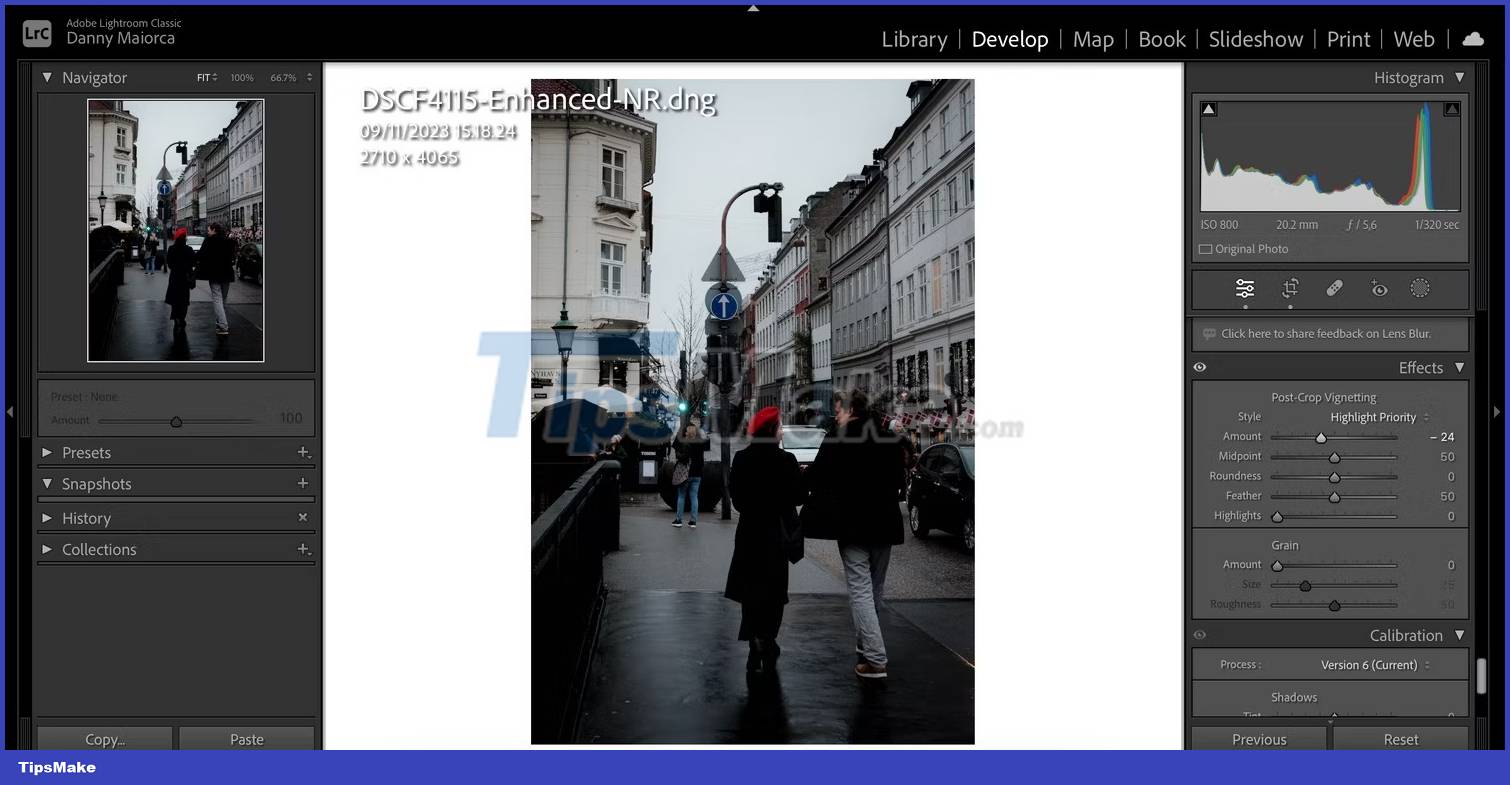
3. Adjust the other sliders to increase the vignetting effect.
You can use each of these tools in different situations to achieve better blur effects in your Lightroom photos. However, you should use them with your camera. You should make sure you increase your aperture to a reasonable level if you want to take photos with blurred backgrounds, especially portraits and product photos.