How to add trash to permanently delete files on Windows 10/11
Do you want a recycle bin on your Windows 10 or 11 desktop that actually deletes files that are dragged into it and cannot be recovered? The good news is that you can do this using Free File Wiper and Multi Trash..
The Windows desktop includes a Recycle Bin for "deleted" files. However, dragging and dropping files onto this trash icon doesn't actually delete them. Files dragged to the Recycle Bin are stored until the recycle bin is emptied, and even then, they are still recoverable.
Do you want a recycle bin on your Windows 10 or 11 desktop that actually deletes files that are dragged into it and cannot be recovered? The good news is that you can do this using Free File Wiper and Multi Trash. Here's how you can add a permanent file deletion recycle bin to your Windows desktop.
How to add a trash can to delete files on the desktop with Free File Wipe
Free File Wiper, as the name implies, is freely available software for the Windows platform. It's also a portable app that doesn't need to be installed. This software has 4 options to erase (overwrite) data thoroughly. You can add the Free File Wiper trash can icon to the Windows 10 and 11 desktop as follows:
1. Open the Free File Wiper download page.
2. Click Download Now and External Mirror 1 option .
3. Activate File Explorer by pressing its folder library taskbar button.
4. Displays the directory where the free_file_wiper.zip file is downloaded.
5. Extract the free_file_wiper.zip archive according to TipsMake.com.com's instructions for decompressing ZIP files on Windows.

6. Double-click Free_File_Wiper.exe in the extracted folder to run the application.
7. You will see a help window when you start the application for the first time. Uncheck the Show this help at startup check box if you don't want the information to appear again.

8. Click the X close button on the "Free File Wiper – Help" window .
9. You should now see a Free File Wiper trash icon somewhere on the Windows desktop. Left click and drag the icon to reposition it if needed.
To permanently delete something with the file shredder application, open Explorer, left-click a file, and then drag the file to the Free File Wiper trash can icon on the desktop. A warning prompt will appear stating that you will not be able to recover the file after deletion. Select Yes if you are sure about deleting the file permanently.

You can change the delete method for that trash through its context menu. Right-click the Free File Wiper system tray icon and select the Wipe method submenu. Then choose 1 of 5 available options. Manual erase is the most thorough erase option with multiple overwrites.
Free File Wiper's context menu also includes other options. There, you can choose alternative transparency levels for the trash can icon. Click Autostart with Windows to add Free File Wiper to the startup items.

You will also notice that the menu that includes Integrate in explorer 'Send to' menu is selected by default. That option adds the Free File Wiper menu to the Send to submenu on the classic context menu when selected. It allows you to right-click on a file and select Show more options > Send to > Free File Wiper .
How to add a trash can to delete files on the desktop with Multi Trash
Multi Trash is a utility that you can add to your desktop using the 8GadgetPack software. This utility is a 3-in-1 recycle bin to recycle, delete and shred (permanently delete) files. When set to shred files, it deletes them permanently. Here's how you can add Multi Trash to the Windows desktop.
1. First, open the 8GadgetPack download page.
2. Click Download on that 8GadgetPack page.
3. Follow the instructions on the linked download page to install the 8GadgetPack software.
4. Next, open the Multi Trash utility download page.
5. Click the Download Now > Secure Download (US) option of Multi Trash.
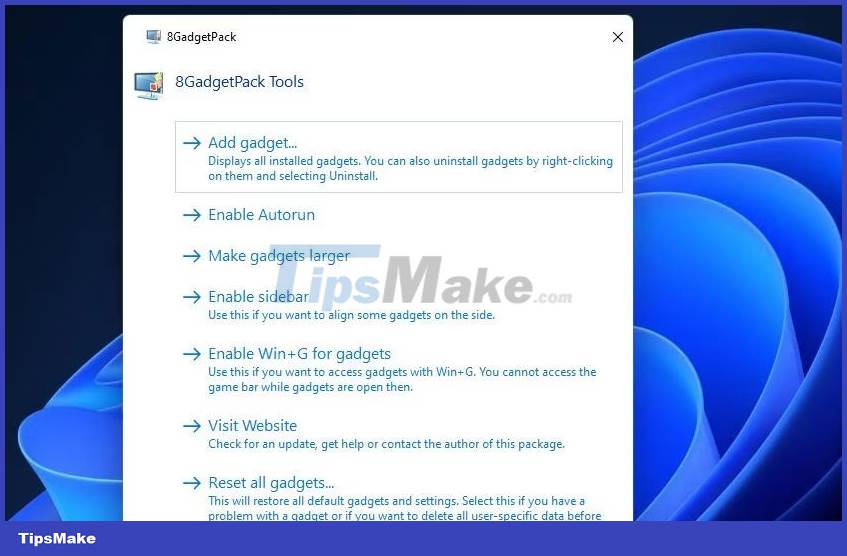
6. Now, open the 8GadgetPack software.
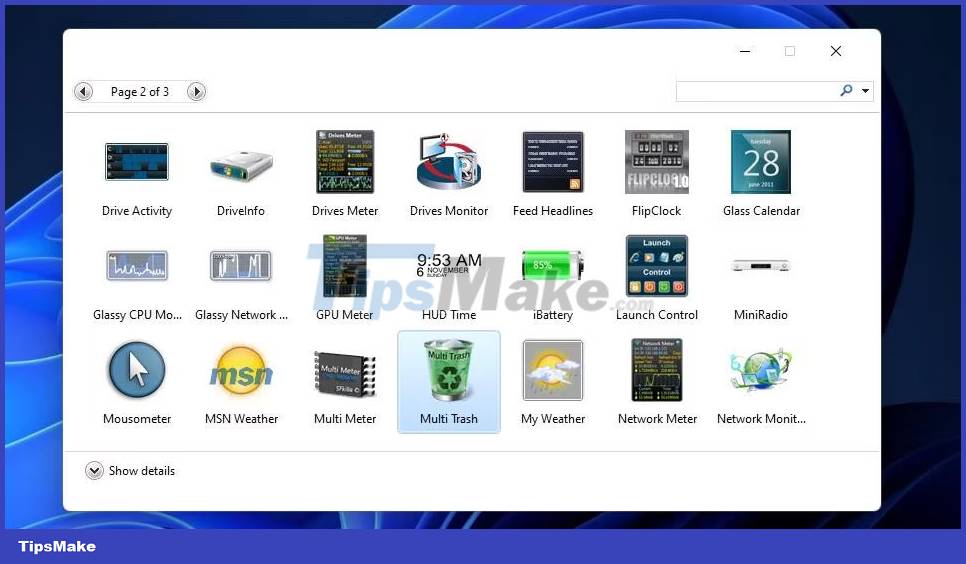
7. Click the Add gadget option to see the widget selection window on the desktop.
8. Double-click the Multi Trash utility, which may be on page two of that window, to add it to the desktop.
By default, Multi Trash is set to Recycle Bin. However, you can change its function by clicking the arrows on that widget. Click the arrow to the left of that utility to make it Shred bin.

Shred bin will permanently delete files dragged into it. So go ahead and drag some files from the Explorer window into the Shred bin. A confirmation prompt will open asking if you are sure about permanently deleting the file. Click Yes to confirm this.

This utility has a number of customization settings. Click its Options button to view them on the Multi Trash window. You can change the color of the trash can by clicking the Shredder Glass Color option on the Appearance tab and choosing an alternate color on the palette. To change the size of the bin, select the Large or Small option on the Size of bin drop-down menu in the Function tab. Click OK to apply the new extension settings.

Of course, the best thing about Multi Trash is that it's a 3-in-1 file delete tool. You can also set it to the standard trash can for different files. However, only Shred bin safely deletes unrecoverable files. So use Shred bin to delete files containing more confidential information.