How to add PDF watermark with Quick Actions in macOS
Quick Actions allows the Finder to easily access common tasks, such as rotating images or combining numerous photos into one PDF file.
Table of Contents
Apple introduced Quick Actions when releasing macOS Mojave. This is a new feature that helps users improve productivity. Quick Actions allows the Finder to easily access common tasks, such as rotating images or combining numerous photos into one PDF file. Basically, it uses Automator's workflow to process files.
The option to add watermark (stamp) to PDF files does not appear by default in Quick Actions, but can be added using several Automator customizations. Users will be able to easily add watermarks to PDF files using the Finder without any additional third-party software.
Adding watermark to PDF file can be very helpful. For example, if you do a work report and want a company logo on every page, instead of using editing software to add a logo manually to each page, you just need to create a PDF file for the final step.
Select the image as the watermark and choose the location to save the file
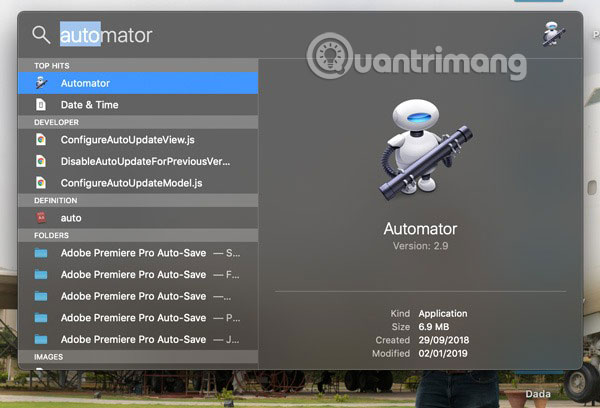
1. Open Automator on Mac. You can do this easily by searching for it in Spotlight.
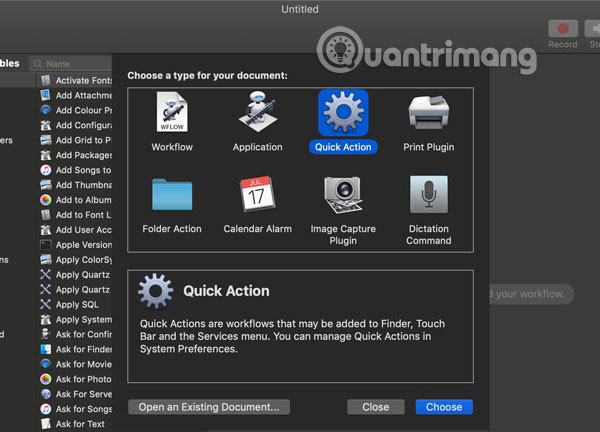
2. Click New Document at the bottom left. Select Quick Action and click Choose.
3. At the top of the Automator window in the Workflow field receives current, select PDF files in the drop-down list.

4. From the first sidebar, select PDFs. From the second side bar, select (double-click) Watermark PDF Documents .

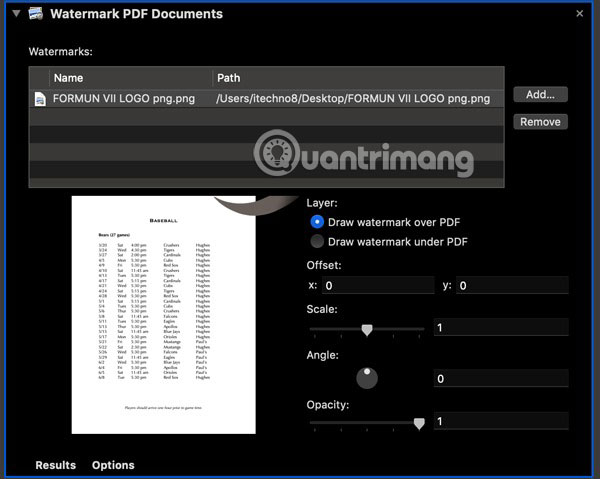
5. Click Add in the upper right corner and select the image you want to use as a watermark.
You should use .png file with transparent background as watermark.
When the file is added, you will see it listed in the Watermarks section .
6. You will see the option to adjust your watermark and can change its position, size, angle, and opacity. To adjust the position of the watermark, simply enter a value into the x or y box.
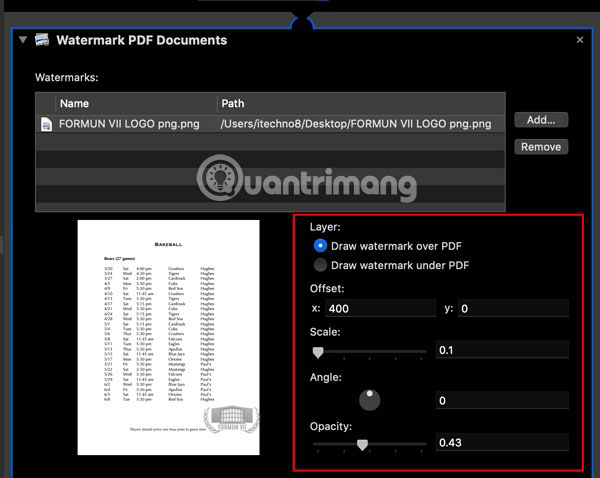
You can also choose whether you want to put watermark on or below your PDF page. In most cases, you need to place a watermark on the PDF page. Unless your PDF page is transparent, otherwise placing watermark under the PDF page will make it hidden.
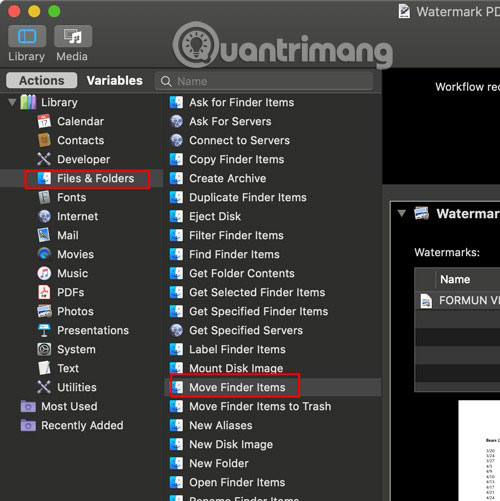
7. From the first sidebar, select Files and Folders , and from the second sidebar, select Move Finder Items .
8. In Move Finder Items , you now need to specify the location where you want to save PDF files that have added watermark on your Mac. By clicking on the default specified location ( Desktop ) and selecting Other, you can choose a location as desired.

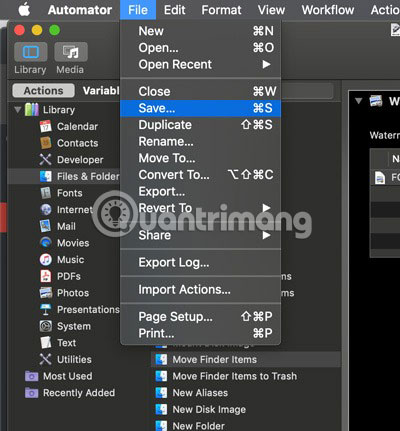
9. When finished, click File> Save and save the workflow using the name that is easily defined in Quick Actions, such as Watermark PDF .
How to add watermark to a PDF file in Finder
Now that you have set up Quick Actions, creating PDF files for watermark directly in Finder is easy.
1. Open Finder and select the file you want to add watermark.
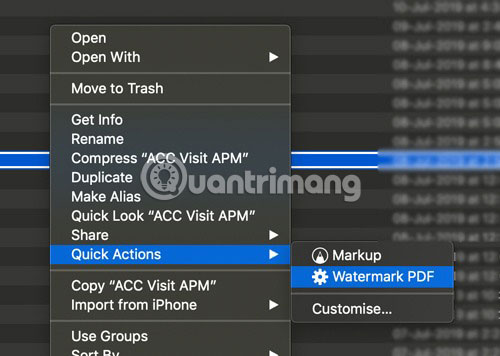
2. Right-click the file and select Quick Actions .
3. From the list, select Watermark PDF (or the name you specified for Quick Actions above).
4. Finder will now automatically add watermark to your PDF file and save it to the location you specified.
Quick Actions is a very useful tool on macOS! Do you find this guide useful? Share ideas with everyone in the comment section below!
Hope you are succesful.
Was this article helpful?
Your feedback helps us improve.
Related Articles
 Users will be allowed to create their own Quick Actions on Windows 102 minutes read
 How to insert, delete watermark in Word documents5 minutes read
 How to change the number of Quick Actions displayed in Action Center Windows 102 minutes read
 How to remove the Gemini watermark from photos5 minutes read
 How to Permanently Delete Files on macOS Without Sending to Trash5 minutes read
 Some useful file manipulation tips on macOS6 minutes read
Reader Comments 0
Sign in with email or Google to join the discussion.