Table of Contents
This updated guide examines How to Create Audio Notes in Evernote and organizes the essential facts, background, and practical takeaways in clear American English.
Method 1
iPhone and iPod touch
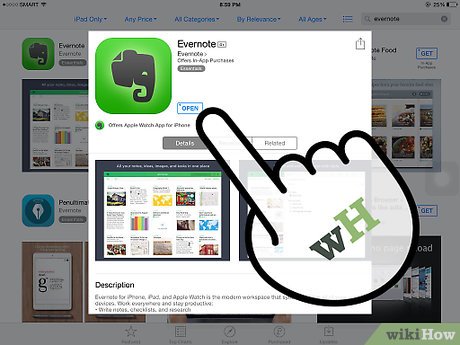 Launch the Evernote app from your iPhone or iPod touch home screen.
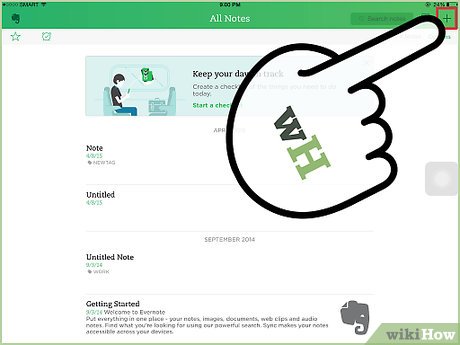 Navigate to the new note screen and select the 'Voice' option.
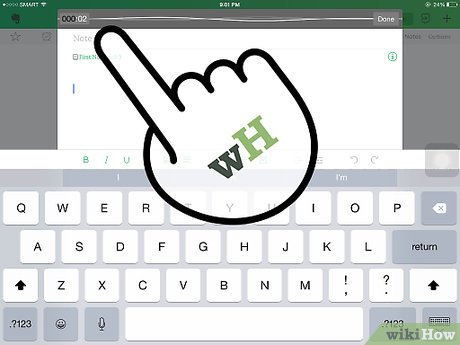 Record your audio note after the three second countdown.
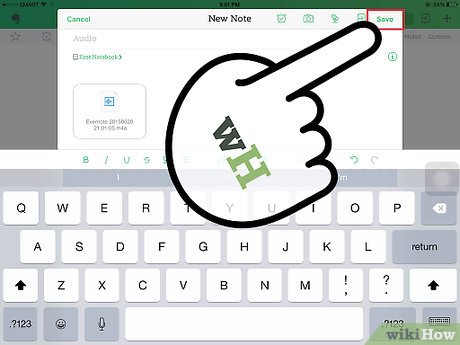 Tap the 'Save' button to add your recorded audio to as a note.
- Alternatively, tap the 'Stop' button to listen to the audio and rerecord if necessary.
Method 2
iPad
 Launch the Evernote app from your iPad home screen.
 Tap the 'New Note' tab in the bottom left corner of the screen.
 Tap the microphone icon at the top of the new note screen to start recording your audio note.
 Tap the 'Stop' button.
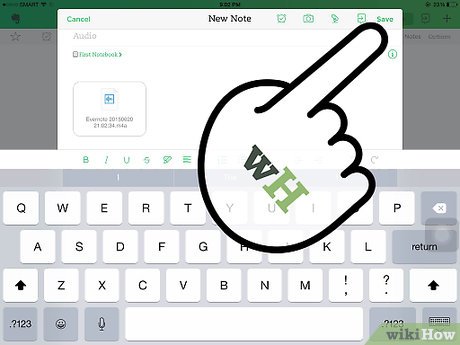 Select either 'Save' to add the recorded audio to a new note or 'Discard' to delete the audio.
Method 3
Android
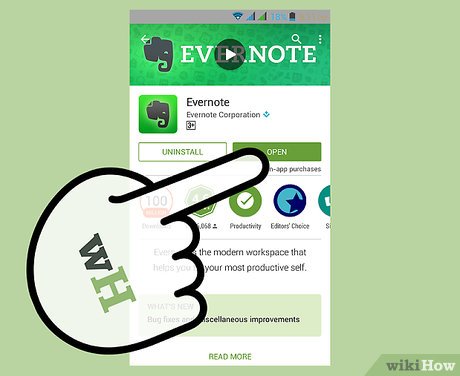 Launch the Android Evernote application.
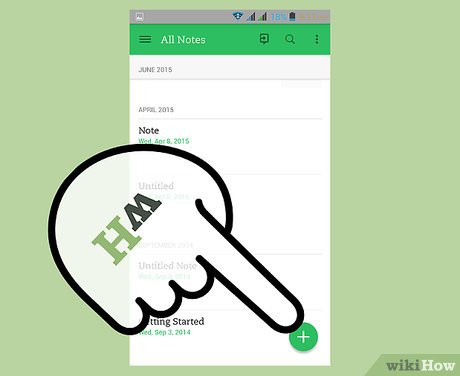 Tap 'New Note'.
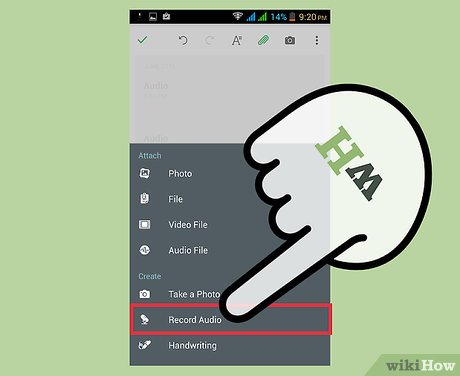 Tap the microphone icon in the top right corner of the screen to start recording.
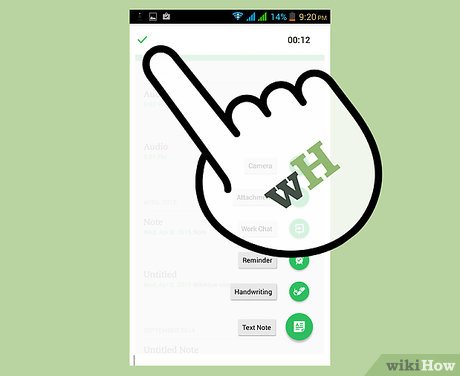 Tap the square 'Stop' button to save the audio as an attachment to a new note.
Method 4
Blackberry
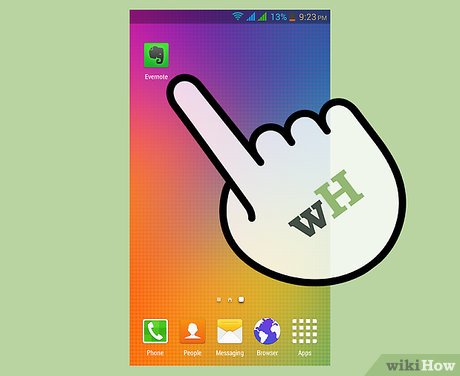 Launch the Evernote app for Blackberry.
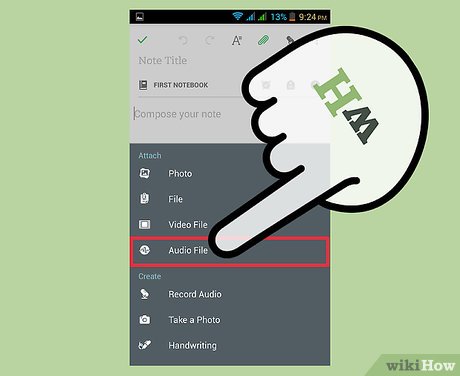 Select 'Audio Note' from the main screen.
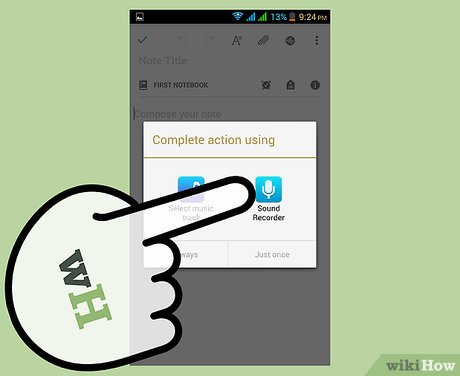 Select 'Record' to start recording your audio note.
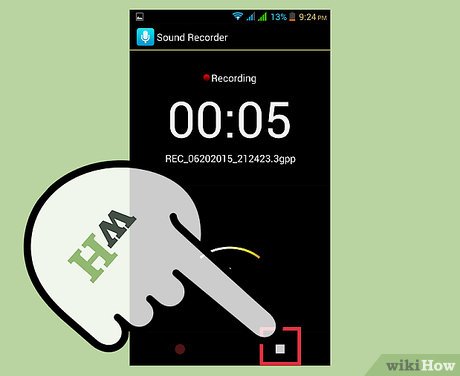 Select 'Stop' to when you're finished recording your audio.
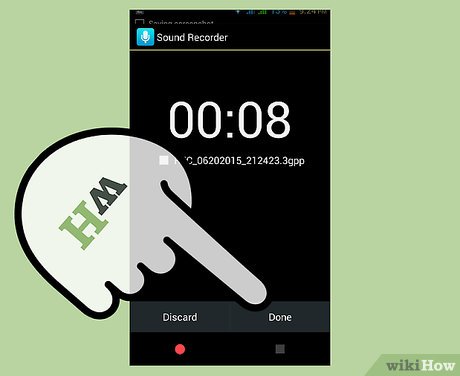 Select 'Save Note' from within the options menu to save the audio to a new note.
FAQ
What is How to Create Audio Notes in Evernote about?
It provides a structured overview of note, explains the main context, and highlights practical takeaways for readers.
Why does this topic matter?
Understanding the main concepts helps readers evaluate the issue, avoid common mistakes, and make better-informed decisions.
How should readers use this information?
Use the guidance as a practical starting point, confirm details that may have changed, and follow current product, safety, or security recommendations.
Related Articles
 How to Transfer Notes from Evernote to Mac's Notes3 minutes read
 How to Use Evernote More Effectively with Touch Bar: Evernote Mac3 minutes read
 How to Use Evernote Widget on Google Chrome: Evernote Web3 minutes read
 How to Uninstall Evernote9 minutes read
 5 Notable Alternatives for Evernote6 minutes read
 9 Tricks to Use Evernote on iOS and Android Mobile Devices11 minutes read
Reader Comments 0
Sign in with email or Google to join the discussion.