Easier, smarter hard drive optimization and management with the new DSM 7.0 OS update on Synology NAS
After a period of research and testing, finally the DSM 7.0 operating system version for Synology's NAS storage system was officially released with more optimized features for users and businesses. Let's learn about the changed and improved features on this new operating system
Table of Contents
User-friendly and intuitive interface
Before getting into the features, let's walk around a bit with the new interface on DSM 7.0. The first can be seen that the background looks much fresher, the icons are also "fun" and less dry. Perhaps Synology also wants to orient their products to the vast majority of users, so things have started to change very positively.
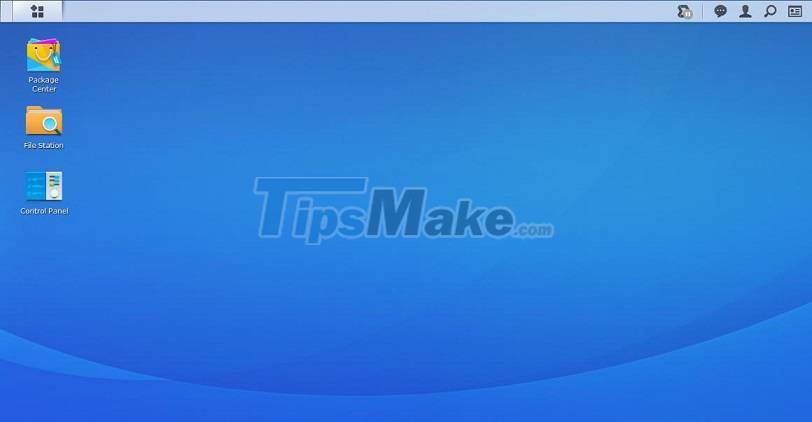
Old DSM 6.2 interface with monotonous background and icons
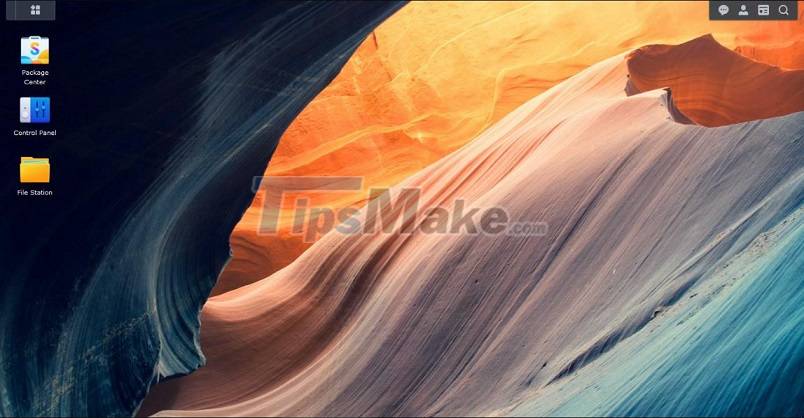
DSM 7.0 changes with fresh interface, "fun" icon
DSM 7.0 has made huge improvements to storage fundamentals such as improved permissions control, simplified admin controls, enhanced security (Secure SignIn & FIDO2), two Hybrid Cloud solutions, solutions All-new photo management and some backup enhancements. In this article, the content will focus on the upgrade of Storage Manager, other features will be introduced in the following article.
Storage Management
The Storage Management feature is redesigned with a more intuitive interface, the Overview section will display basic information of the NAS device such as the health status of the system, the used capacity, the location of the hard drives. The green boxes are the hard drives in use, here you can see that the device is attached to 3 hard drives, and 1 slot is not used.

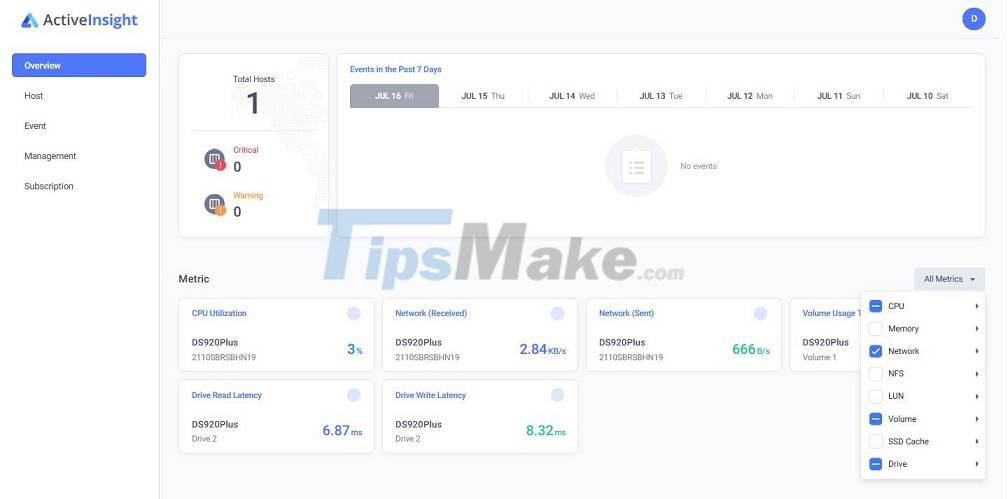
In addition to Storage Management, DSM 7.0 also has a new feature called Active Insight, which allows to monitor all parameters, hard drive status, NAS temperature, hard drive temperature, and even traffic / bandwidth. run. To enable this feature, users just need to go to Control Panel > Synology Account > Enable Active Insight.
Drive Replacement – Auto Replacement
After a long time of service, the hard drive will be "worn down" and at some point suddenly leave, leading to data loss, which is something that no business wants. With DSM 7.0, Synology offers a very good solution that is the Replace Drive feature that allows users to install a spare hard drive inside the NAS to replace the hard drive that is about to fail or expand the storage capacity with the drive. higher capacity hard drive.
For example: NAS DS920+ has 4 hard drive slots, 2 slots are in use and 2 slots are available, you can add 1 or 2 backup hard drives, in the case of hard drives.
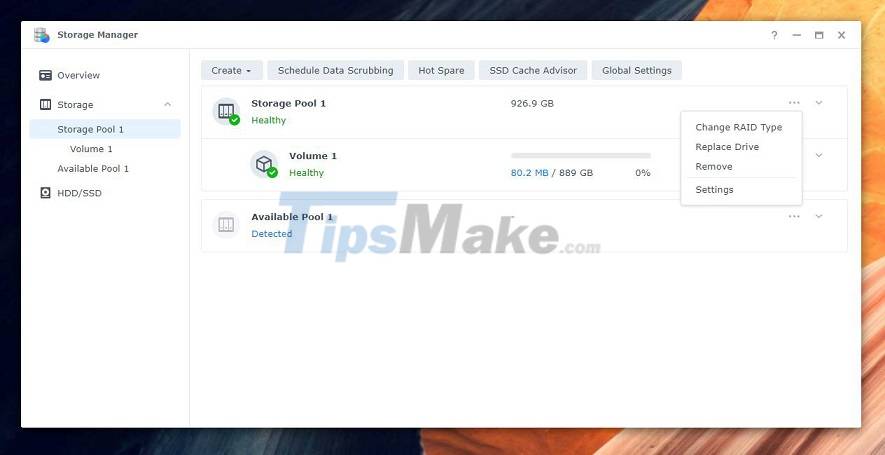
Setting up the replacement is very simple, just go to Storage Manager > Storage > select the hard drive you want to replace with Replace Drive.
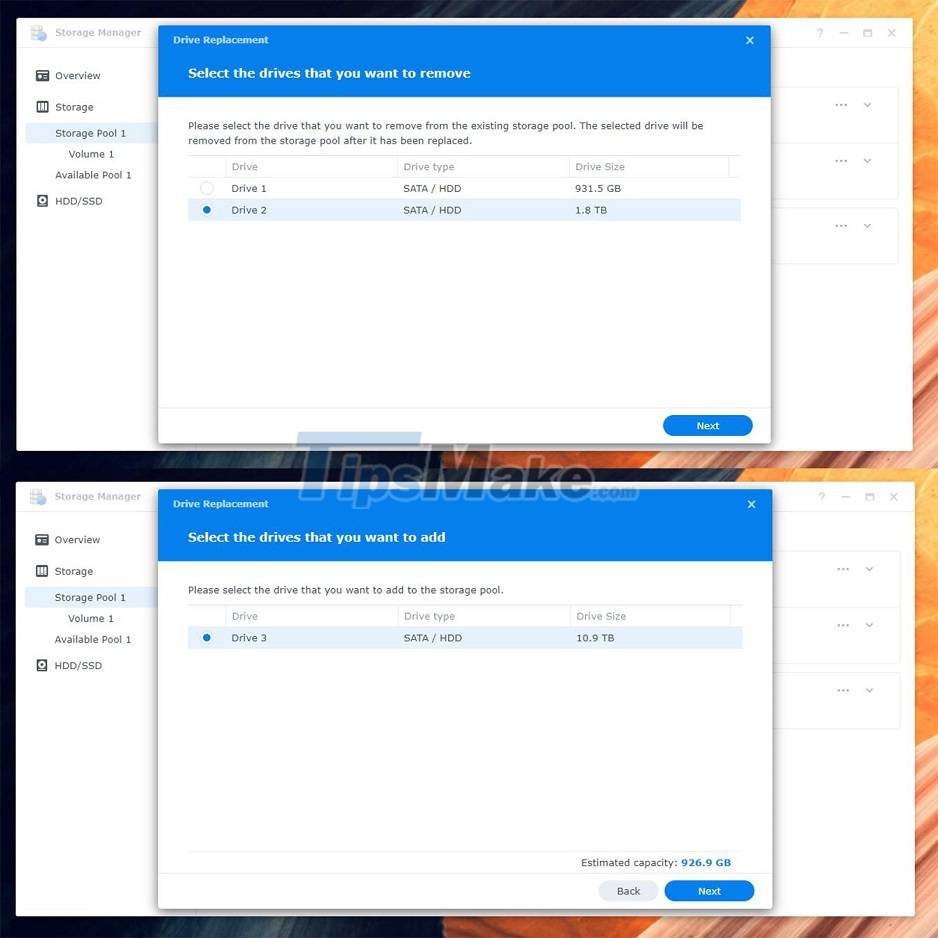
Select the old drive that needs to be replaced (above photo) and then select the new drive to be replaced (bottom image) to complete.
The process of replacing and copying data from the old hard drive to the new hard drive will happen automatically without interrupting the connection (downtime) or interrupting other operations of the NAS.
Users should also note that the hard drive must be set up in SHR-1, SHR-2, RAID 1, RAID 5, RAID 6, RAID 10 or RAID F1 format, and the replacement hard drive requires equal storage capacity. or larger hard drive needs to be replaced.
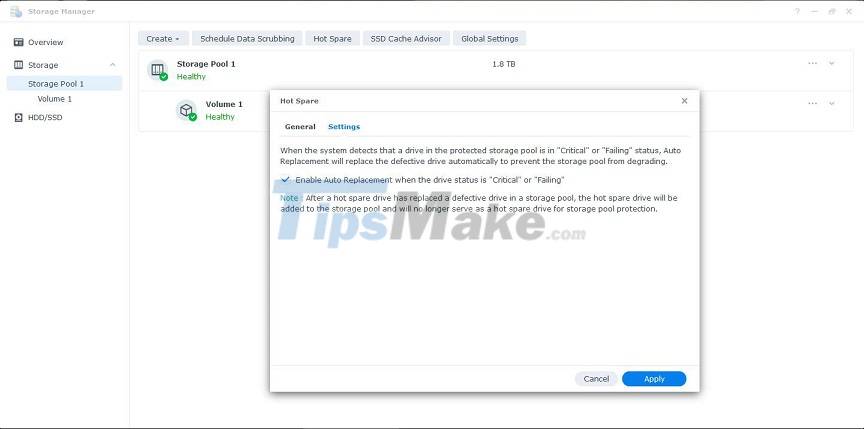
In addition to Drive Replacement, DSM 7.0 also provides Auto Replacement feature that works with Hot Spare drives, the system will automatically diagnose when the hard drive in use changes to "Critical" or "Failing" state. Instantly transfer data from the old hard drive to the backup hard drive without user intervention, completely preventing data loss.
Fast Repair
The next upgrade on the DSM 7.0 operating system is the Fast Repair feature, which will perform processing on areas that already have data on the hard drive and ignore other empty areas. In addition, this feature also requires the NAS system to have a RAID setup for the hard drive first.

To activate, users can go to Storage Manager > Storage > Global Settings > Advanced Repair Settings > select Enable Fast Repair.
DSM 7.0's valuable storage enhancements also include:
- Fiber Channel protocol support for SAN (Storage Area Network) storage system delivers high availability and low latency for mission-critical storage networks.
- SSD Cache Metadata Pinning: Enabling BTRFS metadata pinning for SSD caching improves browsing performance and small file deletion, increasing performance by up to 3.8x for Active Backup for Business, Hyper Backup and Snapshot Replication tasks.
- Peta Volume: With businesses, business data grows exponentially, the need for high-performance, large-capacity and easy-to-manage storage is inevitable. Peta Volume will support storage system capacity up to 1 Petabyte. This is ideal for bulk storage and aggregate backup storage. This feature will be updated soon.
Conclusion
DSM operating system version 7.0 has been completely redesigned, optimized and upgraded with storage system management functions, the repair process possesses many new technologies that increase repair speed by 50% compared to with the old operating system. All of the above improvements have helped users better manage and administer the NAS.
Currently, to update the NAS to DSM 7.0, it is necessary to proceed manually through the following steps:
Step 1. Access the link here select the NAS directory and the model you are using, continue to select OS Version 7.0 series to download the DSM 7.0 update file
Step 2. Go to Control Panel > Update & Restore > Manual DSM update > "Browse" to update file DSM 7.0 > OK
Step 3. Read the notes and confirm the installation, then wait about 10-20 minutes for the NAS to update the new DSM version.
Was this article helpful?
Your feedback helps us improve.
Related Articles
 Not Google Drive or Windows Server, this is an effective data management solution for businesses8 minutes read
 7 tools to increase hard drive performance on Windows8 minutes read
 Disk Management access in Windows 7 and Windows 83 minutes read
 Instructions for activating a new hard drive on Windows5 minutes read
 How to split the hard drive on Windows 11 without losing data3 minutes read
 5 effective ways to help you work smarter8 minutes read
Reader Comments 0
Sign in with email or Google to join the discussion.