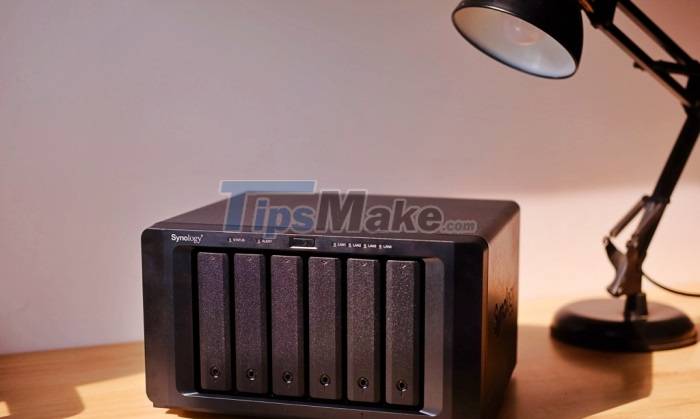
Instructions to install NAS DS1621+ as a file server for businesses
- In this article, TechZ will guide you step-by-step on how to set up NAS DS1621+ as a file server for your business, including creating volumes, creating User & Groups, setting up Quick Connect, creating folders, and assigning access permissions. for Shared Folder, create access for SMB..
Data is a valuable 'asset' that determines the success and development of most businesses, organizations or companies. However, problems related to data storage, security risks, and operating costs are always a dilemma for businesses.
Usually, businesses will choose methods such as buying File Server from external service providers, hiring IT admin teams to operate them effectively. But now, businesses will not have to worry too much about that problem, the Synology server system is designed not only to provide easy access and data management in the internal network, but also for employees of the company. can be accessed remotely via Synology's FTP Service.
With simple setup, intuitive web interface easy to use, businesses can easily set up and manage the system efficiently. Especially, with Synology's DiskStation Manager (DSM) operating system with a huge application store optimized for web-based design, businesses can manage servers from anywhere with just a browser.
Instructions for creating Volume and choosing RAID on Synology NAS
For simplicity, you can understand Volume as the storage area on your Synology NAS device. All shared folders, documents or data packages will be stored on the volume. The first thing you need to do right after installing DSM is to create at least 1 volume to use.
Meanwhile, RAID (Redundant Array of Independent Disks) is a form of combining many physical hard drives into one hard drive system that has the function of increasing data read/write speed or to increase the safety of data. data stored on the disk system or a combination of the two.
Synology DiskStation supports many different types of raids, however, if you are not sure which raid to use or simply need DSM to arrange everything for you - SHR (Synology Hybrid RAID) technology will be the solution. you simplify the volume creation process while providing the flexibility that traditional RAID technology does not provide.
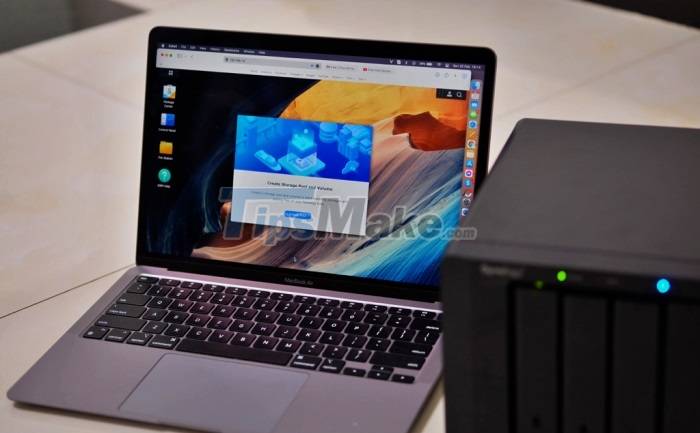
Here is the basic way you can create a volume from a hard drive.
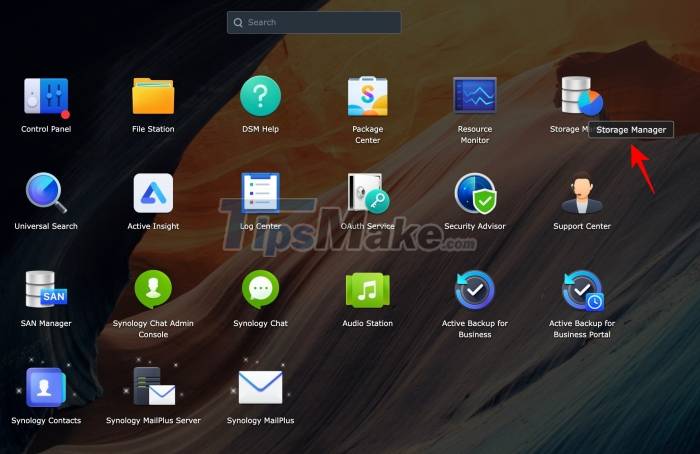
Step 1: Open Main Menu (left corner icon) > Select Storage Manager icon.
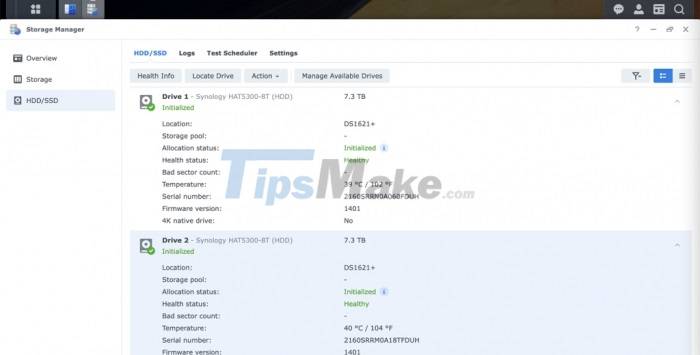
Step 2: In the HDD/SSD section, you can check the status of the hard drives being installed on the NAS. Currently TechZ is attaching 2 Synology HAT5300-8T hard drives with 8TB of memory.
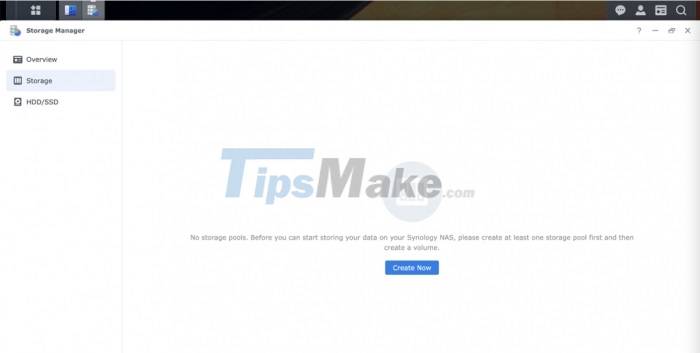
Step 3: Continue to click Storage > click Create Now to create a new Volume.
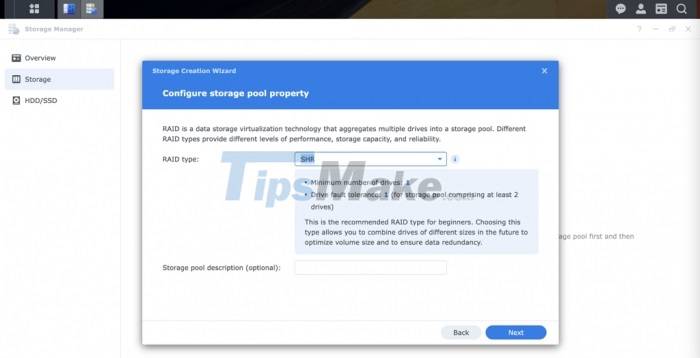
As mentioned above, you can choose the SHR (Synology Hybrid RAID) mechanism so that the DSM platform can calculate and come up with the best solution, ensuring data safety and increasing processing performance.

Step 4: Continue to click Next.
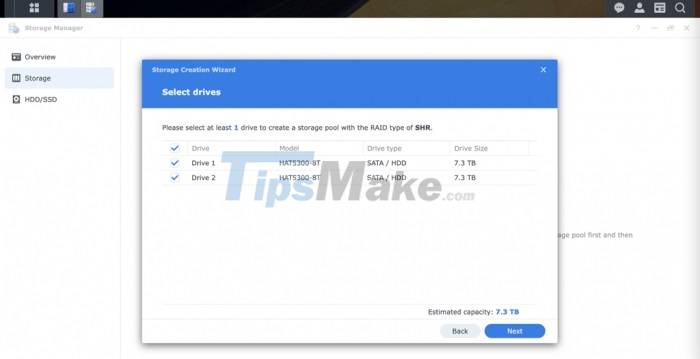
Step 5: Select the hard disks on which you want to create the volume.
Note that you must ensure that there is not any important data in the selected hard disks. Because those data will be deleted when the volume creation process takes place. A Warning message appears, select Yes to continue.
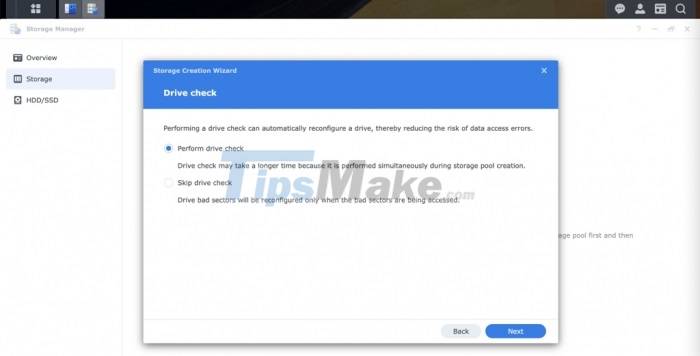
Step 6: At the Perform disk check section, continue to select Yes (Recommended) so that the system will automatically check the drive and remove the found bad sectors. Then you click Next.
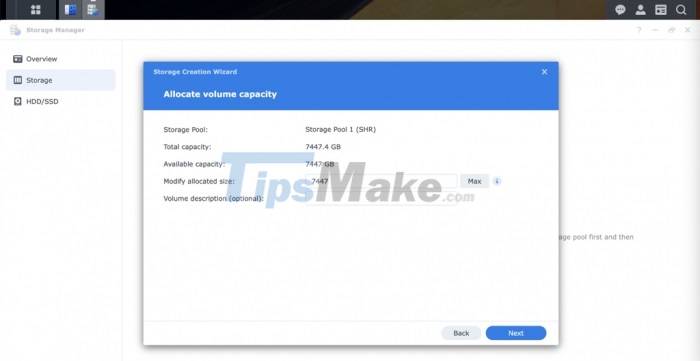
Step 7: At the Allocate volume capacity screen, you allocate the maximum capacity for the volume to be created. Depending on your needs, you will enter the desired amount of space in each volume. Here, I press the Max button to automatically enter the entire capacity of the hard drive.
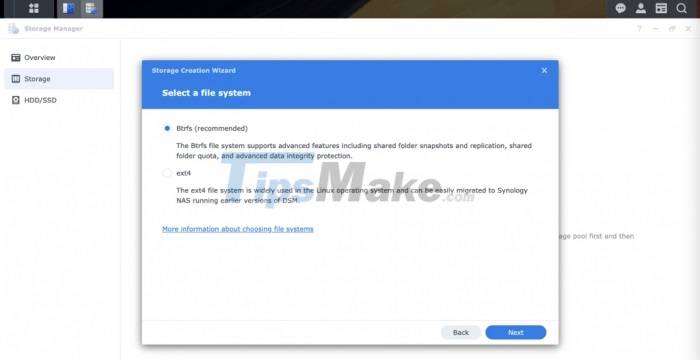
Step 8: At the file system selection screen, continue to select Btrfs to support advanced system features, including snapshots and replication, shared folder quota. TechZ will introduce these features more clearly. in the section below.
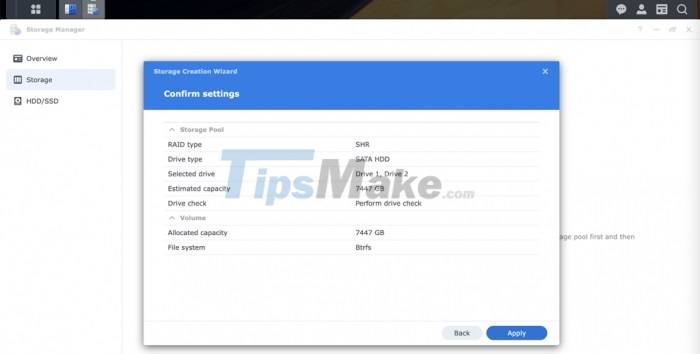
Step 9: At the final confirmation screen Confirm settings, select Apply to proceed with initializing the volume of the drive.
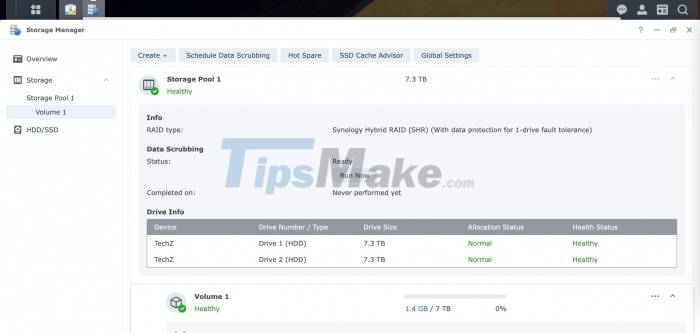
After the volume has successfully initialized, you must log in again to the system. Now you can proceed to work on that drive.
Quick Connect Installation Guide
Quick Connect allows client applications to connect to your Synology NAS device over the internet easily, from anywhere.
To activate Quick Connect, follow the steps below:
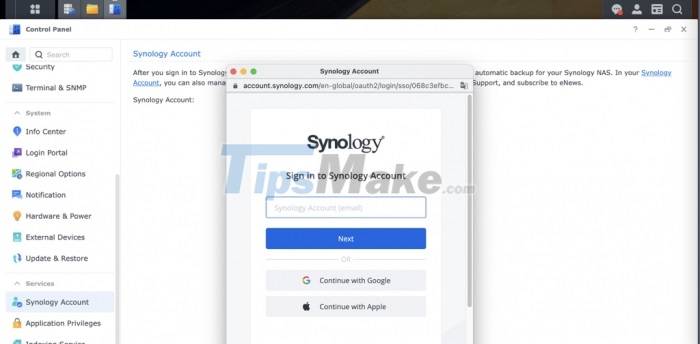
Step 1: Open Control Panel > Synology Account. Sign up and log in to your Synology account.
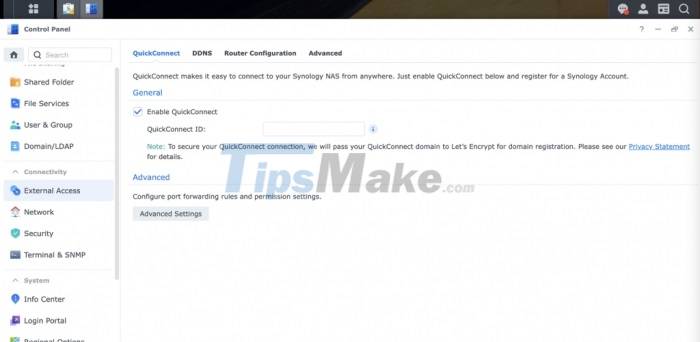
Step 2: At Control Panel > External Access > Click Enable QuickConnect.
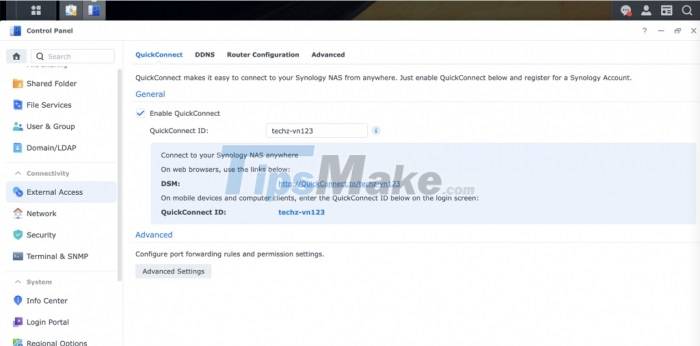
Step 3: Enter the QuickConnect ID, consisting of alphanumeric characters, and a dash (-) and must begin with a letter. (For example Techz-vn123).
Step 4: Click Apply.
Then, the DSM system will automatically register a QuickID for you and output a link. You will use this path to access the NAS from an external network with mobile devices, laptops.
Instructions for creating User & Group on Synology NAS devices
In order to avoid data loss and leakage to the outside, businesses are forced to create individual user accounts (User) or group (Group) so that NAS administrators can easily manage, monitor, limit minimize the serious risks that may happen to businesses and companies.
Group: Creating a Group helps businesses to group related employees together. For example, the editor group will include employees of the editor's office, the collaborator group will include employees working in the collaborator's room.
Step 1: Open Control Panel > Click on the User & Group icon.
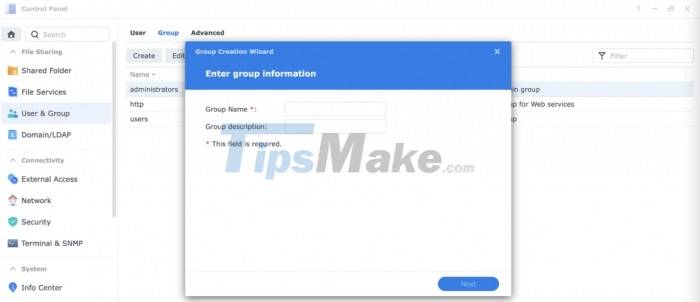
Step 2: Select Create.
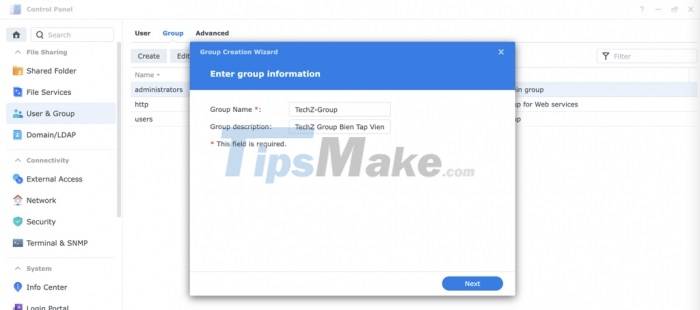
Step 3: Enter all the necessary information and click Next.
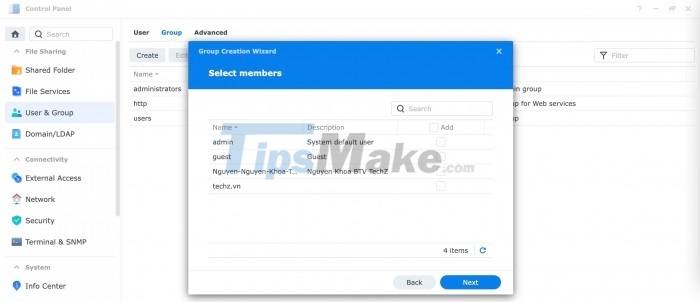
Step 4: Select the user to add to the group, if not, you can skip this step. Continue to click Next.
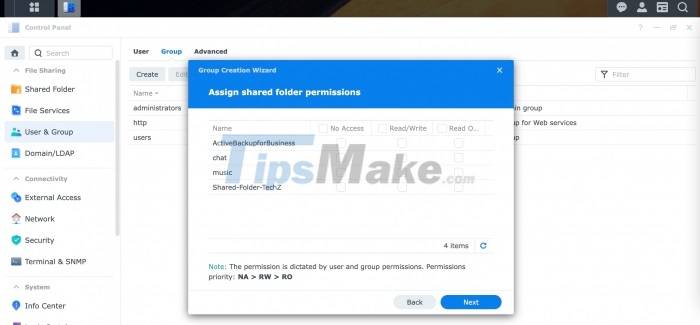
Step 5: Grant folder access to Group and click Next.

Step 6: Choose a space limit for each folder.
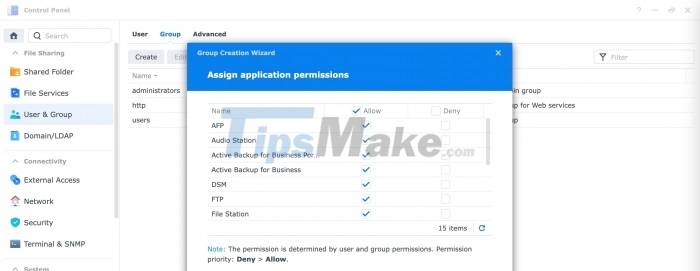
Step 7: Grant application access permission.
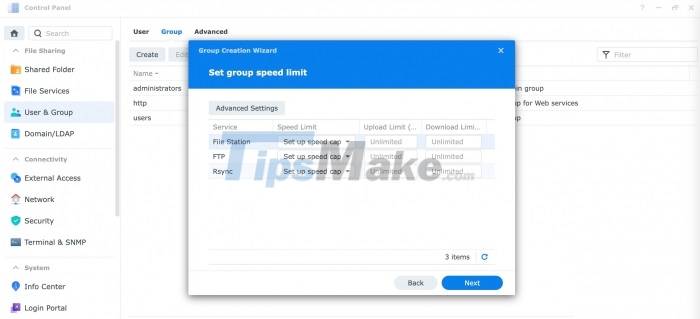
Step 8: Select Internet speed limit for each group.
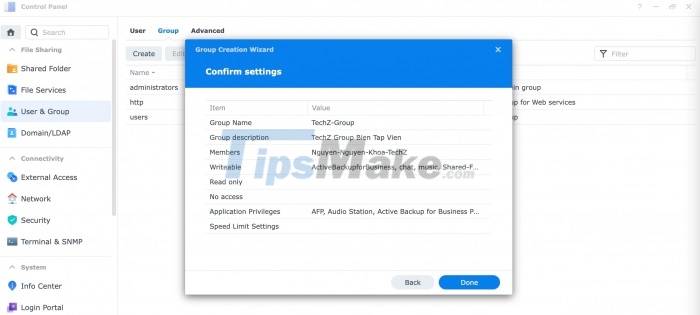
Step 9: At the Confirm Settings installation information confirmation screen, continue to click Done to complete the installation.
User: Next, businesses need to create accounts for employees.
Step 1: Open Control Panel > Click on the User icon
Step 2: Click Create
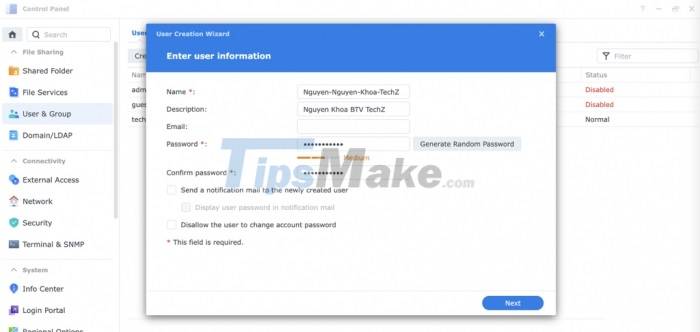
Step 3: Enter full User information and click Next.
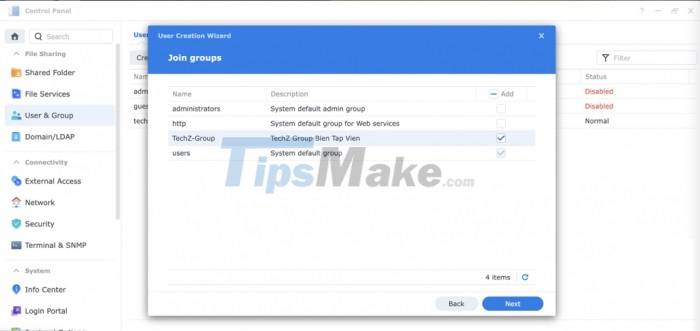
Step 4: In the Join Groups section, you can Join Users into existing groups, otherwise you continue to click Next.
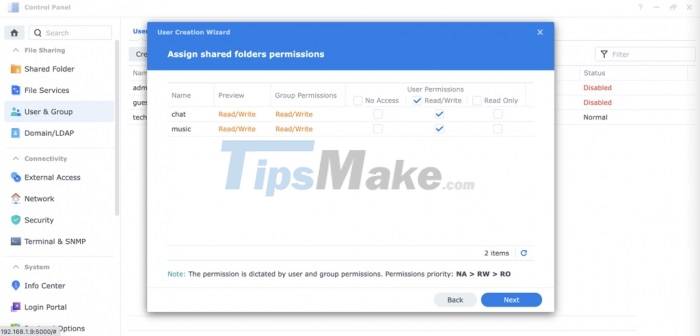
Step 5: Grant permission to use Folder for User.
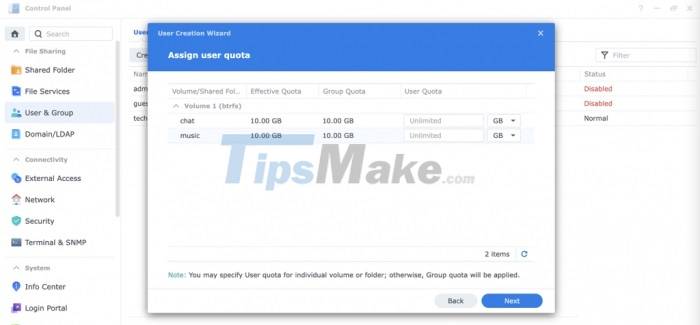
Step 6: You can limit the amount of space used for each user, then click Next.
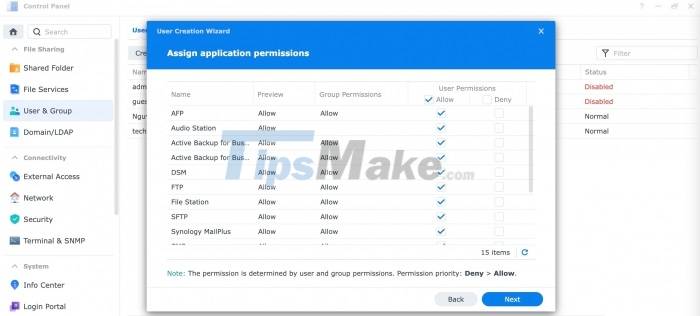
Step 7: Grant application access rights to the user.
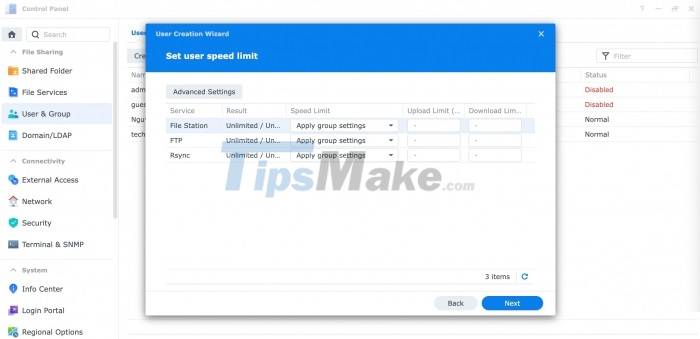
Step 8: Limit download and upload speeds for users.
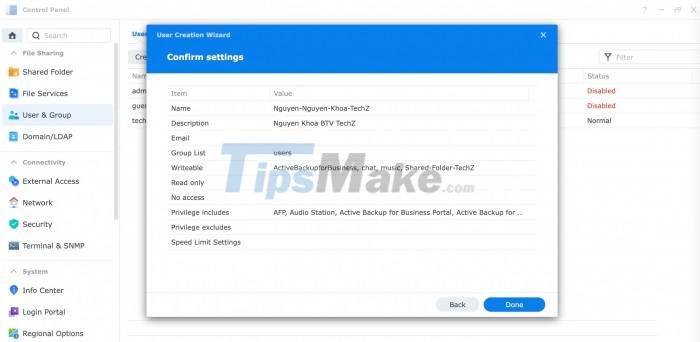
Step 9: At the Confirm Settings installation information confirmation screen, click Done to complete the installation.
Create folders and assign access permissions for Synology NAS
To help businesses keep their data secure. Synology NAS offers folder creation with access permissions, smart security features, easy sharing, and simple setup.
Step 1: Open Control Panel > Select Shared Folder and click Create Shared Folder.
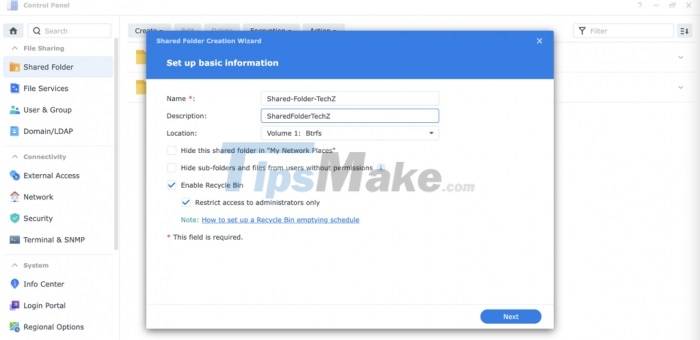
Step 2: Enter the necessary information in the Name & Description field.
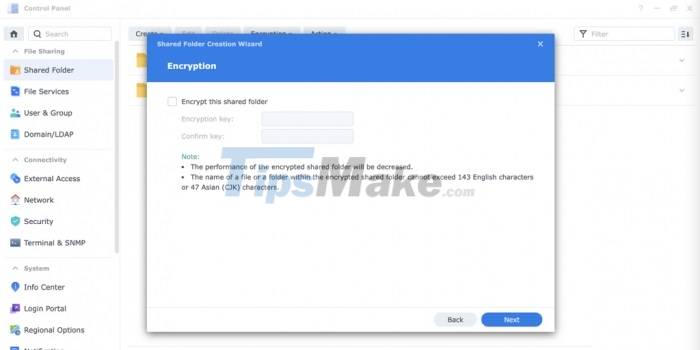
Step 3: Encrypt for Shared Folder.
Enable Encryption this Shared Folder by checking the box.
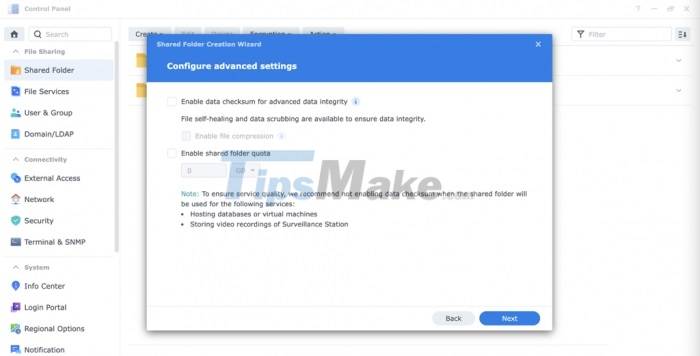
Step 4: Configure Advanced for Shared Folder.
Enable data checksum for advanced data integrity: To protect Shared Folder with CRC32 checksum and copy-on-write, you can enable data checksum to improve data integrity during Shared Folder creation. The CRC32 checksum when enabled checks that data is the same as when they were originally written, and the system uses RAID redundancy to repair damaged data. Copy-on-write helps to improve data consistency when the system is unexpectedly shut down.
Enable file compression: The data in the created Share Folder will be automatically compressed by the Btrfs file system to save storage space. When taking out and using, the data will be decompressed.
Enable shared folder quota: Limit the maximum size for each Shared Folder. Click Enable shared folder quota to enter the maximum size for the desired folder.
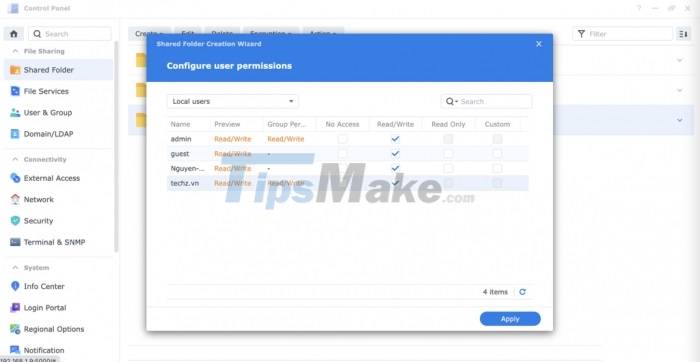
Step 5: Assign permissions for Shared Folder
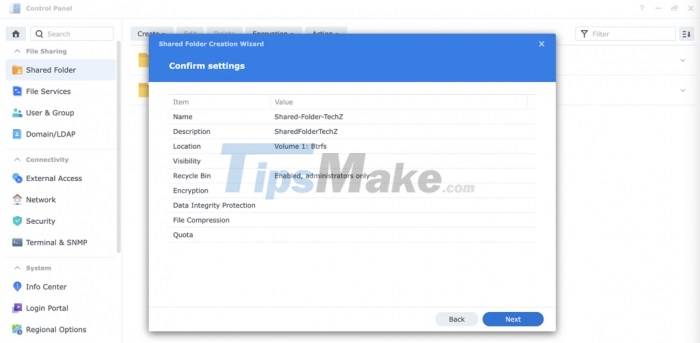
Step 6: At the screen to confirm the installation information - Confirmed Setting. Click Next to finish creating the Shared Folder.
Create access for SMB
Learn more about SMB (Server Message Block), which is a protocol that allows Windows, Mac, and Linux clients with SMB/CIFS support to access data stored on a Synology NAS. If you want to find files on your Synology NAS through Windows Explorer or mount Shared Folders as a network drive, follow the steps below:
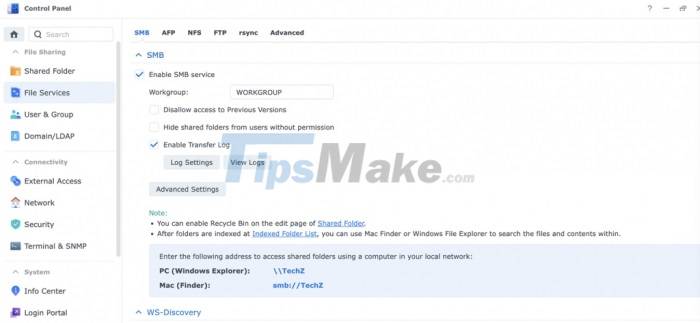
Step 1: Open Control Panel > File Services > SMB
Step 2: Click Enable SMB service
Step 3: Click Apply
Note:
- After enabling the SMB protocol, you can mount indexed folders on your personal computer device via SMB and search for files and contents in mounted folders (not applicable to NVR devices).
On Windows devices, you can search through File Explorer
On a Mac device, you use Find Finder to search.
Instructions for installing applications in Package Center on DS1621+
One of the things that makes Synology NAS devices great is the huge application store Package Center, which meets almost all the utilities of businesses in terms of storage, data management as well as storage needs. security. Users can easily install and update various types of applications with just a few clicks.
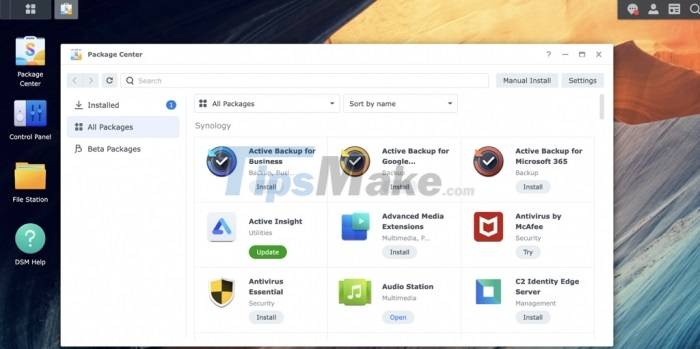
Step 1: Access the website interface of your NAS device, click the Package Center icon.
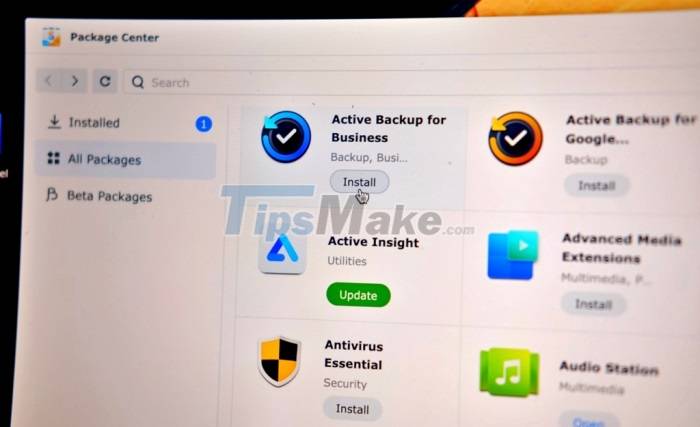
Step 2: In the All Packages section on the left side of the screen, you can select the applications you want, search by topic, or type in the Search box and search for that application keyword. The right side is the application store of Synology NAS, the applications with the Open symbol are installed, Install is the application that has not been downloaded and Try is a paid application, users can try it before uploading. purchase decision.
Step 3: To download, you can click Install.
When the installation is successful, the application will appear on the NAS application bar.
Uninstall the application from the Synology NAS device.
Step 1: Open Package Center > Select the installed application.
Step 2: Click the Uninstall button to completely remove the application from the system.
Install mobile app for DS1621+

In addition, Synology also provides many mobile applications on both iOS and Android platforms for businesses to have more options for communicating with NAS devices. Employees can easily access and share data, work in groups or many other office needs anytime, anywhere, with just a few simple steps on the mobile application or Web browser.
In the context of data "bulging" every year - Synology NAS will be a perfect choice to meet the long-term storage needs of small and medium businesses. Even businesses can expand storage in the following years easily and reduce a lot of costs incurred.
Besides, with remote access from anywhere, employees of the enterprise can collaborate and share files quickly and conveniently via web portal and mobile application. This saves a lot of time and ensures that the job is always done smoothly and seamlessly.
Synology NAS also helps protect digital assets of businesses in a comprehensive way with a full range of backup and recovery applications for PC data, file servers, virtual machines, . when unexpected problems occur. .
With a series of outstanding advantages, Synology NAS is not only an affordable centralized data storage solution, Synology also provides businesses with a huge DSM ecosystem with a wide range of applications. Useful for small and medium businesses, meeting most of the needs in work as well as entertainment.