Table of Contents
Follow the instructions below to create a calendar with photos on picallycalendar efficiently and safely. Each section focuses on the actions, settings, and troubleshooting details that matter most.
There are many software to create personal calendars and support printing to use, instead of the traditional calendar as before. PicallyCalendar is an app for creating calendars on Android and iOS, creating calendar by month, or year and using available photos in albums to make calendars.
Users choose arbitrary images to use for the calendar, select the appropriate calendar template, edit the font and title in the calendar you want. After creating the calendar on the app, there is a sharing option for anyone. The steps below explain how to use PicallyCalendar.
- How to create a free online calendar 2019
- Instructions for using Calendar with Google Calendar in Windows 10
- How to write notes in the Calendar Calendar
Guide to creating a calendar on PicallyCalendar
Step 1:
Users click the link below to download the PicallyCalendar app for Android and iOS.
- Download the Android PicallyCalendar application
- Download PicallyCalendar for iOS
Step 2:
The interface displayed in the first application requires users to enter the information.
- Template: Choose the calendar template you like.
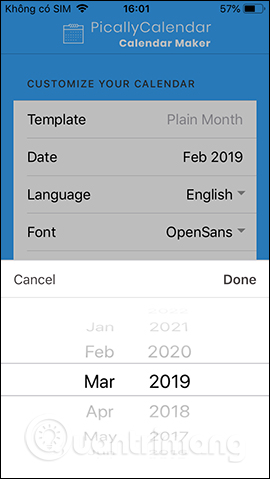
- Date: Select the month and year you want to create a calendar.
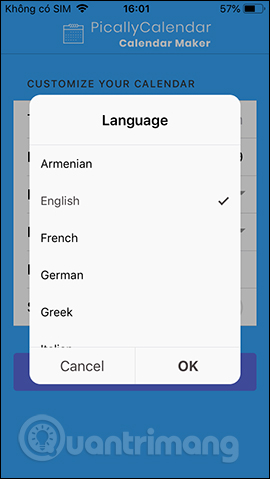
- Language: Select language.
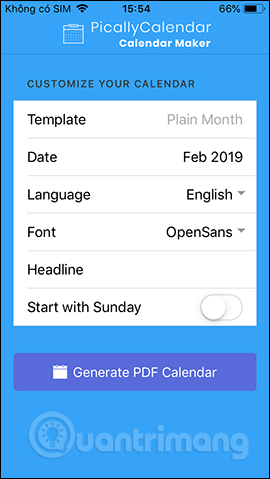
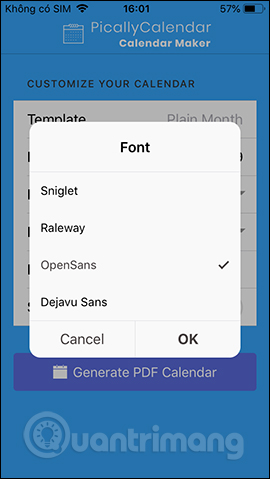
- Font: Select the font. the app has four fonts available: Sniglet, Raleway, OpenSans and Dejavu Sans.
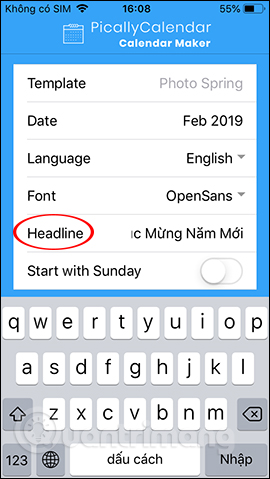
- Headline: Enter a title for the calendar.
- Start with Sunday: If the work week starts from Sunday, activate the option in this section. Conversely, the start date of the work week will be Monday.
Step 3:
Click The Template item To select the template you like. the app provides many sample calendar year, month, week,. for users to choose.
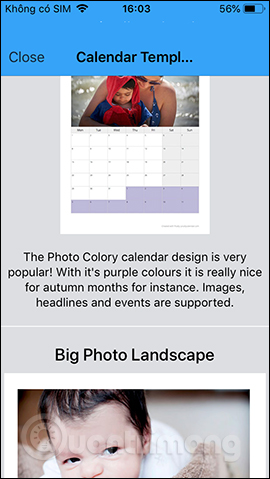
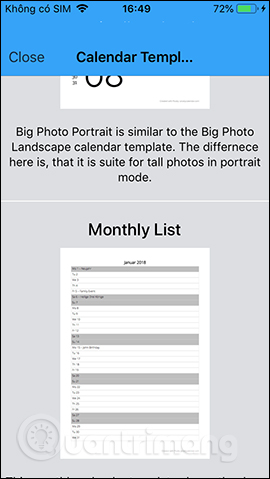
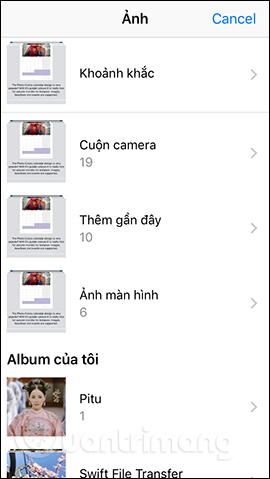
Then display the interface to Download the existing photos in the album To make the calendar. Next, select the area you want to crop and the size of the area you want to cut. Click The Upload section .

Step 4:
Click The Headline section To enter a title for the calendar. Finally Click Generate PDF Calendar to create a calendar. We wait for the app to create the calendar. If there is more Headline, the process can take place relatively long, so please try to wait.
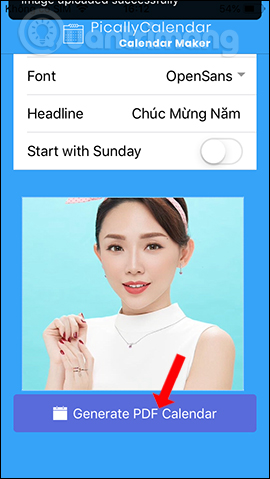
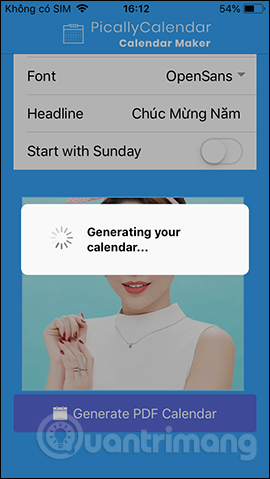
Step 5:
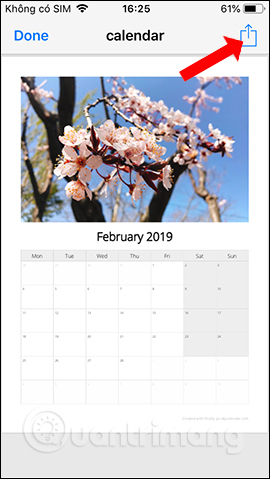
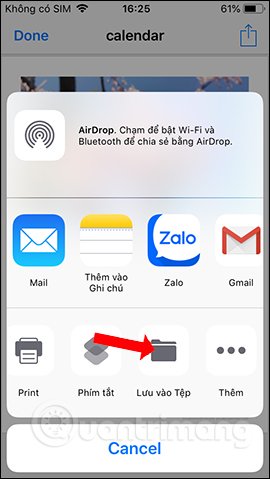
The app results create a calendar with the content and images that users has set up in the first steps. Click The share icon In the top right corner and select Save to File to save the calendar as a PDF format. In addition, users can send calendars via email or other applications if desired.
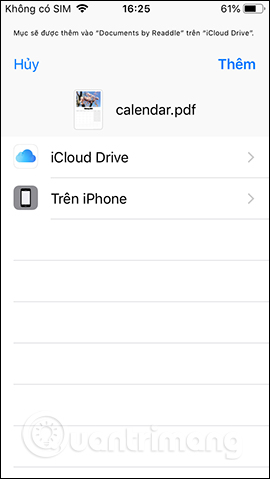
You have now your own calendar right on your phone with that PicallyCalendar app. The calendar creation process is very simple and there are not many steps to create a calendar. You just need to select the type of calendar you want, upload it and then add some other settings for the calendar.
I wish you all success!
FAQ
What should I prepare before I create a calendar with photos on picallycalendar?
Review the requirements in the guide, confirm that your device or software is compatible, and save important work before changing settings related to create a calendar with photos on picallycalendar.
Why might create a calendar with photos on picallycalendar not work as expected?
The most common causes are incompatible versions, missing permissions, incorrect settings, or an interrupted internet connection. Recheck each step and restart the app or device when appropriate.
Can beginners follow these create a calendar with photos on picallycalendar steps?
Yes. Follow the steps in order, avoid skipping confirmation screens, and compare your interface with the screenshots because labels may differ slightly between versions.
Related Articles
 Create a Calendar in the Word: How to Create a Calendar in Word3 minutes read
 How to Create a Free Online Calendar 20197 minutes read
 Create a Calendar in Excel8 minutes read
 How to Schedule Tet Events with Calendardc Calendar7 minutes read
 How to Create a Calendar in Microsoft Excel8 minutes read
 How to Make a Calendar in Word5 minutes read
Reader Comments 0
Sign in with email or Google to join the discussion.