Table of Contents
Beeping before Windows loads usually means the computer failed part of its power-on self-test (POST). The pattern can point to memory, graphics, CPU, keyboard-controller, or motherboard trouble, but it is not universal: the same number of beeps can mean different things on different firmware and motherboard models.
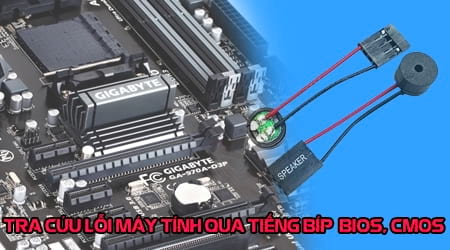
Before using a beep-code table
- Record the pattern exactly. Note whether the tones are short or long, whether they repeat, and whether there are pauses between groups.
- Identify the motherboard or PC model. A prebuilt desktop or laptop may use a manufacturer-specific code instead of a generic AMI or Phoenix pattern.
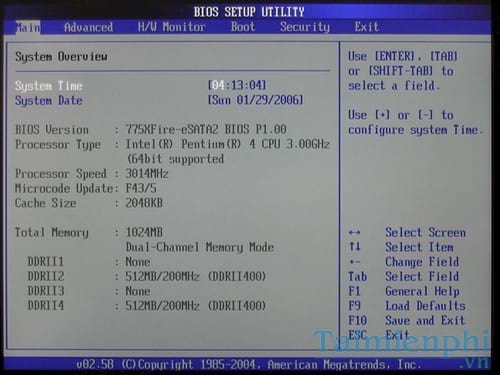
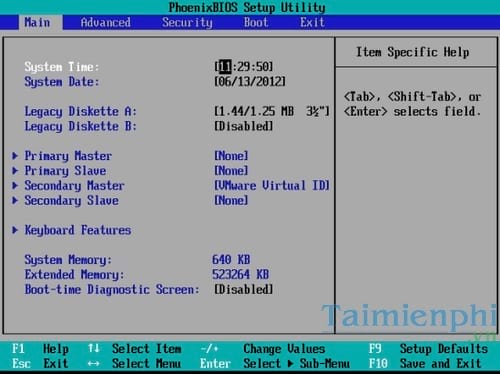
- Check the manual first. The support page for the exact PC or motherboard is the best authority for its codes. You can also check the BIOS version when the computer can still reach setup or Windows.
- Disconnect power before reseating hardware. Shut down, unplug the computer, and follow antistatic precautions. Do not open a device that is under warranty if doing so could affect service coverage.
A single brief beep can indicate a successful POST on some older systems, while many newer computers boot silently. No beep is not proof that the motherboard is healthy; some systems have no internal speaker.
Common legacy AMI beep codes
The following table is a troubleshooting starting point for older AMI BIOS systems. Confirm the meaning in the documentation for your motherboard before buying or replacing a part.
| Pattern | Likely area to check | Useful first step |
|---|---|---|
| 1 short beep | POST completed on systems that use a success beep | Check the display if the computer still does not start normally. |
| 2 or 3 short beeps | Base-memory or parity-related error | Power off, reseat the RAM, and test one compatible module at a time. |
| 4 short beeps | System timer or motherboard-related error | Load appropriate firmware defaults and check the board documentation. |
| 5 short beeps | Processor-related error | Check CPU power connections and cooling; avoid removing the processor unless you are experienced. |
| 6 short beeps | Keyboard controller or gate A20 error | Disconnect unnecessary USB devices and try a known-good keyboard. |
| 7 short beeps | Processor exception or motherboard error | Check the manual and inspect CPU power, cooling, and socket installation. |
| 8 short beeps | Display-memory or graphics error | Reseat the graphics card and its power cables, or test integrated graphics if available. |
| 9 short beeps | Firmware ROM checksum error | Use only the model-specific recovery or update procedure supplied by the manufacturer. |
| 10 short beeps | CMOS shutdown-register error | Load firmware defaults; if settings or time are repeatedly lost, inspect the CMOS battery. |
| 11 short beeps | Cache-memory error | Confirm the code in the manual; professional board-level diagnosis may be required. |
| 1 long, 3 short | Memory-related error on some systems | Reseat and test the RAM. |
| 1 long, 8 short | Video test or display-related error on some systems | Check the monitor connection and reseat the graphics card. |
Common legacy Phoenix BIOS patterns
Phoenix codes are often expressed as groups separated by pauses. For example, 1-1-3 means one beep, a pause, one beep, a pause, then three beeps. The patterns below summarize the legacy meanings retained from the original reference; a motherboard-specific manual takes priority.
| Pattern | Likely area to check |
|---|---|
| 1-1-2, 1-2-2, 1-2-3, 1-3-1, 1-3-3, 1-3-4, or 1-4-1 | Motherboard, memory-controller, or early POST failure |
| 1-1-3 | CMOS configuration read/write problem |
| 1-1-4 | Firmware ROM checksum problem |
| 1-2-1 | Programmable interval timer problem |
| 1-4-2 or a pattern beginning 2-x-x | Memory problem |
| 3-1-x | Chipset or motherboard problem |
| 3-2-4 | Keyboard-controller problem |
| 3-3-4 or 3-4-x | Graphics adapter or video-memory problem |
| 4-2-2 or 4-2-3 | Keyboard or motherboard problem |
| 4-2-4 | Add-in card or connected-device problem |
| 4-3-1, 4-3-2, or 4-3-3 | Motherboard or timer-related problem |
| 4-3-4 | Real-time clock problem |
| 4-4-1 or 4-4-2 | Legacy serial or parallel port problem |
| 4-4-3 | Math coprocessor or CPU-related problem |
A safe troubleshooting order
- Turn the computer off and unplug it. Disconnect nonessential USB devices, external drives, and recently added accessories.
- Check the monitor input, display cable, power leads, and motherboard diagnostic LEDs or code display, if present.
- Undo the most recent hardware change. Reseat accessible RAM and expansion cards, then test with the minimum hardware needed to reach POST.
- If there are multiple RAM modules, test one module at a time in the slot recommended by the motherboard manual. A successful boot helps isolate a module or slot, but compatibility can also be a factor.
- If the clock and firmware settings reset after power is removed, follow a careful CMOS battery replacement guide. The battery does not power the BIOS itself; it helps retain the real-time clock and firmware settings while the PC is unplugged.
- Only update firmware when the manufacturer specifically recommends it for the symptom and you have the exact file for the model. An interrupted or incorrect update can prevent the computer from booting. See the precautions in this safe BIOS update guide.
When to stop troubleshooting
Stop and seek qualified repair help if you smell burning, see liquid damage, find a swollen component, or are not comfortable working around internal hardware. Persistent CPU, firmware-ROM, or motherboard codes also deserve model-specific diagnosis before parts are replaced. Beep codes narrow the search; they do not prove that the named component has failed.
Related Articles
 How to Diagnose Computer Errors Through Beeps15 minutes read
 How to Fix How to Enter BIOS on Laptop: Troubleshooting Guide17 minutes read
 What Is CMOS and What Is It Used For?5 minutes read
 Troubleshooting and Fixing the 'BIOS Checksum Error' on Your Computer3 minutes read
 How to Fix Cmos Checksum Errors6 minutes read
 How to Replace CMOS Battery6 minutes read
Reader Comments 0
Sign in with email or Google to join the discussion.