Add a text box or border around text on a Google Docs document
Have you ever opened Google Docs to write a textbook or homework, and then realized you don't know how to create a text box? Although Google Docs doesn't have a dedicated button to create text boxes, there are some creative solutions to this problem. Today's TipsMake will show you how to add a frame (or border) around text in a Google Docs document..
Use tables

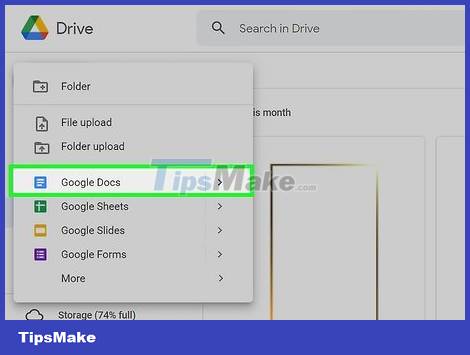
Open the Google Docs document. You can create or open Google Docs documents through Google Drive by signing in to your Google account.

Click the Insert tab. It's in the top left of the screen. You can find it below the title of the Google Docs document.

Hover over Table and click the square in the upper left. A table with only one cell will be created and act as the border of the text inside.

Type or paste text into the table. Once the text is inserted into the table, it will be easier to visualize the required thickness of the border.

Adjust table size. You can proceed by clicking and holding on one edge of the border, dragging until the table reaches the size you want and then releasing the mouse.
You can also use this method to create page borders by adjusting the table to surround the entire page.

Change the table style and border (optional). You can change the table background and border color, width, and style using the four rightmost buttons on the menu.
If you don't see these buttons, click the button with the three dots icon to the right of the menu. These options will appear on the right side of the submenu.
Using Paragraph Styles
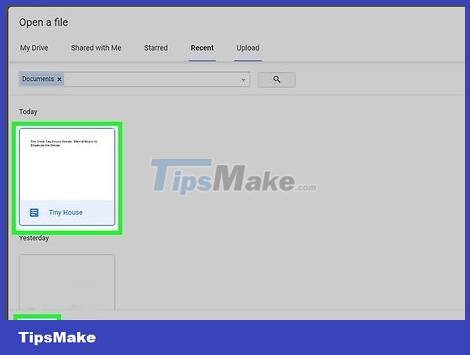
Open the Google Docs document. You can create or open Google Docs documents through Google Drive by signing in to your Google account.
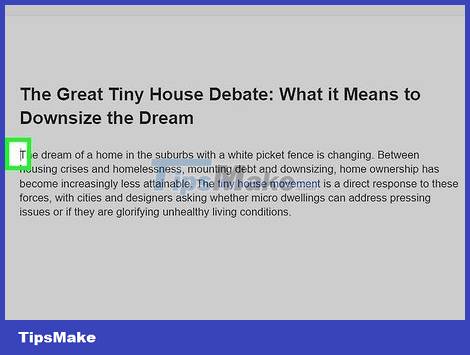
Click in front of the text you want to create a border around. If there is a lot of content in the document and you only want to add a border around a specific piece of text, that piece of text must start on a new line.
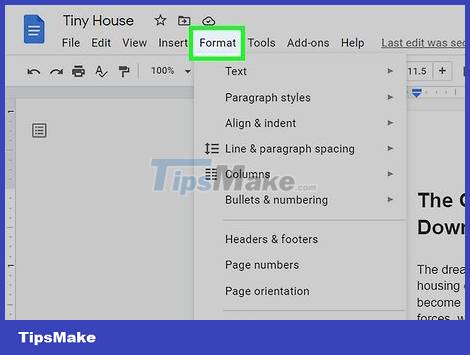
Click Format. This menu will reveal many adjustments you can make to the formatting and content of the page.
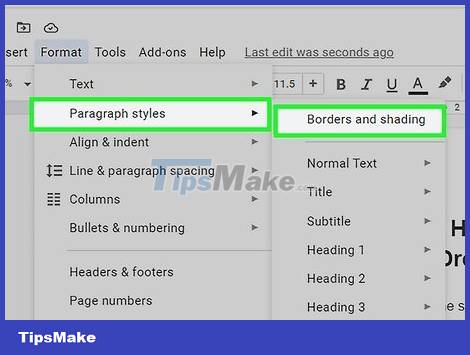
Hover over Paragraph styles and select Borders and shading . The 'Borders and shading' window will pop up with many border tweaking options.

Click on the first four cells next to 'Position'. Each box here corresponds to a different line in the border, so you need to turn them all on so the text box has all four sides.
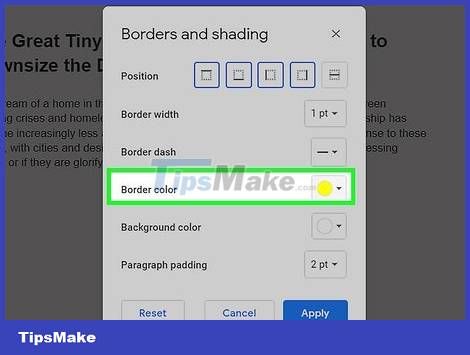
Customize borders (optional). Adjust the width, style, color, border background color, and border-to-text spacing using the drop-down menus to the right of each header.
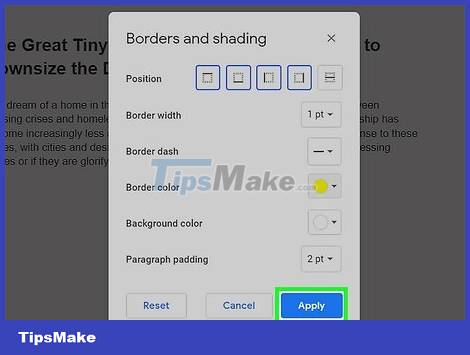
Click Apply . A border will appear around the text.
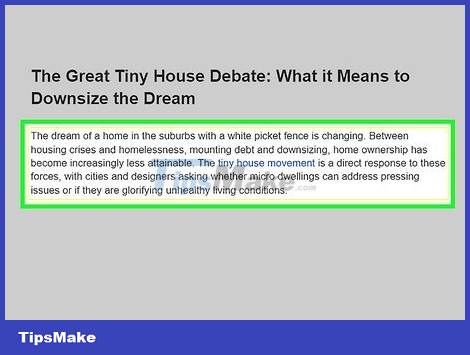
Adjust text box size (optional). This method will create a frame around the text, spanning the entire width of the page. If you want to shrink the frame, you can click next to the text and then align the paragraph margins by dragging the blue arrows at the top of the page to the desired points.
Using text boxes in Drawing
Open the Google Docs document. You can create or open Google Docs documents through Google Drive by signing in to your Google account.
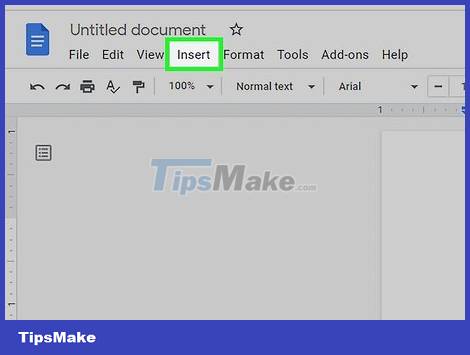
Click the Insert tab located at the top left of the screen. You can find it below the title of the Google Docs document.

Hover over the Drawing section and select New . The 'Drawing' window will pop up.
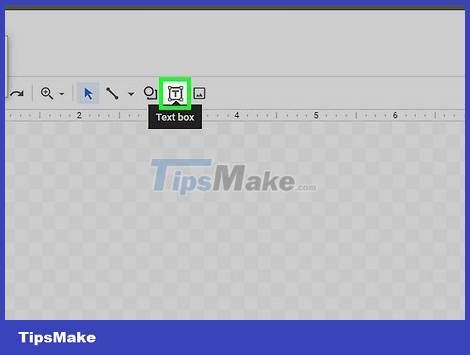
Click the Text box option with the 'T' icon in the frame.
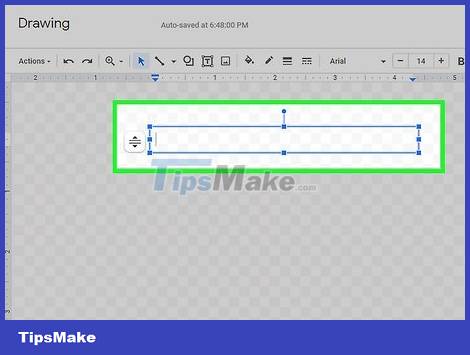
Draw the text box. Click and drag to create the text box the size you want.
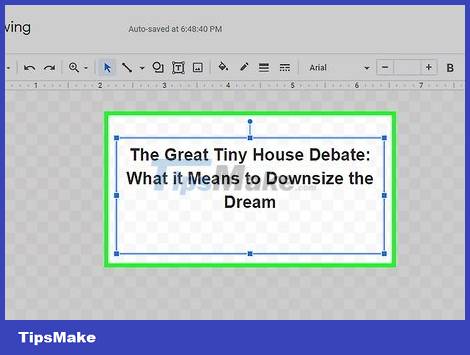
Enter the text you want to frame. Through the menu at the top of the Drawing window, you can adjust text font, size, color, and so on.
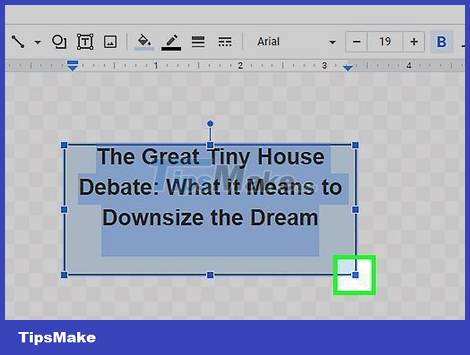
After entering text, consider adjusting the text box size again to balance the content inside.
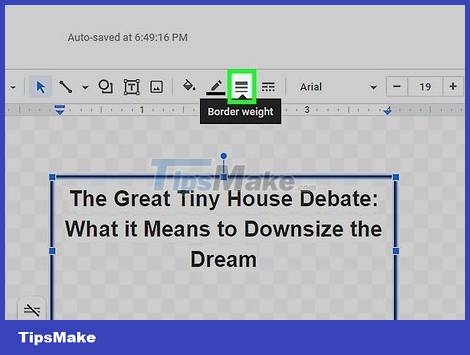
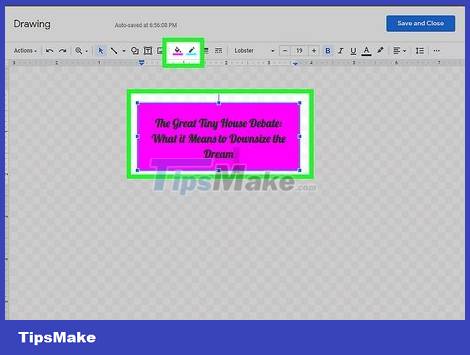
Click the Border weight option , which resembles three horizontal lines overlapping each other in increasing order of thickness. This option represents the border thickness, so the higher the parameter you choose, the thicker the border will be. Please choose the thickness you want.

Customize other border settings (optional). Use the buttons just to the left and right of the Border weight button to change the text box fill color, border color, and border style.
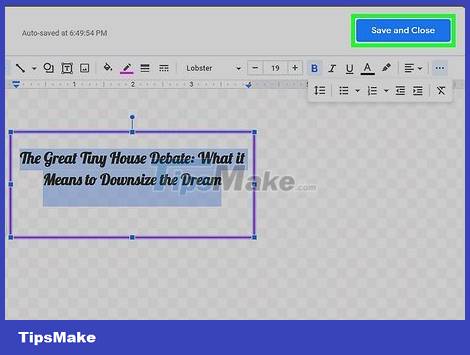
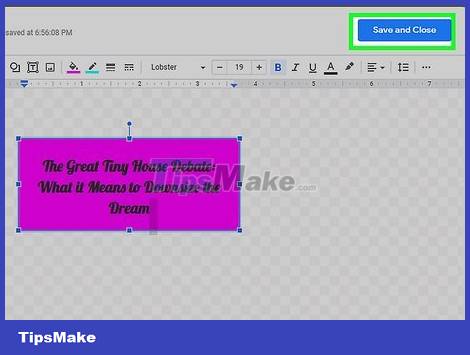
Click Save and Close. So you've created a frame around the text in a Google Docs document. However, you should note: sometimes resizing a drawing on Google Docs can cause the text inside to be pixelated, especially if you click and drag. So, consider resizing the drawing by clicking on the object and selecting Edit .
Using rectangles in Drawing
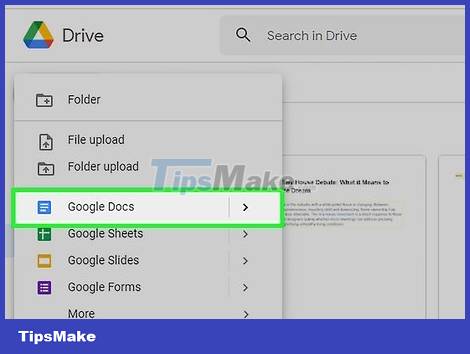
Open the Google Docs document. You can create or open Google Docs documents through Google Drive by signing in to your Google account.

Click the Insert tab located at the top left of the screen. You can find it below the title of the Google Docs document.
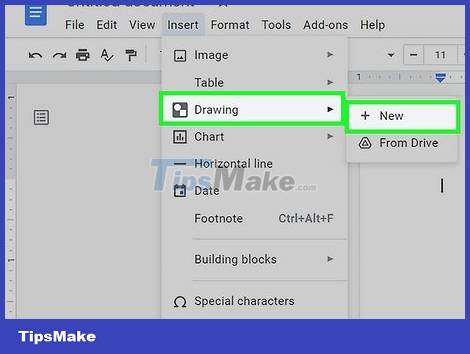
Hover over the Drawing section and select New . The 'Drawing' window will pop up.
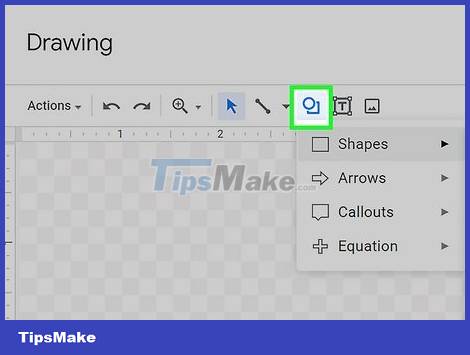
Click the Shapes button , which resembles a circle overlapping a square.
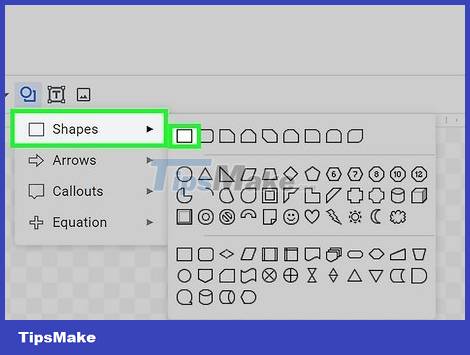
Hover over Shapes and select the rectangle. Rectangle is the first option in the first category of the Shapes menu.
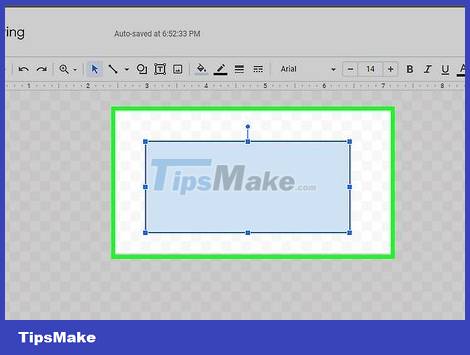
Draw a rectangle. Click and drag on the Drawing window to create a rectangle of the desired size.
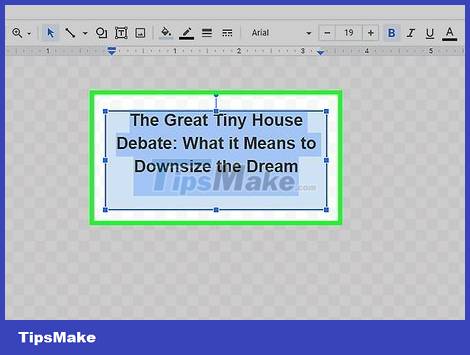
Double click on the rectangle and add text. You can adjust the font and size, color, and many other aspects through the menu at the top of the Drawing window.
Adjust the rectangle size to suit the text. You should adjust the rectangle size in the Drawing window instead of working right on the Google Docs document because this will avoid pixelation of the text.
Change the rectangle style if desired (optional). Use the four buttons located in the middle of the menu at the top of the Drawing window to fill in the background color, select the border thickness, color, and style for the rectangle.
Click Save and Close . So we have a text frame on the Google Docs document. If you want to change the drawing size, you should do so by clicking on it and then clicking the Edit button that appears. If you adjust the drawing size right in a Google Docs document, the text inside may be pixelated.
Use images and text boxes in Drawing

Open the Google Docs document. You can create or open Google Docs documents through Google Drive by signing in to your Google account.

Click the Insert tab located at the top left of the screen. You can find it below the title of the Google Docs document.

Hover over the Drawing section and select New . The 'Drawing' window will pop up.
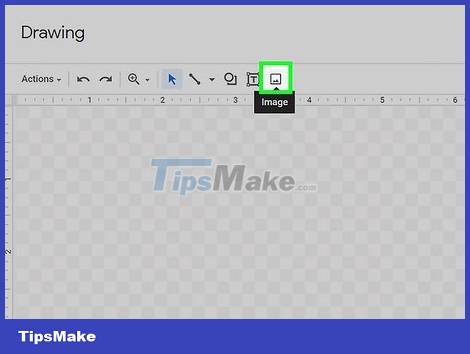
Click the Image button , a square with an icon that looks like two mountains inside. This option is on the far right in the menu at the top of the Drawing window.

Select the Search tab. If you've already selected and saved the border to your computer, click Upload , then drag the photo into the frame or choose from files on your computer. If you do this method, you can skip the next step.
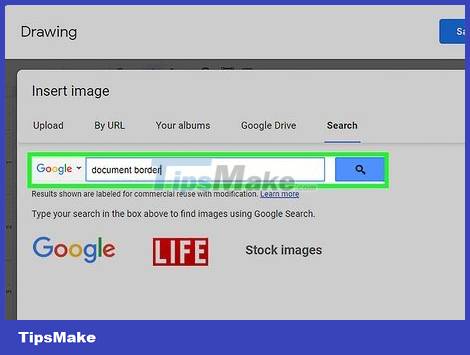
Search with keywords like document borderhay đường viền tài liệu. You can add or remove keywords depending on your needs. Then, just scroll through the search results as usual to take a look at the available border templates.
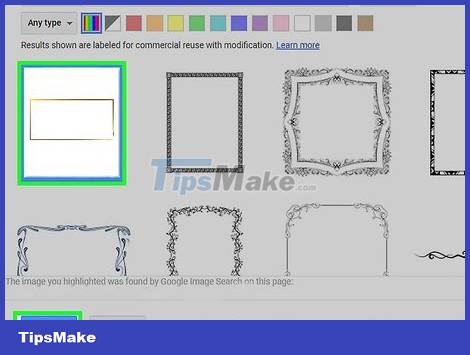
Select the border pattern you like and click Select . The outline image will appear in the Drawing window.
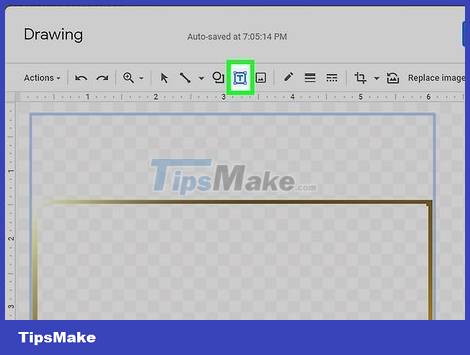
Click on the Text box option with the 'T' icon in the frame.
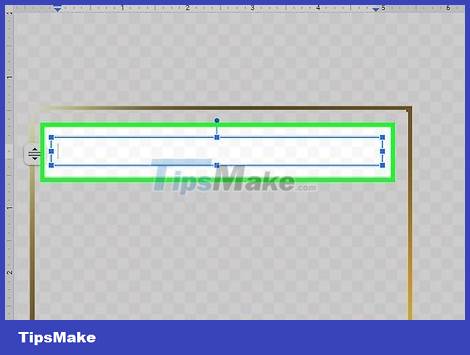
Draw the text box inside the border. The text box needs to be shaped according to the border to display properly.
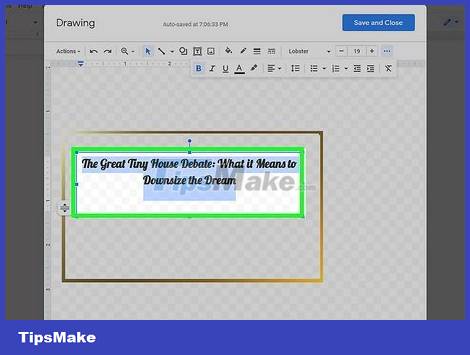
Enter content in the text box. If you need more space, you can try resizing both the border and the text box by clicking on each object and then dragging the corners outward.
You can change the font, font size, color, and many other aspects through the menu at the top of the Drawing window.
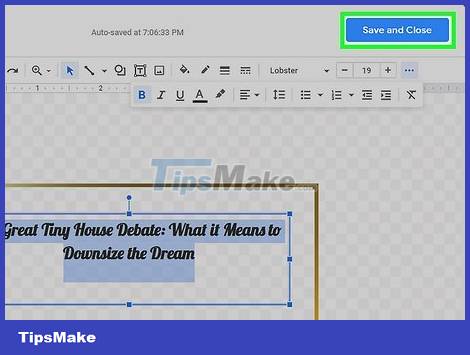
Click Save and Close . The drawing will display on the Google Docs document.

Adjust the drawing as desired on the Google Docs document (optional). If text or images are pixelated when you change the border size right on a Google Docs document, try clicking the object to edit, select Edit, and then adjust the size in the Drawing window.