7 tips on OS X for Windows users
Recently, you bought a new Mac or your work required to use a Mac. However, you may be disappointed when you first use OS X, if you are a Windows user for a long time. This is completely understandable. But Apple doesn't really care about changing its operating system to suit Windows users.
Apple loves its OS X operating system and probably will never change OS X. This means you will need to familiarize yourself with some differences between Windows and Mac. In this article, OS X can still be customized to be easier to use by default, but unfortunately, you have to make some changes manually to improve everything on the operating system. this.
This article will give you some useful tips for people who use Windows to be able to use Mac and OS X more conveniently. When you're familiar with OS X, you might even prefer it to Windows. It takes some time to adapt, but this is really worth it. Now let's find out specifically!
Tip number 1 - How to right click
One of the most annoying things for beginners to use Mac is not knowing how to right click! There are no right mouse buttons for Macs and this can really be annoying for some people. Fortunately, Apple's method is really intuitive and easier to use.
All you have to do to right click is to use two fingers when you make a normal click. When you click with two fingers, the context menu (right-click context menu) will appear. This is a more convenient way than having to move your finger down the right mouse button like on most Windows laptops.
You can change the settings for the right click operation by going to System Preferences - Trackpad and clicking on the Point & Click tab.
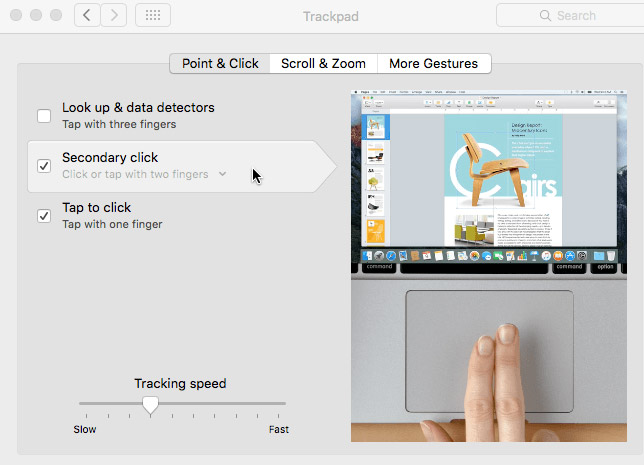
By default, the click option must be called Secondary click in OS X. If checked, it is normally set to Click or tap with two fingers , but you can click Small arrow and choose one of the other two options: Click in bottom right corner or Click in bottom left corner . If you just like right clicking like in Windows, you can tweak OS X to get the same behavior.
In addition, another quick tip is to check the option Tap to click . Most Windows laptops, the Tap to click option is available, but OS X does not enable this by default, so you must manually customize this section. If you go to Scroll & Zoom , you can also change the scroll direction to make it easier to operate.
Tip No. 2 - Add applications to Dock
The other major change that is most annoying for Windows users is the lack of a Start button. There simply isn't any central button in OS X. The small Apple logo icon at the top left, can do things like take you to System Preferences or let you reboot / shutdown his calculation.
- How to schedule automatic shutdown on macOS
Dock is basically the same as the Windows taskbar, but only with shortcuts and nothing else. But the annoying thing is that it gathers all of Apple's default applications, while users often never use more than one or two of these default applications. So if you need, you can remove them. You can do this by right-clicking the Dock icon, selecting Options and selecting Remove from Dock .
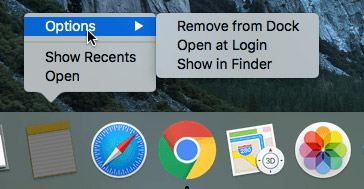
After you do this, you can add an All Programs folder to the Dock to see a list of all the programs installed in OS X. To do this, you must drag the Applications folder to the Dock. To do that, you need to click on the hard drive icon on the desktop.
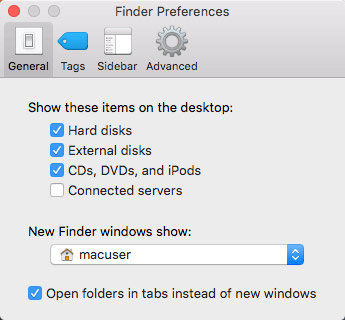
If you don't see the hard drive icon, click Finder at the top left of your Mac and then click Preferences . On the General tab, select Hard disks, External disks and CDs, DVDs and iPods.
- The trick is to use Finder on Mac more effectively
Click on the hard drive icon on the desktop and you will see the Applications folder listed along with other folders such as Library, System and Users .

Continue and drag that folder down to your Dock . Now when clicking on the icon, you will get a full list of all the programs installed on your Mac. It's best to try to add them all to the Dock, otherwise you must use Spotlight to find the program you want to run.
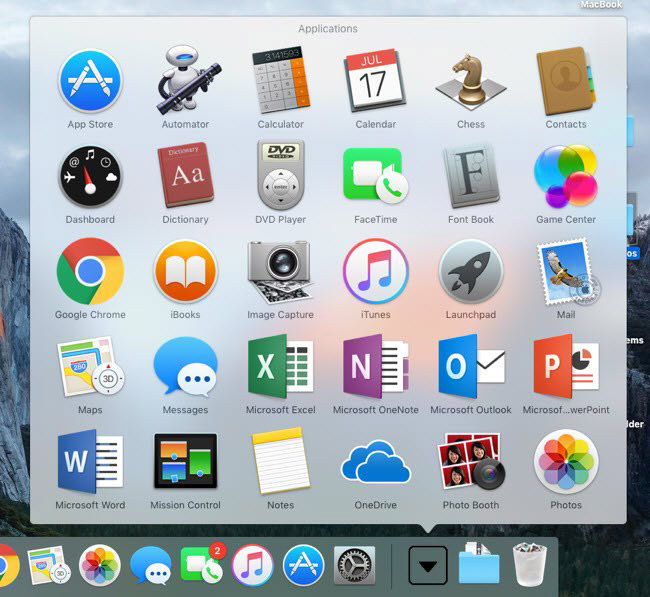
You can also use Launcher (silver / gray rocket icon in Dock), but usually very few people use this tool.
Tip # 3 - Remove the drives with Trash
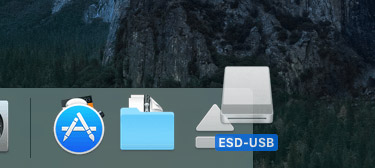
This is the most useful tip. For a long time, Apple confuses people when it comes to removing devices from the system. To remove the flash drive or DVD, you must right-click and select the Eject or you must drag the item to Trash.
This will be like dragging the USB drive into the Windows Recycle Bin . This step basically means removing everything! So obviously, every user will not like the idea of throwing anything with important data in the trash!
However, even if you do that in OS X, no data will be lost. You'll notice, in fact, when you click and drag the external drive or any drive in OS X into Trash, its icon may change to an eject icon. This makes users feel much more secure.
Tip number 4 - Customize Finder
Finder is basically the same as Windows Explorer. However, many people prefer the detailed view and the messy part of Explorer than the streamlined Finder. Very simple to change this.
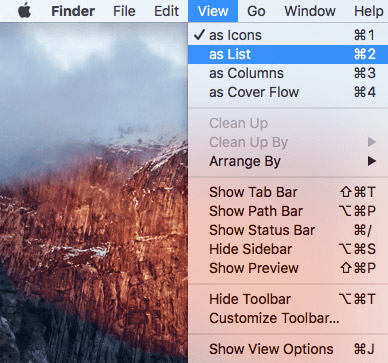
To add more things to the Finder, open the Finder window and then click View , then click the Show Path Bar and Show Status Bar options . This will make the Finder look more like Explorer.
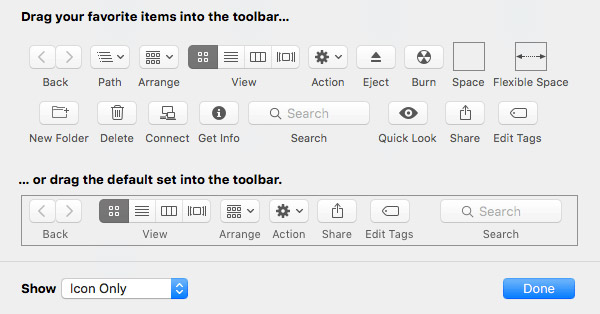
When in View mode, click Customize Toolbar to add some useful icons to the default toolbar. For some users, they will want to add New Folder, Delete and Get Info buttons to the toolbar.
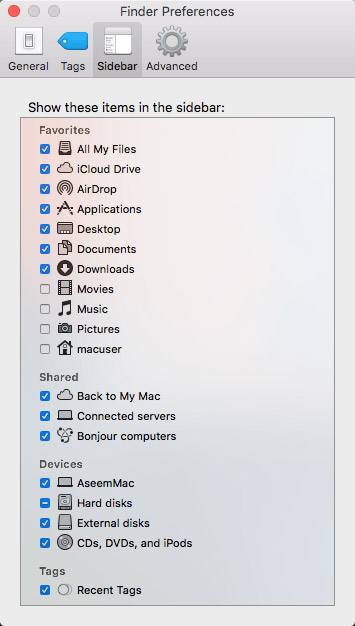
Finally, click Finder, then select Preferences and then click Sidebar . Here, you can add other items to the Finder sidebar like Pictures, Music , etc. This is similar to the library folder in Windows.
On the General tab, you can also edit the New Finder window displaying options and select an option other than All Files . You can choose the home directory just like in Windows Explorer.
Tip No. 5 - Learn how to use Spotlight
If you are familiar with the search box in the Start menu on Windows, you'll be happy to know that there is an equivalent search option in OS X called Spotlight. You can access it in two ways: by clicking on the magnifying glass at the top right of the screen or by pressing the shortcut key Cmd + Spacebar .
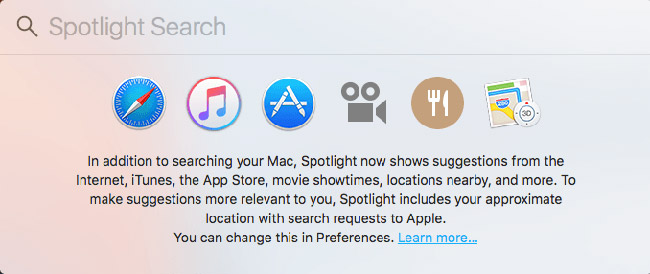
Using Spotlight is the best way to find files, change settings in OS X, find applications to install, find emails, find events on the calendar, etc. It also displays results from the web, so you can search, receive suggested sites and even maps in Apple store.
Tip No. 6 - OS X uses separate space for each application and full screen mode
One thing you must be familiar with is understanding the three buttons at the top left of every work window. In Windows, you have three buttons: minimize button, extension button and close button. In OS X, you have a red close button, a yellow thumbnail button and a green extension button, but vary depending on each program.
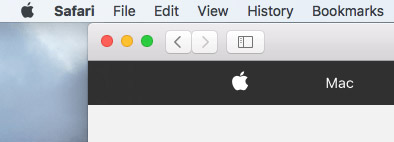
For example, if you click on the green button in Safari, it will expand to full screen and everything else will disappear. If you move the mouse over the top of the screen, you will see the toolbar. But where are other windows and how do you get them back?
In OS X, the application basically went into its own space. If you scroll up with three fingers, you'll see something called Mission Control . Basically, it shows you a thumbnail of every desktop or program that is using its own space.

They are basically virtual desktops in OS X. Most integrated applications will use up their space when expanded with a green button. You can click on a space to activate or you can use the three-finger swipe to the right or left to skip the spaces. Many users like this feature because it allows you to work in an application comprehensively, but still allows you to move quickly to other applications.
However, on some applications, the application will expand to full screen but not go into its own space. Basically, it will remain on the original desktop and only occupy most of the screen. Most third-party applications such as Microsoft Office now support full-screen mode into their own space.
You can also click the small plus icon to add a new desktop if you want. You can have specific programs open in specific desktops if you like and you can even change the background so that each desktop has a different background. It takes a bit of testing time, but once you get used to it, you will love to use it. Just remember the three-finger swipe.
- How to change the default macOS Sierra wallpaper
Tip No. 7 - Install the program from the Mac App Store
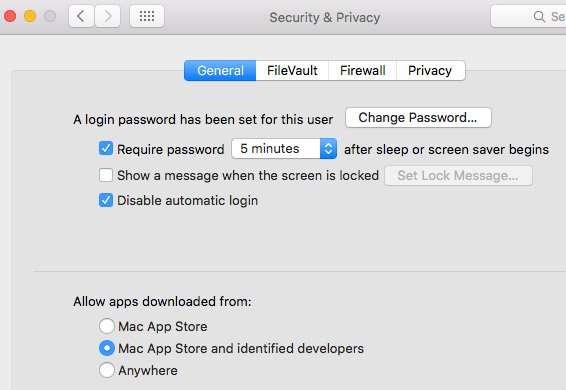
By default, Apple tries to protect you by only allowing you to install applications from Mac App store and from defined developers. In a sense, it is very good because it makes you safer without doing much.
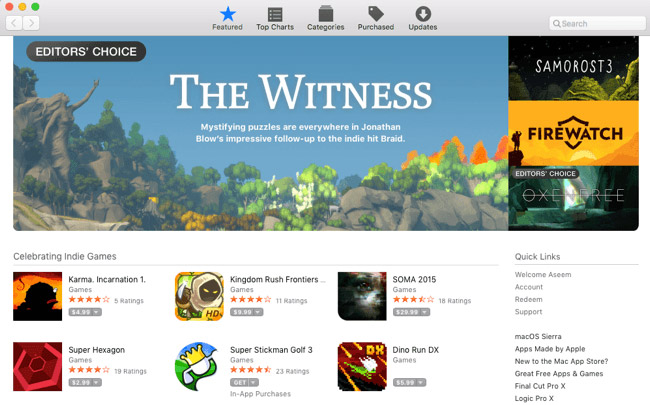
If you want to install a new program, the best place is to go to the Mac App store. While Windows software is usually downloaded from anywhere on the Internet, most of the programs you need to install on your Mac will be available in Mac App store. If you really need to install some software from some other place, you can go to System Preferences - Security & Privacy and select Anywhere in the Allow apps downloaded section from .
Hope 7 tips above are some useful tips for beginners to use Mac and are familiar with using Windows for a long time. There are many differences, but if you can overcome these, you will definitely enjoy using the Mac. Good luck!
See more:
- Some useful file manipulation tips on macOS
- 8 tips when using Quick Look in OS X
- 10 ways to speed up Mac OS X