How to automatically wrap lines in Excel (Wrap Text in Excel)
The line break in Excel is not as simple as pressing Enter as in MS Word software. Today, Dexterity Software will guide you to the Warp Text tool to automatically wrap lines that match the width of the column!
Table of Contents

For long paragraphs of text, you need to break a line or you need a new line to align the content so that it is balanced and beautiful. However, line breaks in Excel are not as simple as pressing Enter as in MS Word software.
Today, Dexterity Software will guide you to the Warp Text tool to automatically wrap lines that match the width of the column!
Use Warp Text to automatically wrap lines for an individual cell
For example, if you have the following worksheet, columns E, F, G have longer headers than the width of the column. You do not want to adjust the width of the column.
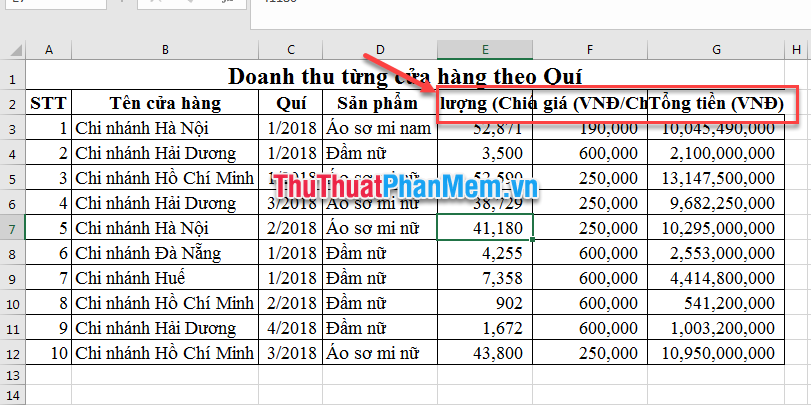
Step 1: Select the cell you want to automatically wrap the line. On the Home tab (1) click on the Wrap Text icon (2) .

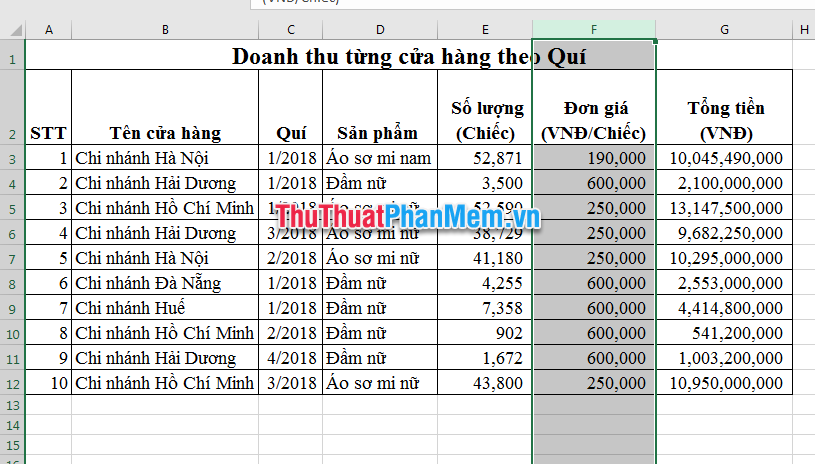
Step 2: Excel will automatically adjust the width of the row (without adjusting the width of the column) and down the line in Excel.

Step 3: For column F, despite automatic adjustment, the line breaks are not aesthetic due to the width of the column. So you can add the operation automatically adjusts the width of column F accordingly.
Automatically breaks data cells that are merged from multiple cells
The Warp Text tool can only be applied to individual cells, with cells merged with the Merge & Center tool not automatically breaking lines. So to auto-break lines for merged cells you can use by running the following Marco:
Private Sub Worksheet_Change(ByVal Target As Range)
Dim NewRwHt As Single
Dim cWdth As Single, MrgeWdth As Single
Dim c As Range, cc As Range
Dim ma As Range
With Target
If .MergeCells And .WrapText Then
Set c = Target.Cells(1, 1)
cWdth = c.ColumnWidth
Set ma = c.MergeArea
For Each cc In ma.Cells
MrgeWdth = MrgeWdth + cc.ColumnWidth
Next
Application.ScreenUpdating = False
ma.MergeCells = False
c.ColumnWidth = MrgeWdth
c.EntireRow.AutoFit
NewRwHt = c.RowHeight
c.ColumnWidth = cWdth
ma.MergeCells = True
ma.RowHeight = NewRwHt
cWdth = 0: MrgeWdth = 0
Application.ScreenUpdating = True
End If
End With
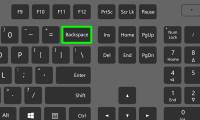
End SubOpen VBA window by pressing the key combination Alt + F11 , On the Sheet name contains the cell you want to automatically wrap the line you right-click select Insert -> Module .
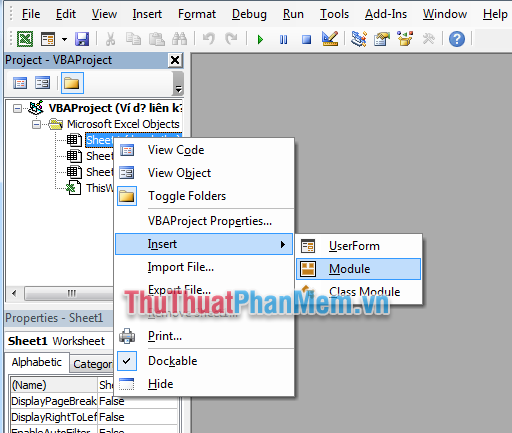
Copy the above code into the Module window.

Return to Work Sheet, double-click the cell you want to auto-break, and then press the Enter button to automatically wrap the line.
The result is as shown below:

Good luck!
Was this article helpful?
Your feedback helps us improve.
Related Articles
 How to indent the line in Excel2 minutes read
 How to Wrap Text in Word6 minutes read
 Instructions automatic text carriage return in Excel - Auto line breaks when the width of the column in Excel4 minutes read
 How to wrap text in an Excel cell - Wrap text in an Excel cell2 minutes read
 Wrap text in Word3 minutes read
 How to Wrap Text Around a Picture in Publisher4 minutes read
Reader Comments 0
Sign in with email or Google to join the discussion.