The most detailed and complete AirServer manual
This is the instruction to play the phone screen on the computer with AirServer with instructions on using the tools available in AirServer.
Table of Contents
AirServer is a software that will help you transfer screens from mobile devices to computers with extremely good image quality. How to share the phone screen on AirServer's computer is similar to the way Apple TV or Chromecast still uses to share the screen.
AirServer can be said to be a combination of AirPlay, Google Cast and Miracast. All in one compact and easy to use software.
The areas commonly used by AirServer are jobs, games, education or home entertainment, work, video recording and good support for game developers, software, applications . To use the part AirServer software, please take a look at the article below.
- 7 best file management software for Windows to replace File Explorer
- Instructions for using iPhone 7, iPhone 7 Plus for newbies
- The best free Photoshop replacement software
How to use AirServer to livestream your phone screen on your computer
1. Instructions for installing AirServer
First you need to access this link to get the download link, then select the link to download the main AirServer. Below is the link to download the 64bit and 32bit versions of AirServer.

After downloading the AirServer installation file, click Next to start the installation.

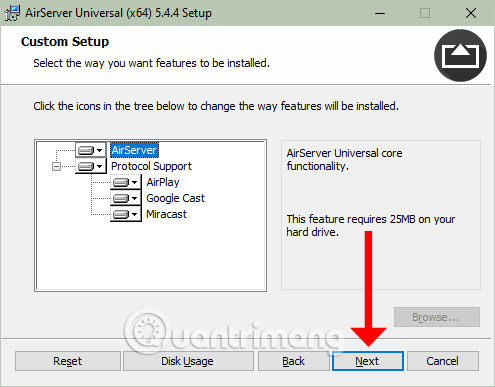
Continue to click Next in the Custom Setup section .
Select I accept the terms in the License Agreement to agree to the publisher's terms and click Next.

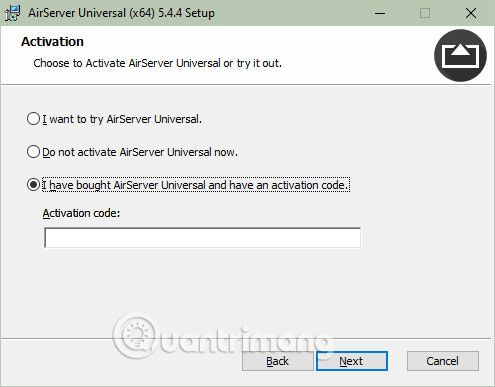
Next is the software activation interface, if there is an activation key, please select I have bought AirServer Universal and have an activation code and record activation key in the box below.
With the option I want to try Universal AirServer, you will be tested 14 days before requesting activation of the software. The Do not activate AirServer Universal now option is not yet activated AirServer right now. Select the software activation option and click Next.
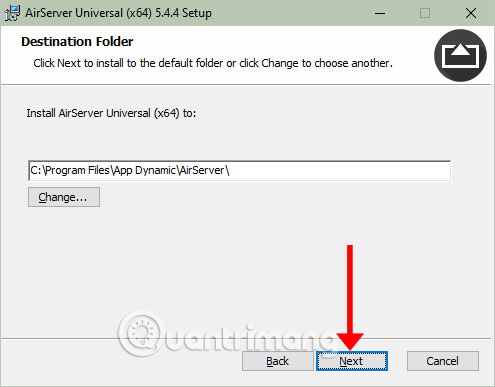
In this step you can change the installation path of AirServer. The default path is in drive C, press Change . to change the path to install AirServer and click Next.
You will then be able to select the option to start AirServer with your computer, select No to not start AirServer with Window.

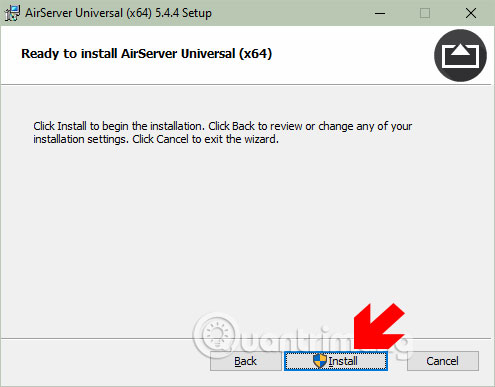
Finally, click Install to install AirServer on the computer.
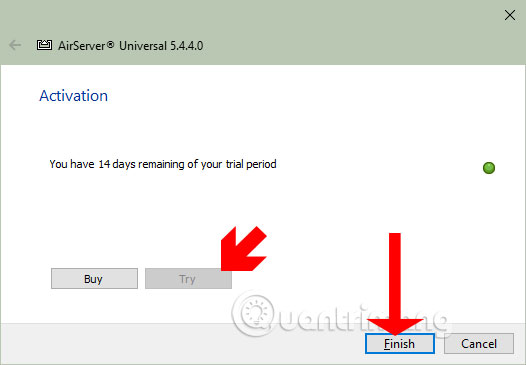
Here I choose to try it, so when installing the AirServer, I will notify you if I want to buy the software, please select Try then click Finish to finish.
2. Instructions for using AirServer
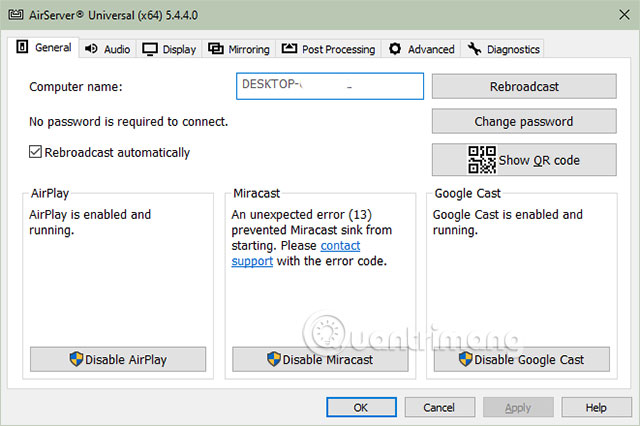
The main task of AirServer is to play the phone screen on the computer screen. Now turn on the AirServer software, leave the General tab interface intact and take your phone out to connect the phone screen to the computer.
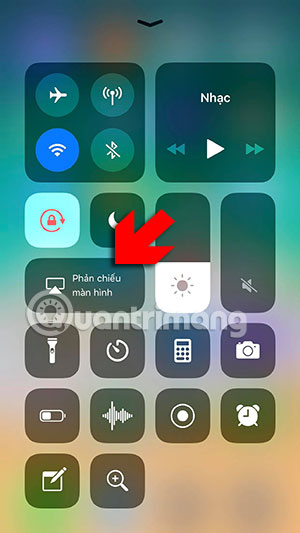
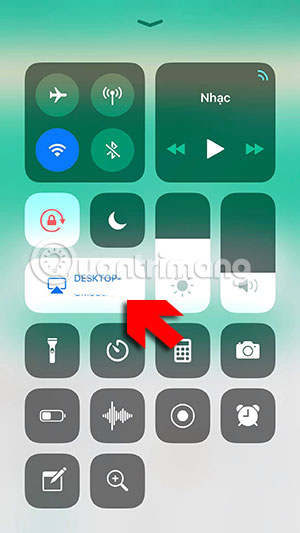
Here I use iPhone, swipe from bottom up and select Screen mirroring . Next choose the computer using AirServer as computer name. If you don't see the device name, wait a while.

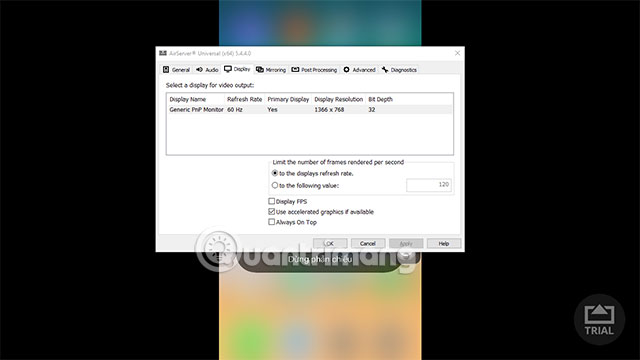
And your phone will be screened on your computer, with a Trial sign in the lower right corner.
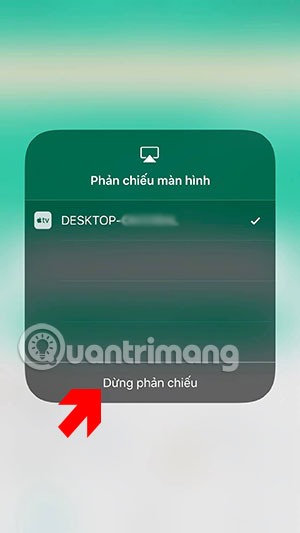
Then your phone screen will display a blue bar at the top, accompanied by a screen mirror icon. If you want to turn off the screen projection, go back to the screen mirroring menu and click stop the connection.
Or simply, you can turn off the screen mirroring by pressing the power button to turn it off. Then open it again.
In addition to putting your phone screen on your computer, you also have tools to optimize or support the hardware when using AirServer.
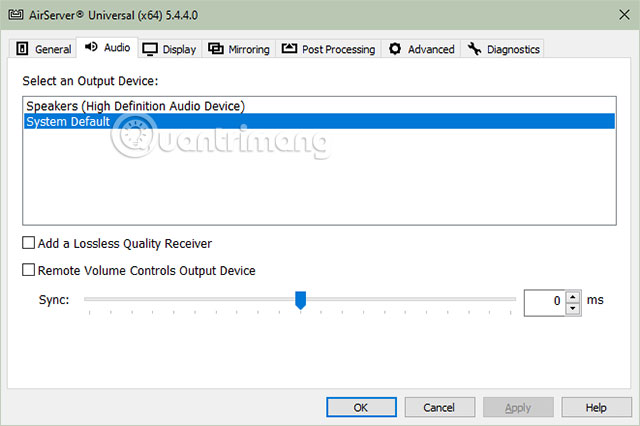
The first is the Audio tab, you can select audio output devices when using the phone that is streaming to the computer screen.
For example, if you need to instruct others to do things on your phone and transfer images from your phone to your computer, you can choose an output device such as a microphone to give voice guidance.
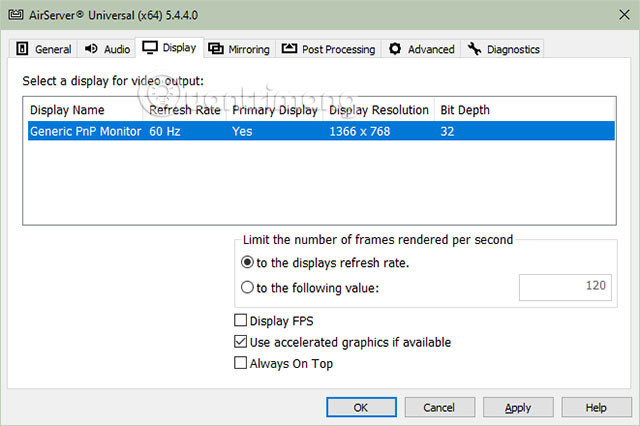
The Display tab will tell you the screen resolution of the computer you are using, and you can set a limit on the number of frames displayed per second.
With the Mirroring tab you will be able to choose the resolution according to the available standards, or choose a resolution by model.

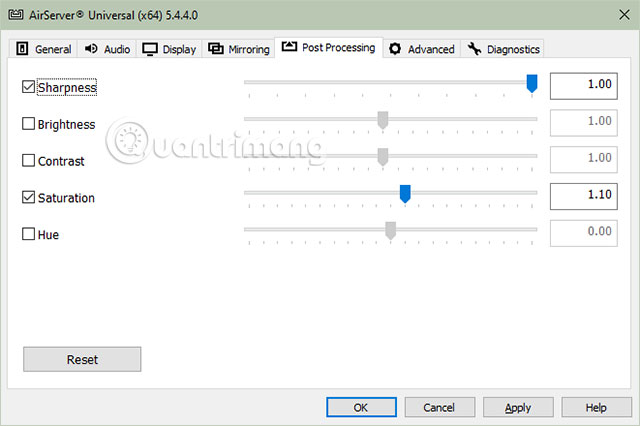
Post Processsing is the part where you will be selected for image-related modes such as fineness, brightness, contrast, saturation, color .
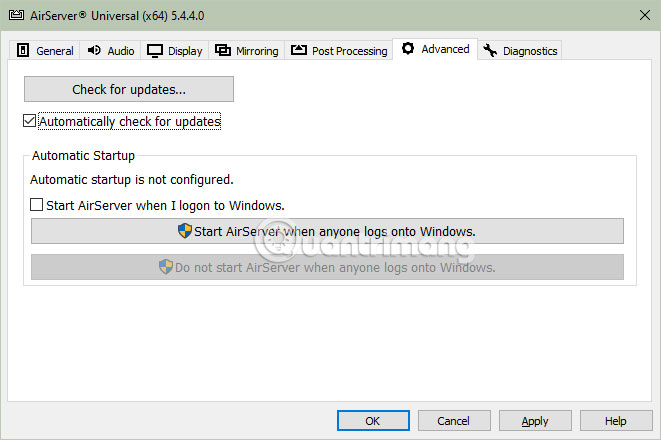
On the Advanced tab, you can choose to automatically update to the latest version, or automatically start on the system.
The last tab on Diagnostics will tell you the times of the crash, allowing you to log into a folder of AirServer named Logs on your computer.

The above are some guidelines for using the AirServer application and the features on the AirServer tool. Very simple and not too complicated for you to use the tools of AirServer besides the screen transfer on the computer.
Was this article helpful?
Your feedback helps us improve.
Related Articles
 Is the fruit juicer good? Should I buy?8 minutes read
 How to Ride a Manual Motorcycle11 minutes read
 Manual Discord from AZ4 minutes read
 How Copilot in PowerPoint helps you complete any presentation.6 minutes read
 How to create a consistent brand manual6 minutes read
 Features in the Rules of Survival Training Manual3 minutes read
Reader Comments 0
Sign in with email or Google to join the discussion.