How to use Google Assistant in IoT projects
In this article, TipsMake.com will guide you through the basic steps needed to integrate Google Assistant into an IoT project.
Table of Contents
In this article, TipsMake.com will guide you through the basic steps needed to integrate Google Assistant into an IoT project.
Currently, Google Assistant is available with phones, speakers, cars and wearable devices. But after following these steps, you can also configure Google Assistant with unmanned aircraft, sensors, smart lights and many other devices.
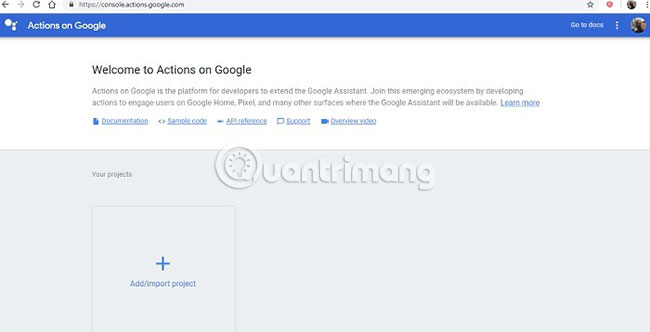
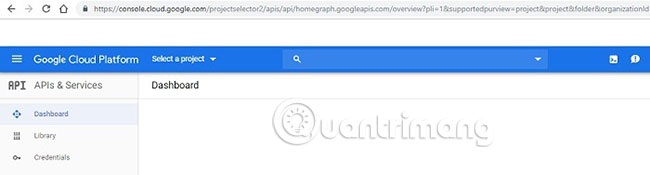
For the project you selected, visit the developer website (link: https://developers.google.com/) and log in with your Google Play Developer account. You have to pay a one-time registration fee of $ 25 (580,000 VND) to become a Google developer. In the product search menu, select ' Actions on Smart Home '.
Step 1: Create a smart indoor action
The first step, you need to define an appropriate action that users can issue voice commands. In Google's words, an action defines support for the user request (expressed in the form of an intention) and the corresponding completion to fulfill the request.
For example, 'light up' or 'unmanned aircraft control' are some examples that can form actions.
To find the code for action, you can use the example from start to finish or create your own project in the Actions control window (reference link: https://console.actions.google.com/?pli = 1).
Note : You must use the Developer account.
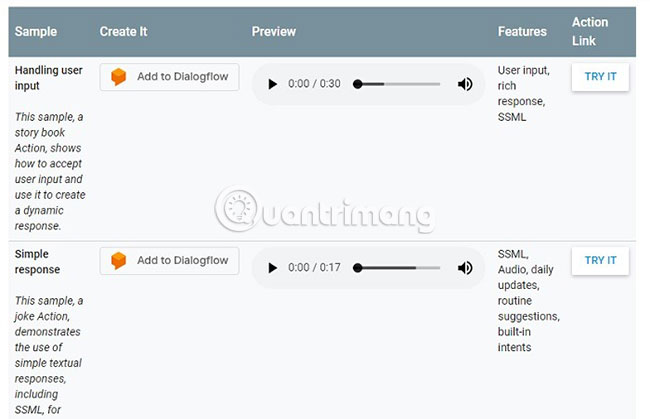
At Google Developers website, you can find many sample actions like 'handling user inputs' ( handling user inputs ) or 'simple responses' ( simple responses ). They can be entered into the Actions panel for smart houses.
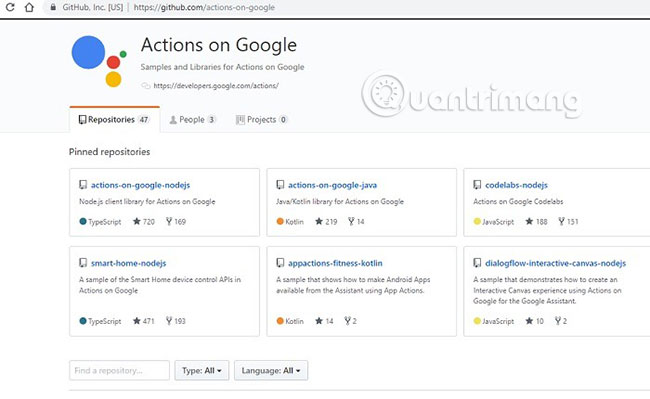
The end to end examples are also available as GitHub repositories (link: https://github.com/actions-on-google). Make sure you have a public oAuth 2.0 server to link your account.
Step 2: Handle your smart home intentions
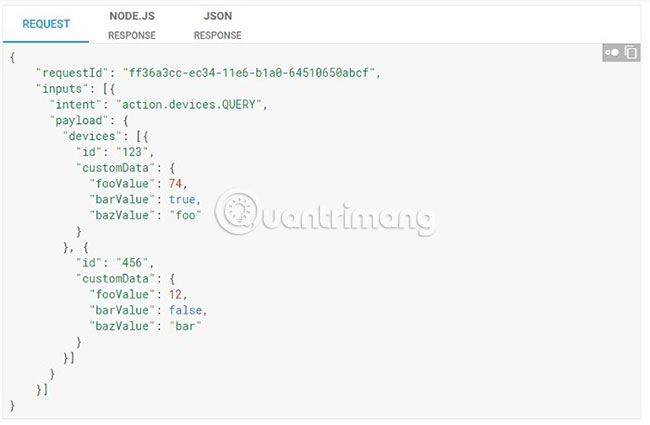
After creating a smart home action and completing them on the dashboard, the next step is to try and capture the user's intent in programming languages like Python. This includes providing implementation and returning error requests.
Some of the error responses may include: authExpired (meaning expired login information) and devicePackline (meaning the target is inaccessible and timeout).
Finally, implementation will minimize any delay between Google Assistant and the cloud API for the project.
Step 3: Perform the required synchronization
After creating smart home actions and testing for all possible intentions, you must synchronize your device with any Google user ID. For this, a specific sync request will be sent. Once completed, users can sync their Google account directly in any of the following situations:
- Add a new device
- Delete an existing device
- Rename an existing device
- Change device location
- Implementing a feature or feature on the new device
Step 4: Deploy report status
One of the most important features of integrating Google Assistant with IoT devices is the implementation of reporting status. This is useful when Google Assistant can directly look up user status on the network for the device. In this way, it does not have to re-query to determine the action process, so there is no delay between the request and the user's execution.
A user report status can be viewed directly in the 'Home Graph', available at the console window.
Step 5: Check and send action
From the Actions panel, you must check your actions with an available emulator right there. After completing the tests, you can send the action to integrate eventually with the IoT device.
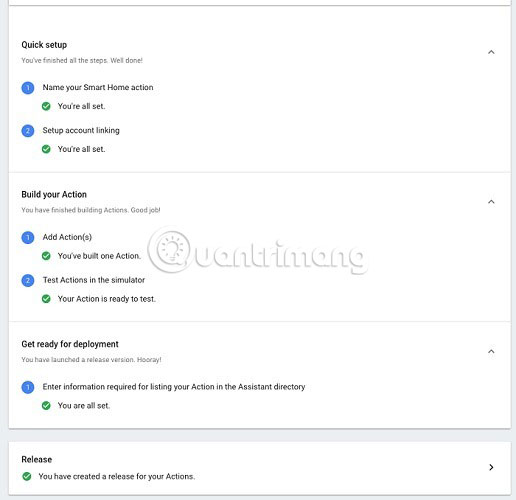
In addition to the standard five steps discussed here, there may be additional steps to integrate two touch elements and voice. By building exactly one action and testing it, you can create a smart device with Google Assistant.
Have you tried using Google Assistant with IoT projects? If yes, share your experience in the comment section below!
Hope you are succesful.
Was this article helpful?
Your feedback helps us improve.
Related Articles
 What is Google Assistant? How to use it?7 minutes read
 Google's next-gen AI assistant could control your entire phone5 minutes read
 How to translate a conversation on Google Assistant3 minutes read
 Google announces the new Google Assistant with incredible speed2 minutes read
 8 best projects eliminated by Google6 minutes read
 The words of 'hegemony' of Google Assistant2 minutes read
Reader Comments 0
Sign in with email or Google to join the discussion.