Table of Contents
This guide provides a clear, practical overview of steps to rename the user folder in Windows 10, with useful context, important details, and straightforward takeaways for everyday readers.
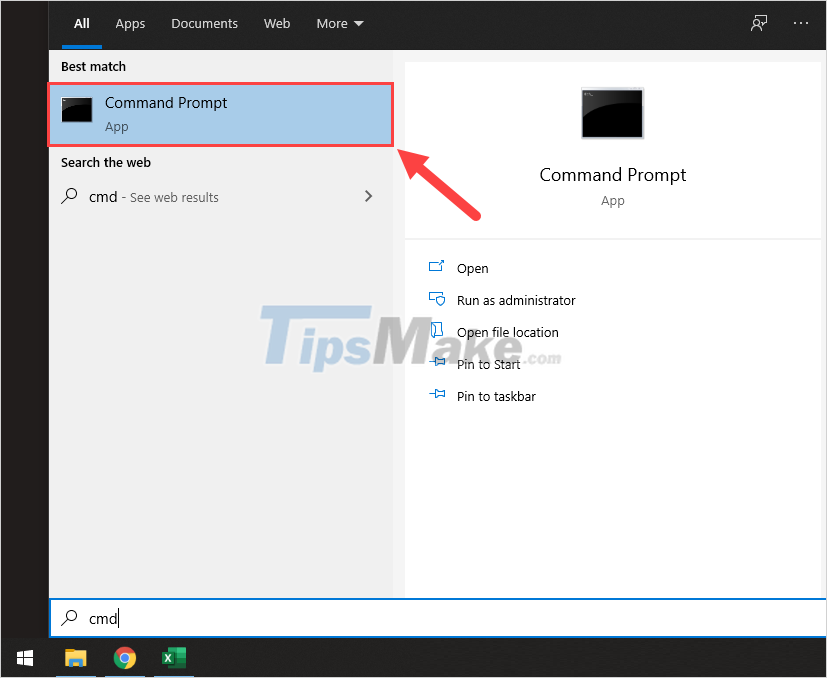
You proceed to open MenuStart and enter Command Prompt to open CMD on the computer.
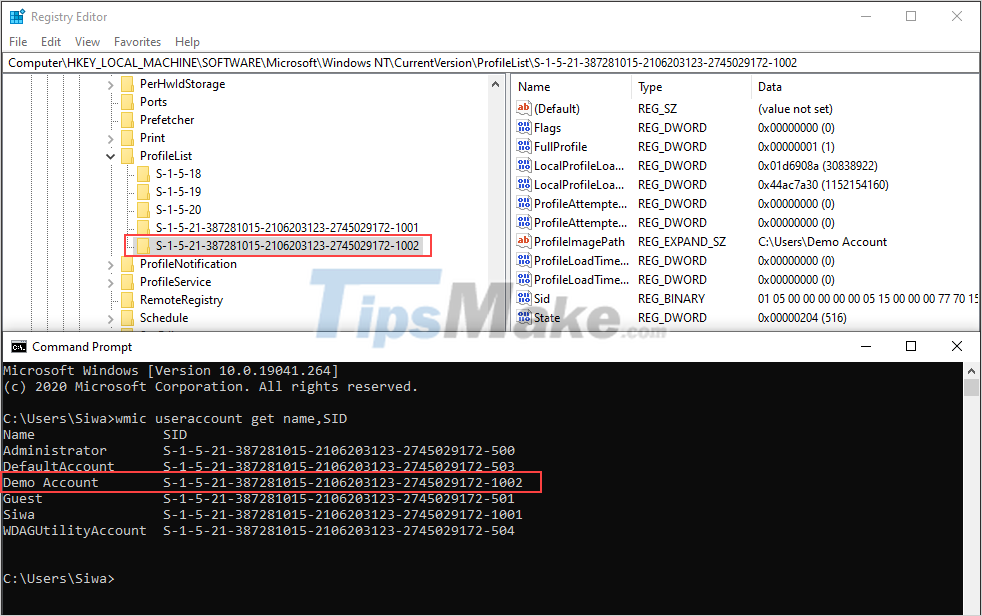
Step 2: When the CMD window appears, enter the command 'wmic useraccount get name,SID' and press Enter to view the Users on Windows 10.
After viewing the list of Users on Win 10, you proceed to leave the CMD window intact to move to the next step.

Step 3: Next, you continue to open the Start Menu and enter Registry Editor to open it.

Step 4: When the Registry Editor window appears, proceed to Copy the link below and Paste it into the path to open.
ComputerHKEY_LOCAL_MACHINESOFTWAREMicrosoftWindows NTCurrentVersionProfileList

Step 5: At the Registry window, you will see a series of codes inside ProfileList. Your job now is to determine the correct code of the User account that needs to be renamed.
In this article, Software Tips will rename the User folder of Demo Account.
Step 6: After determining the correct User folder to be renamed, open ProfileImagePath (1) and enter the new User folder name in Value Data (2). Finally, click OK (3) to finish.

Step 7: After renaming the User folder on Windows 10 in Registry Editor, you need to log out of your account and perform a few more steps. To log out of your account, open MenuStart -> Account -> Sign out.

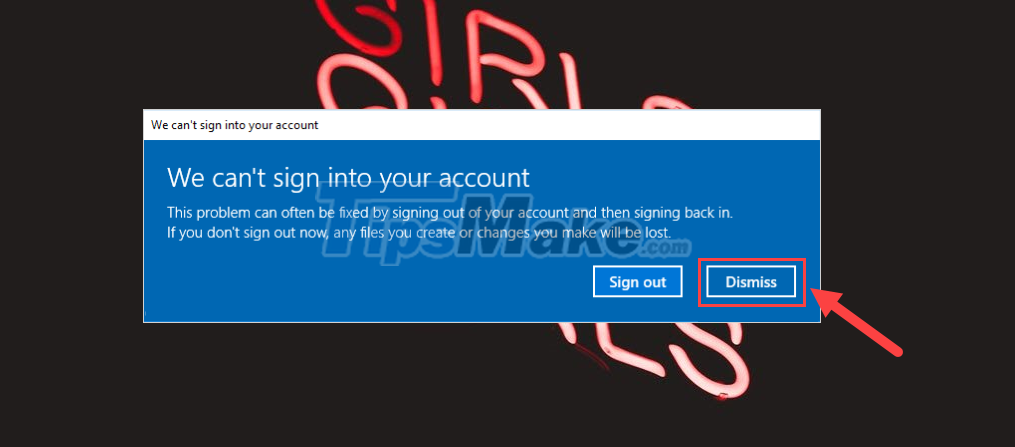
Step 8: Next, a notification window will appear, select Dismiss.
Step 9: Your last remaining job is to proceed to access the User folder on Windows 10 and Right-click -> Rename to proceed to rename them.
Note: You must change the name correctly with the name set in the Value Data section (Step 6), otherwise you will get an error and have to change it again.
After renaming is complete, you proceed to log out of your account like Step 7 and log back in to complete.

In this article, TipsMake showed you how to rename the User folder in Windows 10 quickly and without errors. Have a nice day!
Key Takeaways
Use the information above as a practical reference for steps to rename the user folder in Windows 10. Review each step carefully, confirm any requirements, and choose the option that best fits your situation.
FAQ
What does this guide explain about Steps to Rename the User Folder in Windows 10?
It explains the main concepts, practical considerations, and useful steps related to steps to rename the user folder in Windows 10 without requiring advanced knowledge.
Who can benefit from learning about Steps to Rename the User Folder in Windows 10?
This information is useful for readers who want a clear overview, practical guidance, and reliable steps related to steps to rename the user folder in Windows 10.
What should I check before applying this information?
Review the requirements, confirm that your device, software, or situation matches the instructions, and back up important data before making major changes.
Related Articles
 6 Ways to Rename Files and Folders in Windows 105 minutes read
 How to Rename the User Folder on Windows5 minutes read
 How to Change the Name of the User Profile Folder in Windows 105 minutes read
 How to Rename User Win 10, Rename Users on Windows 103 minutes read
 How to Set the Default Name of a Newly Created Folder5 minutes read
 How to Change User Profile Folder Name in Windows 11: Clear Instructions6 minutes read
Reader Comments 0
Sign in with email or Google to join the discussion.