Table of Contents
This guide provides a clear, practical overview of steps to draw curves in autocad, with useful context, important details, and straightforward takeaways for everyday readers.
1. Draw a curve with the Spline . command
1.1. Draw curves
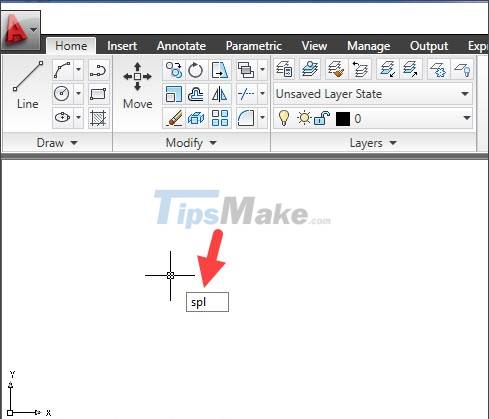
Step 1: You enter the command spl => press Enter.
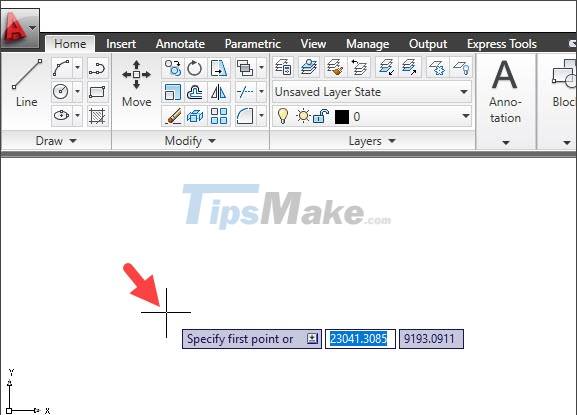
Step 2: You click on the starting point to draw.
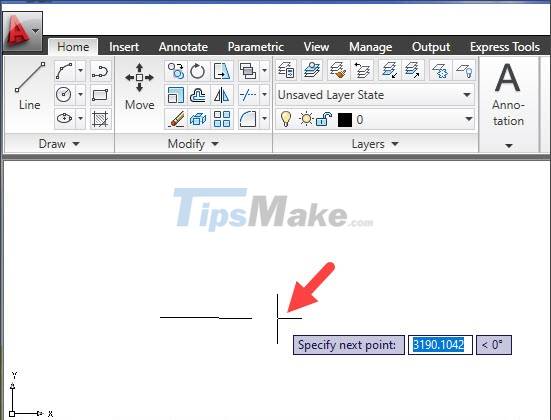
Next, you click on the 2nd, 3rd, 4th . to create curves. Press Enter to finish creating the points.
Step 3: You need to create a tangent point for the Spline curve. Click anywhere to create the first point of contact (Start tangent).
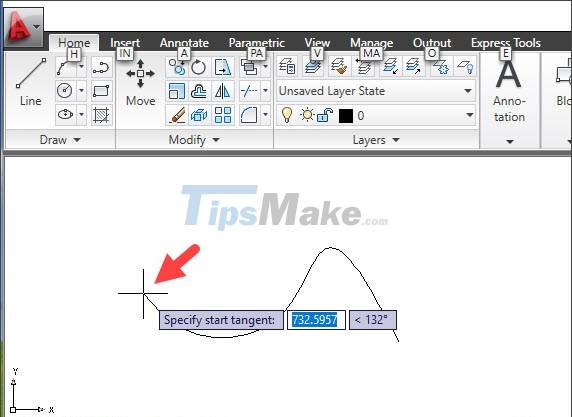
Next, click on the 2nd touch point (End tangent) to create.
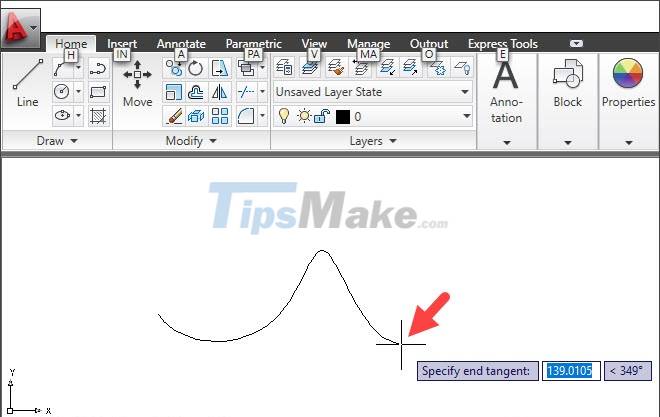
And finally, you have created the curve in a graph style.
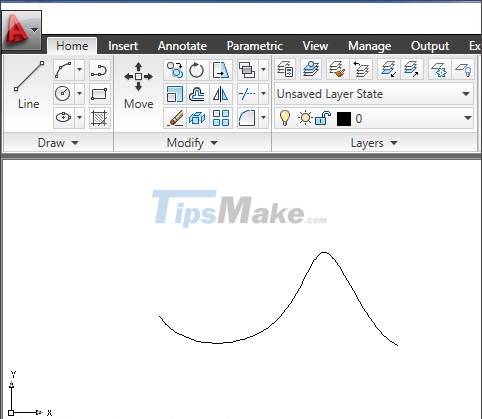
1.2. Curve editing
If the curve is not what you want, you can correct it by following these instructions:
Step 1: You click on the curve to select and edit.
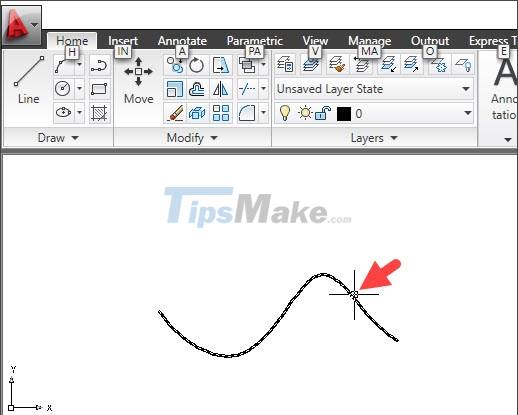
Step 2: You click on the blue button points and move to a new location.
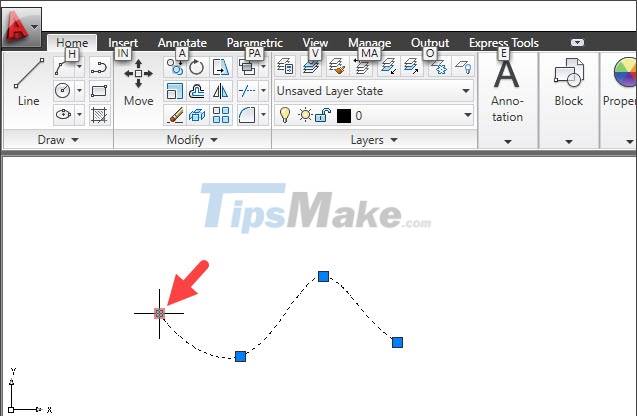
You drag and move the node to different positions to create the shape you want.

Once set up, you will have a new curve template.

2. Draw a curve with the ARC . command
The ARC command is a bit difficult to draw for newbies, but with a lot of practice, you will get used to it. This command helps you a lot in work, study and is present in most technical drawings.
2.1. Draw curves
Step 1: You enter the arc command => press Enter.

Step 2: You click on the first point.

Next, you click on the second point to create a radius for the circle.
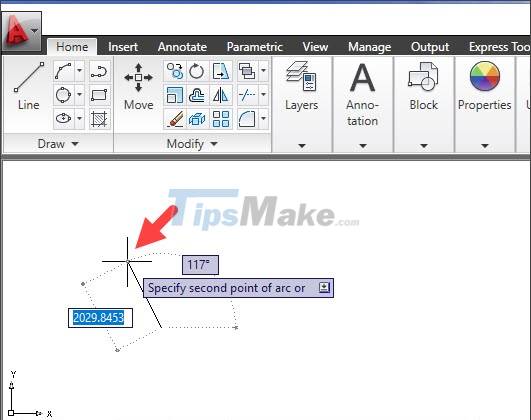
Step 3: You draw a circle clockwise to create a curve.

And finally you have finished the curve with the ARC command.
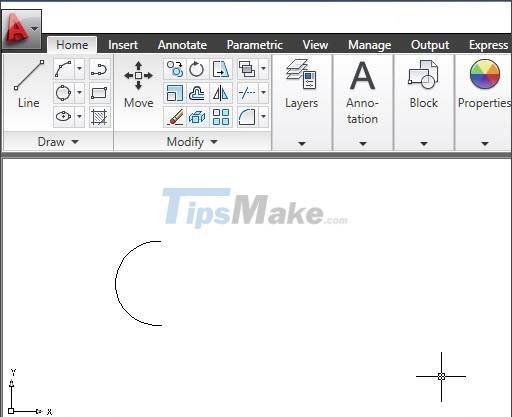
2.2. Curve editing
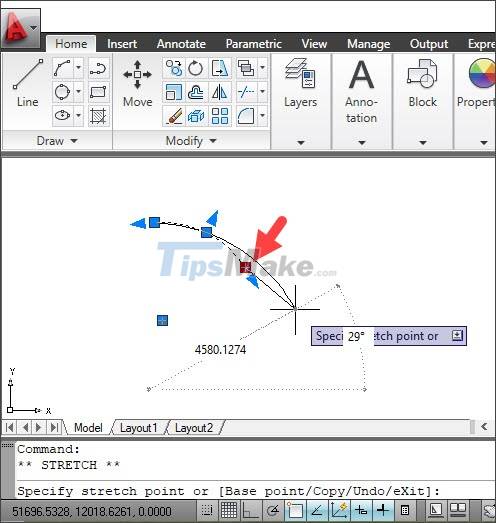
Step 1: You click on the curve to select and start editing.
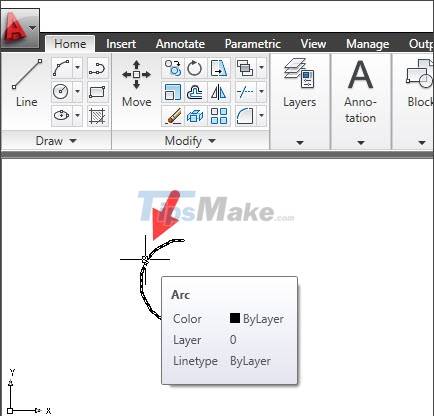
Step 2: You click on the blue triangle point and move to change the angle of the curve.
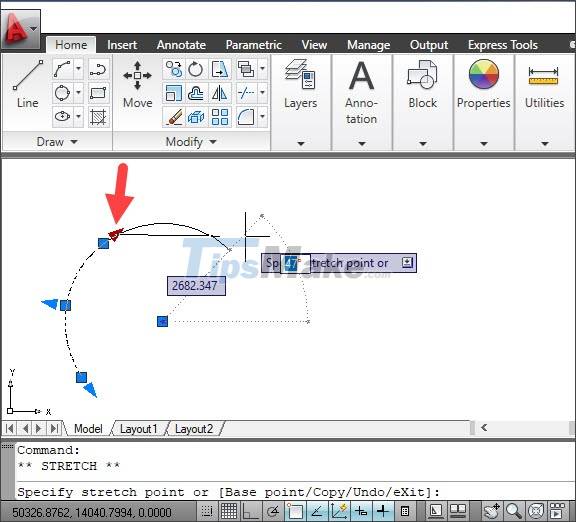
Changing the first and last two triangle points helps you create a rotation curve around the axis, and the middle point will have the effect of stretching / shrinking the curve.

Step 3: Two square nodes will enlarge/reduce the curve. And the square node in the middle will have the effect of curved up or down for the circle.
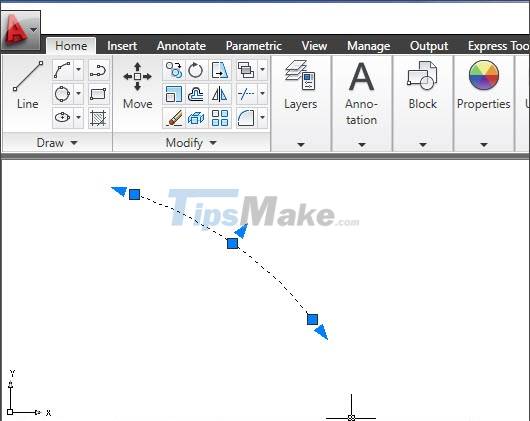
After editing, you have a new curve with the desired shape.
3. Draw Curves with Ellipse Arc
Drawing a curve with Ellipse Arc is similar to drawing an Arc curve but the curve will have an ellipse instead of a circle.
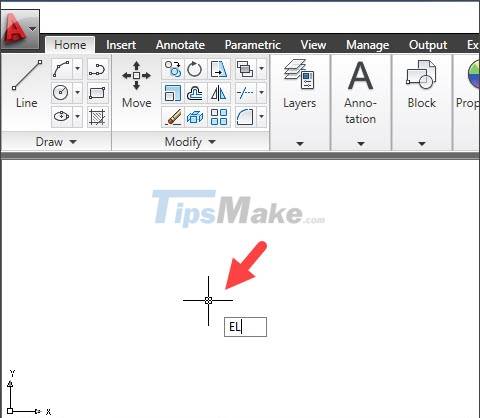
Step 1: You enter the EL command => press Enter.
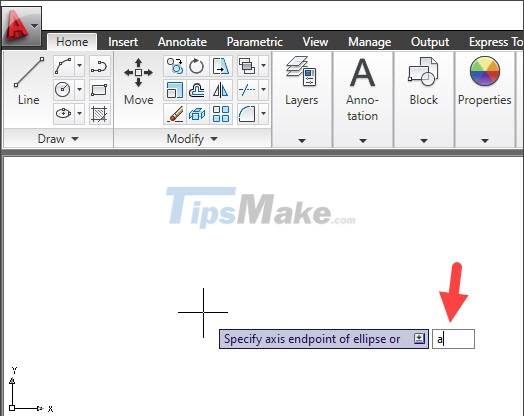
Step 2: You enter the command a => Enter.
Step 3: You click on the first point of the curve.

Next, you click on the 2nd point of the curve.

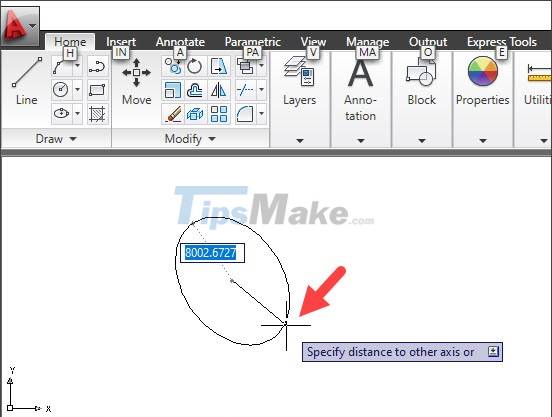
Step 4: You click and select the next point of the ellipse radius.
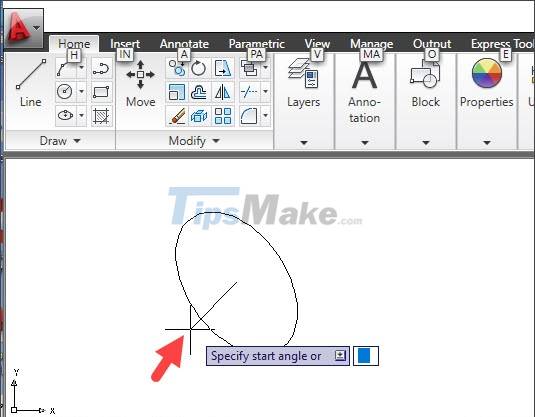
Step 5: You click on the beginning point of the ellipse.
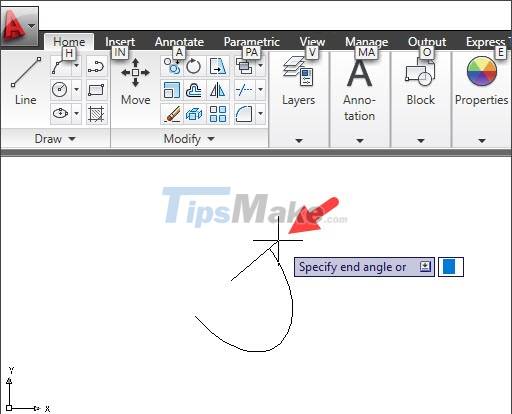
Next, you click on the 2nd point of the ellipse (counterclockwise) to create a curve.
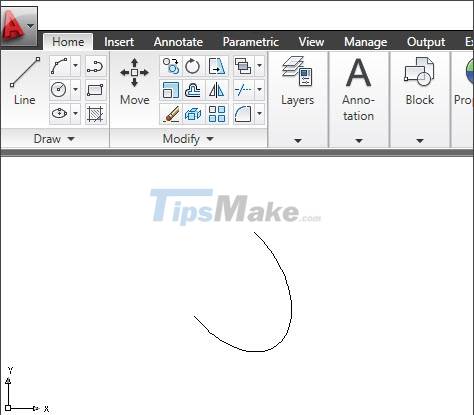
After the manipulation is done, you have the complete curve created by Ellipse Arc. Curve editing is similar to Arc curves.
Through the instructions in this article, you will understand the basic operations when drawing curves in Cad and what tool commands helps you create curves. Good luck!
Key Takeaways
Use the information above as a practical reference for steps to draw curves in autocad. Review each step carefully, confirm any requirements, and choose the option that best fits your situation.
FAQ
What does this guide explain about Steps to Draw Curves in Autocad?
It explains the main concepts, practical considerations, and useful steps related to steps to draw curves in autocad without requiring advanced knowledge.
Who can benefit from learning about Steps to Draw Curves in Autocad?
This information is useful for readers who want a clear overview, practical guidance, and reliable steps related to steps to draw curves in autocad.
What should I check before applying this information?
Review the requirements, confirm that your device, software, or situation matches the instructions, and back up important data before making major changes.





Reader Comments 0
Sign in with email or Google to join the discussion.