Cornering steps in AutoCAD trong
Bounding in AutoCad will help you turn sharp corners into soft rounded corners. This is one of the basic operations that Cad and technical drawing users need to know to apply in their work.
Table of Contents
1. Bound round corners in Cad
1.1. Using the F . command
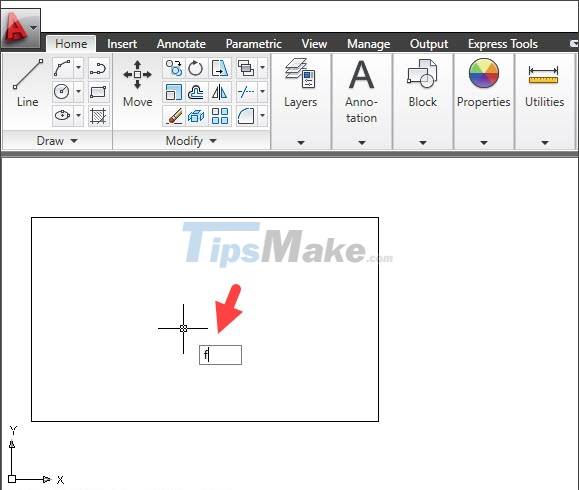
Step 1: You enter the command F and press Enter.
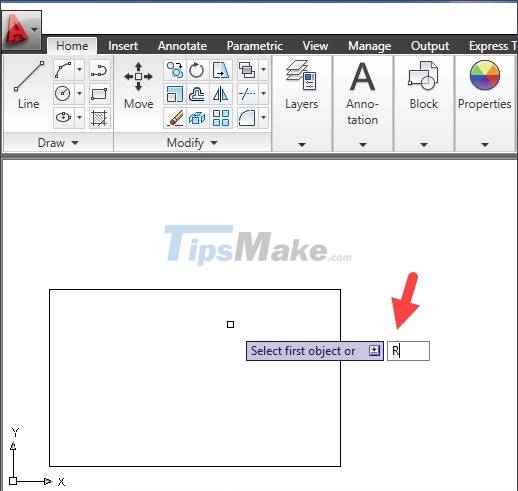
Step 2: You enter the command R and press Enter.
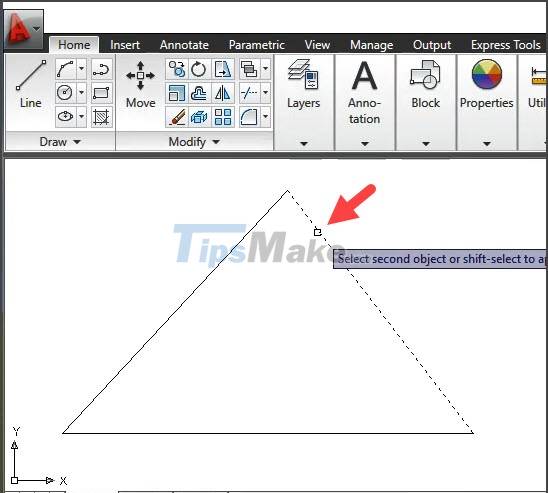
Step 3: You left click on the 1st point (1) and the 2nd point (2) to select the point to be rounded => press Enter.
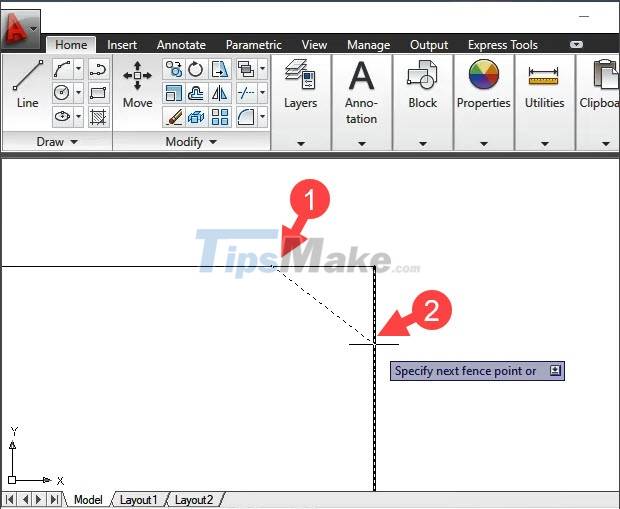
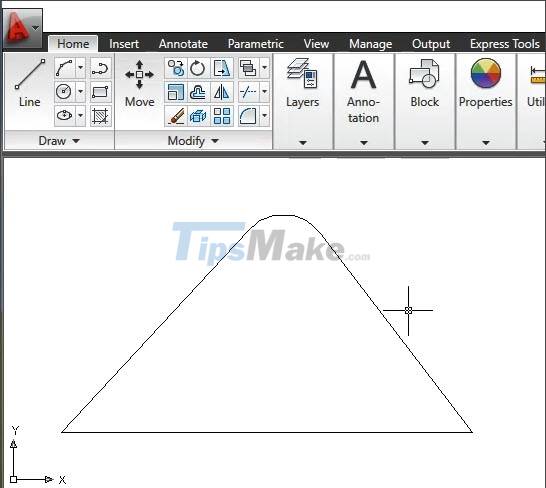
After completing the above operations, you have the corner point as set.

1.2. Using the Fillet Tool
Instead of using the command, you can use the Fillet tool to quickly contour the corners with the left mouse click. Proceed as follows:
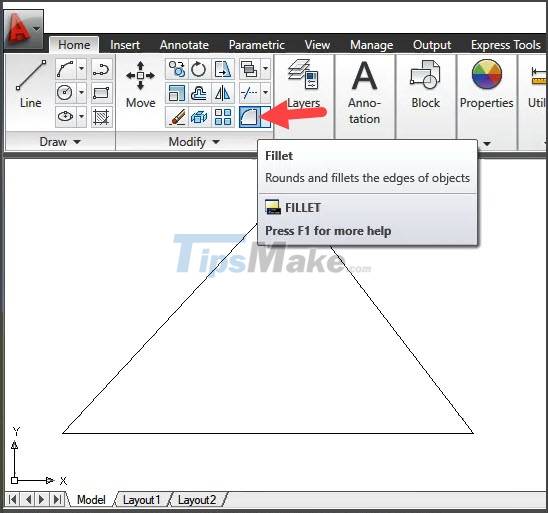
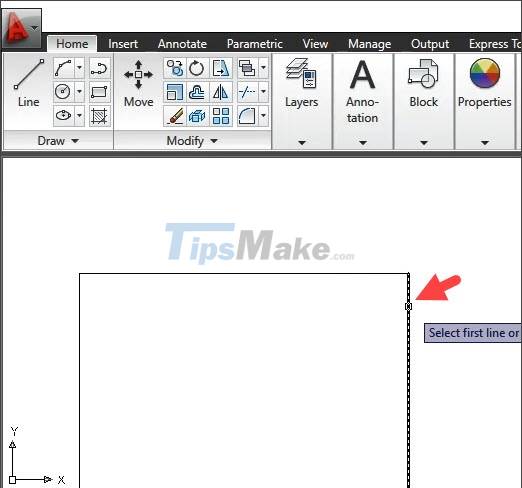
Step 1: Click on the Fillet tool.
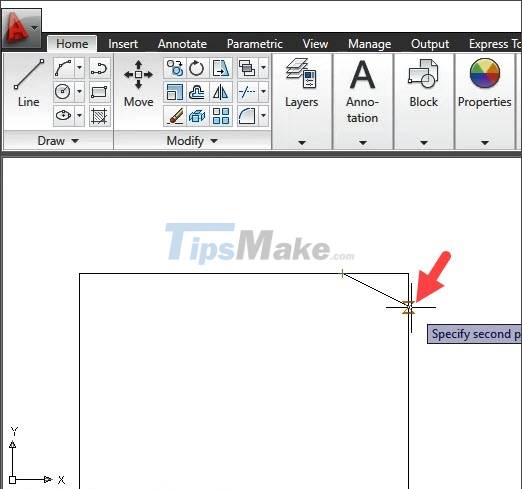
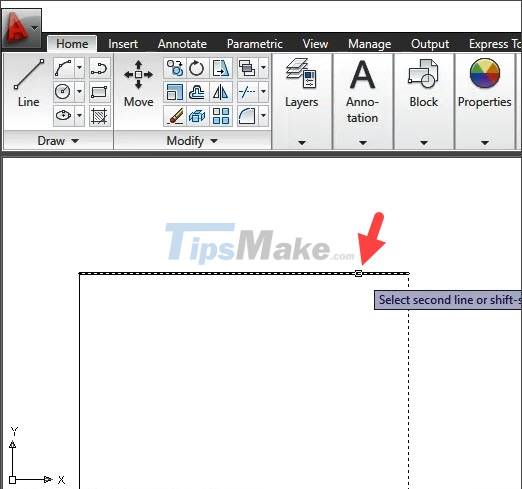
Step 2: You left click on the first corner point.
Next, you left click on the second corner point.

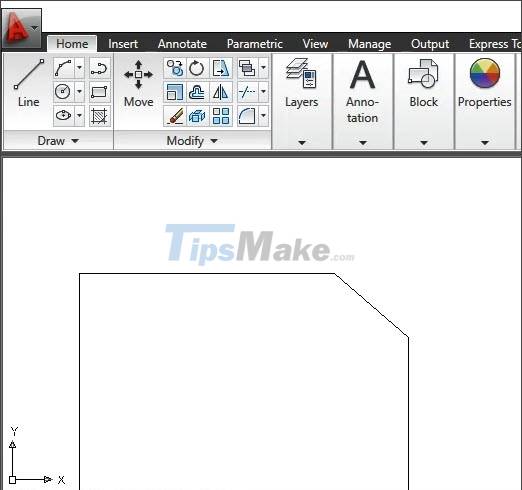
After clicking on two corner points, your drawing will be rounded as in the example below.
2. Bore chamfers in Cad
2.1. Using the MASTER command
Step 1: You enter the CHA command and press Enter.

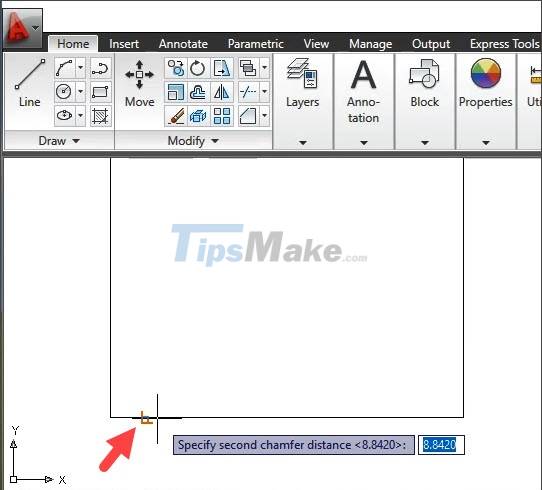
Step 2: You enter the command D and press Enter.

Step 3: Click on the first corner point.

Next, you click on the second corner point.
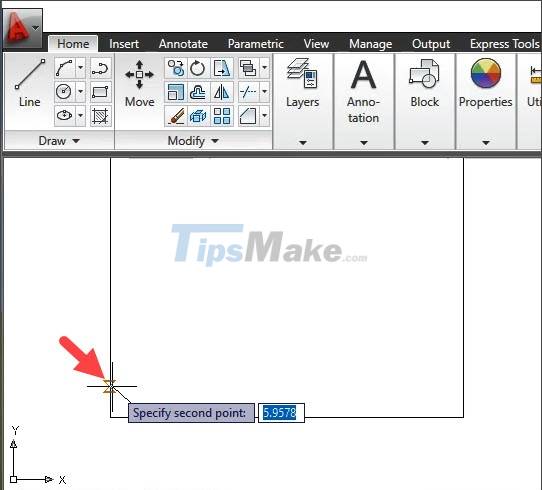
Step 4: You click on the edge of the first corner.
Next, you click on the edge of the second corner.
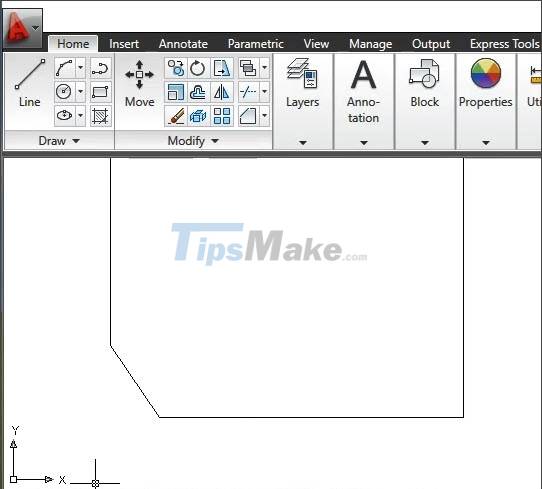
After completing the above steps, the edge you selected will be beveled as shown below.
2.2. Bound chamfers with the Chamfer . tool
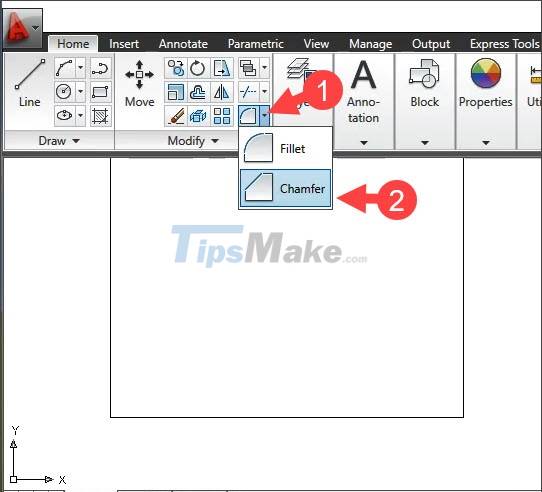
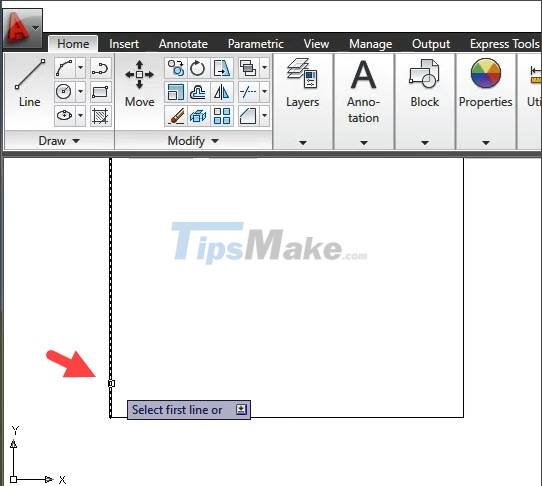
Step 1: Click on the arrow icon on the Fillet tool (1) => select Chamfer (2).
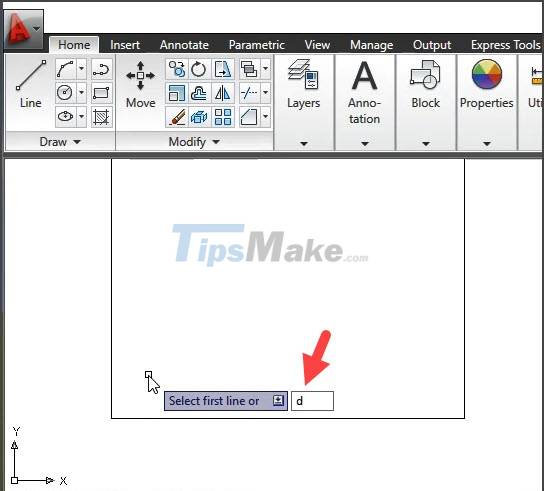
Step 2: You enter the command D => press Enter.
Step 3: Click on the first corner point.
Next, you click on the second corner point.
Step 4: You click on the edge of the first corner.
Then you click on the edge of the second corner.
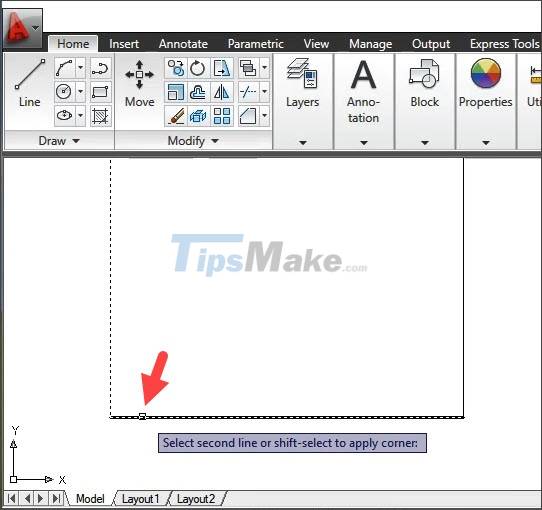
After performing the above steps, the square edge is beveled as shown below, it is successful!
With the instructions in the article, you can corner any drawing in Cad quickly and simply. Good luck!
Was this article helpful?
Your feedback helps us improve.


Reader Comments 0
Sign in with email or Google to join the discussion.