Run Ubuntu in Windows 7 using VMware Player
With VMware Player, you can install a complete Ubuntu copy and integrate it with your Windows 7 PC for free..
Network administrators - If you like to use some Ubuntu Linux programs but you like the familiar convenience of Windows 7, this is how you can take advantage of both. With VMware Player, you can install a complete Ubuntu copy and integrate it with your Windows 7 PC for free.
VMware Player allows you to easily install Ubuntu Linux as a virtual machine with just 5 clicks. You can then easily access Ubuntu programs from your desktop with Unity mode. Here's how you can set this up on your computer.
Begin
First, download and install VMware Player (link for the end of the article). It is a free software, but you need to register.
You will see some prompts about installing drivers; Simply accept it. When you finish installing VMware Player, you must restart your computer.

Install Ubuntu
Once you have installed VMware Player and downloaded Ubuntu, you are now ready to install Ubuntu. Open VMware Player, and select ' Create a New Virtual Machine .'

You can install Ubuntu from the disk, or directly from the downloaded ISO file (download link is given below). This is the simplest method if you want to use Ubuntu in VMware Player. However, if you have an Ubuntu disk, you can choose it instead of choosing it. Once you have selected the installation source, VMware Player will automatically detect Ubuntu and display that it will be installed with Easy Install. Click Next to continue.

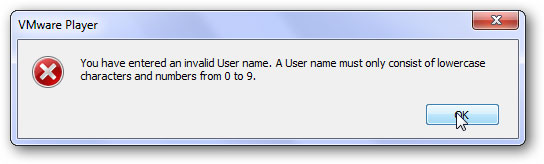
Now enter your name, user name and password. All of these schools are required.
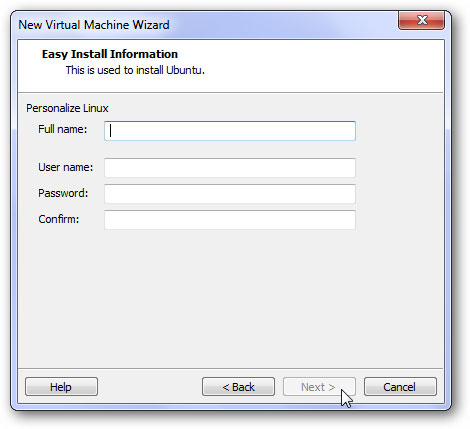
Note that the username must have lowercase letters and numbers.
Password must be at least 8 characters long.

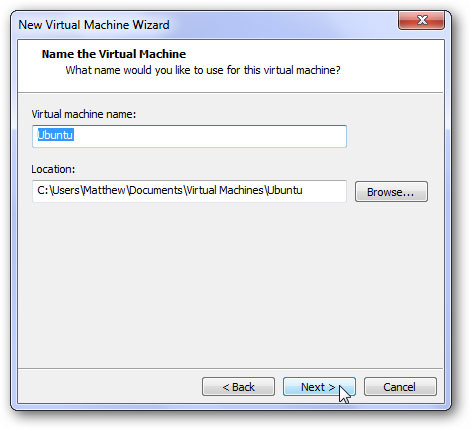
Choose a name for your virtual machine and where to save it. Simply click Next to accept the default values.
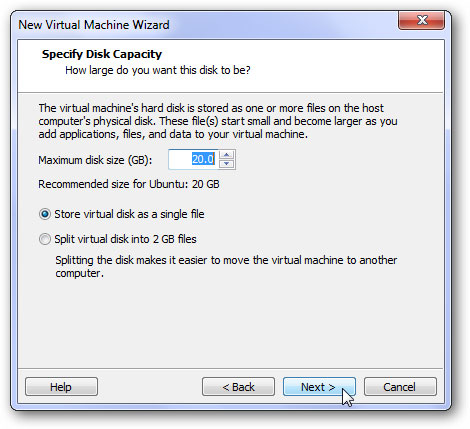
You can choose how much virtual disk space you want; The default is 20GB, but you can choose another size if you want. Note that all 20GB will not be used on the hard drive initially. In our example, we only selected 3.6Gb with a simple installation, but this capacity needs to be more if you want to install and store many programs and files.
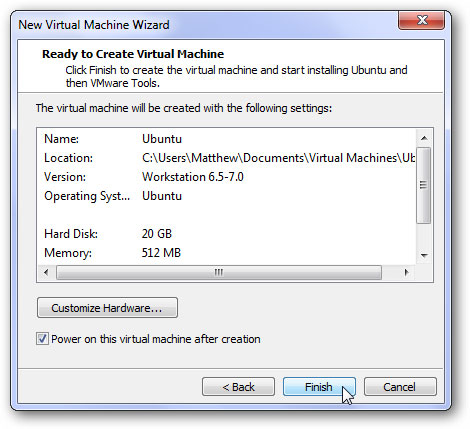
That is all! You can review your settings and change them here if you wish. If you are satisfied with your settings, click Finish to begin installing Ubuntu!
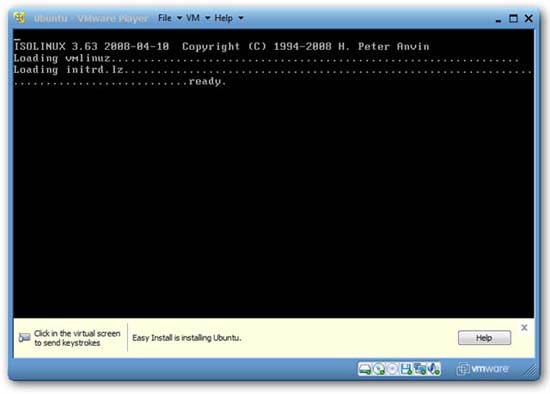
VMware player will install Ubuntu without your intervention. The window may display some confusing commands, but don't worry about them because you don't have to do anything during the Ubuntu installation process.
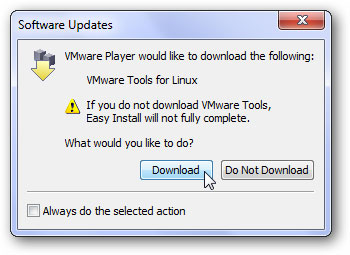
During the installation process, you may encounter some prompts to download and install VMware tools for Linux. Then click download and the tools will be automatically downloaded and installed, although you must accept UAC's prompt.
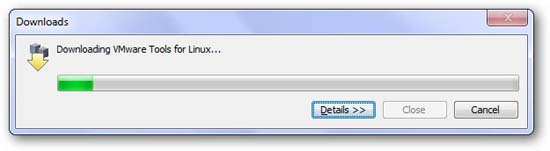
VMware will continue to install Ubuntu even when the tools are being downloaded. When the installation is complete, you will see the Ubuntu login screen. The entire installation in our experiment takes about 30 minutes, the exact number depends on your hardware configuration.
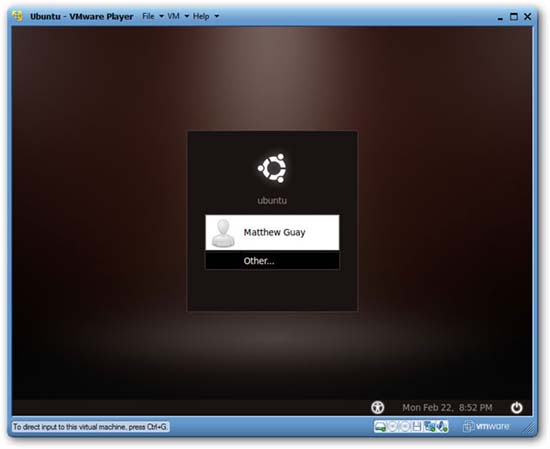
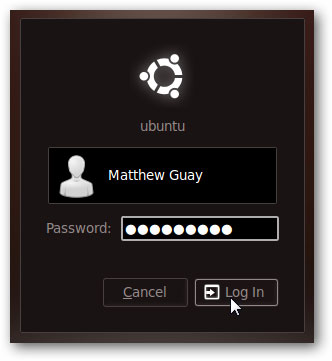
Select the username and enter the password to access Ubuntu.
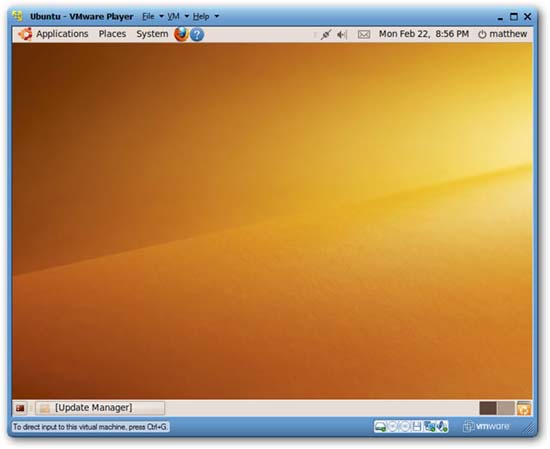
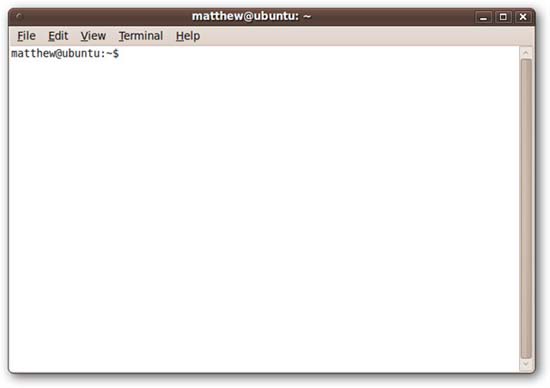
Ubuntu screen welcomes you!
Install VMware tools
VMware Player will try to automatically install VMware tools into Ubuntu during the installation process, but sometimes this does not happen. In the test we performed, the tools failed to install Ubuntu due to our connection error with the network. In your tests, it may or may not automatically install. If not, follow the steps below to install them. Note that these are quite complicated steps, so you need to do everything correctly during the installation process.
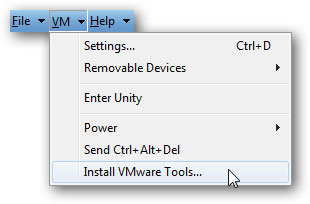
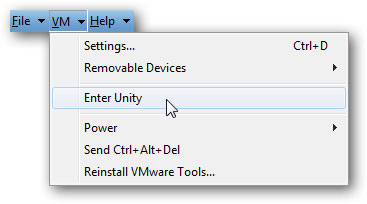
To install the tools, click VM, then select ' Install VMware Tools ' in the menu.
This will open the File Browser window. Double-click the VMwareTools icon; This icon is like a tar.gz text box.
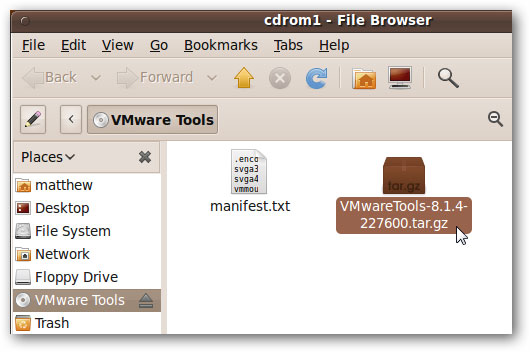
This will open the compressed file. Click the Extract button at the top of the window.

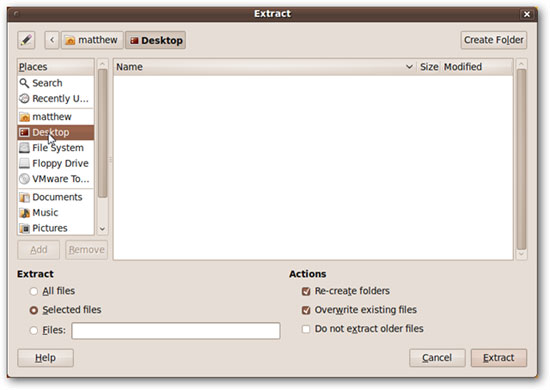
Choose where you want to save the files. Simply click ' Desktop ' on the left, then click Extract .
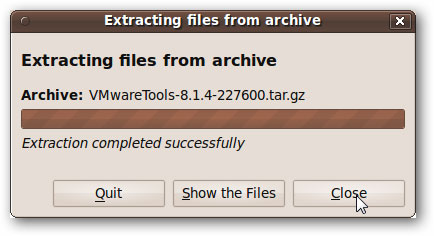
Wait a minute. When the files are extracted, click ' Close '.
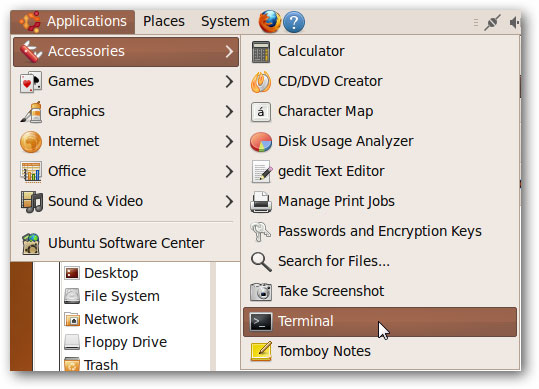
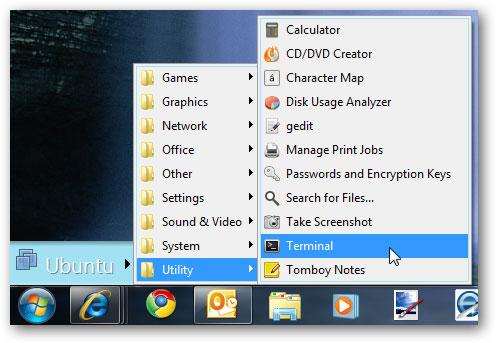
Click the Applications menu at the top of the screen, click Accessories , and then click Terminal .
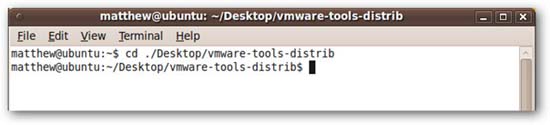
Enter the command below to access the files you extracted earlier:
cd ./Desktop/vmware-tools-distrib
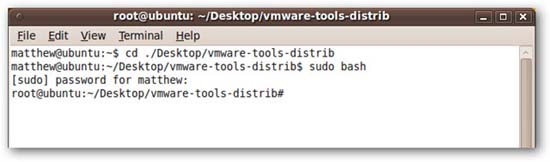
Input:
sudo bash
And enter the password when prompted. Note that the password will not display when you type it; Please type in the password and press Enter when done.
Now we can install VMware tools. To do so, enter:
./vmware-install.pl
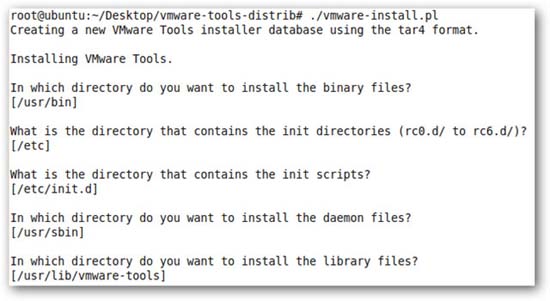
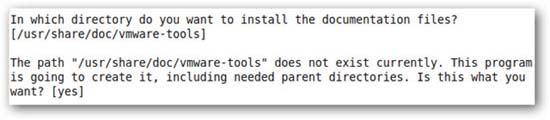
After that, the system will ask you some questions as shown below for the document files; press enter again at each command prompt.
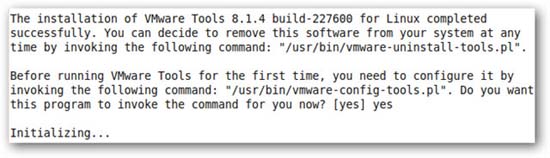
Installation is now complete. However, you still need to configure the tools, so enter the ' yes ' command at the command prompt to automatically do that.
It may require you to enable the experimental backup feature; We have entered 'no' at this command prompt.

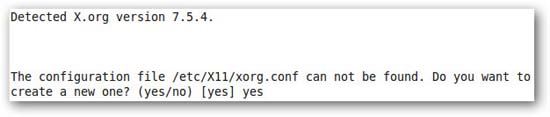
The system will then install the graphical configuration. Enter ' yes ' at the command prompt. Your screen may vibrate or darken momentarily when it changes these settings.
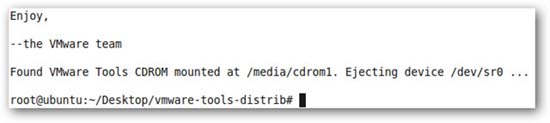
Finally you will see the message below when the installation is complete.
Restart Ubuntu by clicking the shortcut with your name on the right, then selecting Restart from the menu.
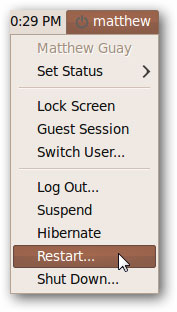
When your virtual machine reboots, log into Ubuntu as before and your installation is complete!
Integrate Ubuntu with Windows 7
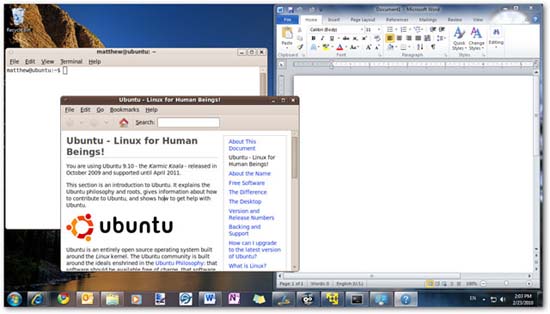
You can use all of Ubuntu's tools and features directly from the Ubuntu desktop in VMware Player. However, if you prefer to use your Ubuntu programs in Windows, we need to enable Unity mode. Click VM , then Unity Mode in the VMware Player menu.
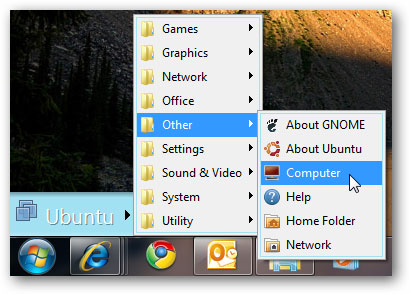
You will now have an Ubuntu menu located at the top right of the Windows 7 Start button.
By default, Ubuntu windows will have the VMware border and logo on them.

To change it, click VM , Settings , select the Options tab, uncheck the boxes to select ' Show borders ' and ' Show badges '.
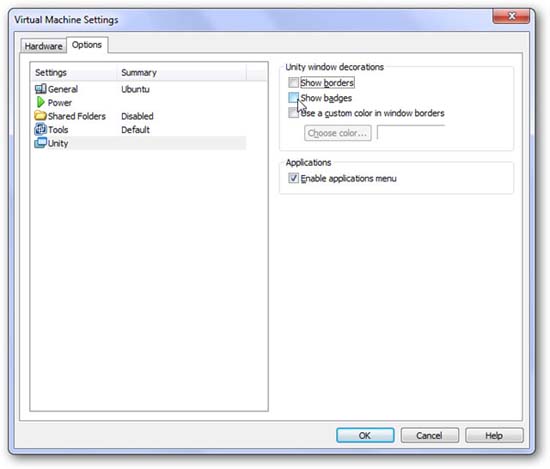
Now windows will look like they work properly in Ubuntu.
You can run Ubuntu windows next to Windows 7 windows, can copy and paste, drag and drop between windows. The icons of Ubuntu programs will appear in the toolbar as normal Windows programs.
Conclude
VMware Player allows us to have an interesting way to use Ubuntu installation inside Windows 7. This guide can be applied to any new version of Windows, including versions. XP and Vista. In the tutorial, we use Ubuntu 9.10, but other versions do the same.
Download Ubuntu
Download VMware Player 3