How to install Ubuntu on a VMware virtual machine
How to install Ubuntu on a VMware virtual machine. Ubuntu is a very popular operating system nowadays parallel to Windows and MacOS. But Ubuntu still makes many users wonder before upgrading should use on their own computers, so we still have a way to experience Ubuntu.
Table of Contents
Ubuntu is a very popular operating system nowadays parallel to Windows and MacOS. But Ubuntu still makes many users wonder before upgrading should use on their own computers, so we still have a way to experience Ubuntu. In this article, the Software Tips will guide you how to install Ubuntu on VMware virtual machine to experience.
Prepare:
- ISO installation version Ubuntu
- 20GB of free disk space
- VMware software
Link Download Ubuntu: https://ubuntu.com/download
Link Download VMware: https://www.vmware.com/products/workstation-pro/workstation-pro-evaluation.html
1. How to install Ubuntu
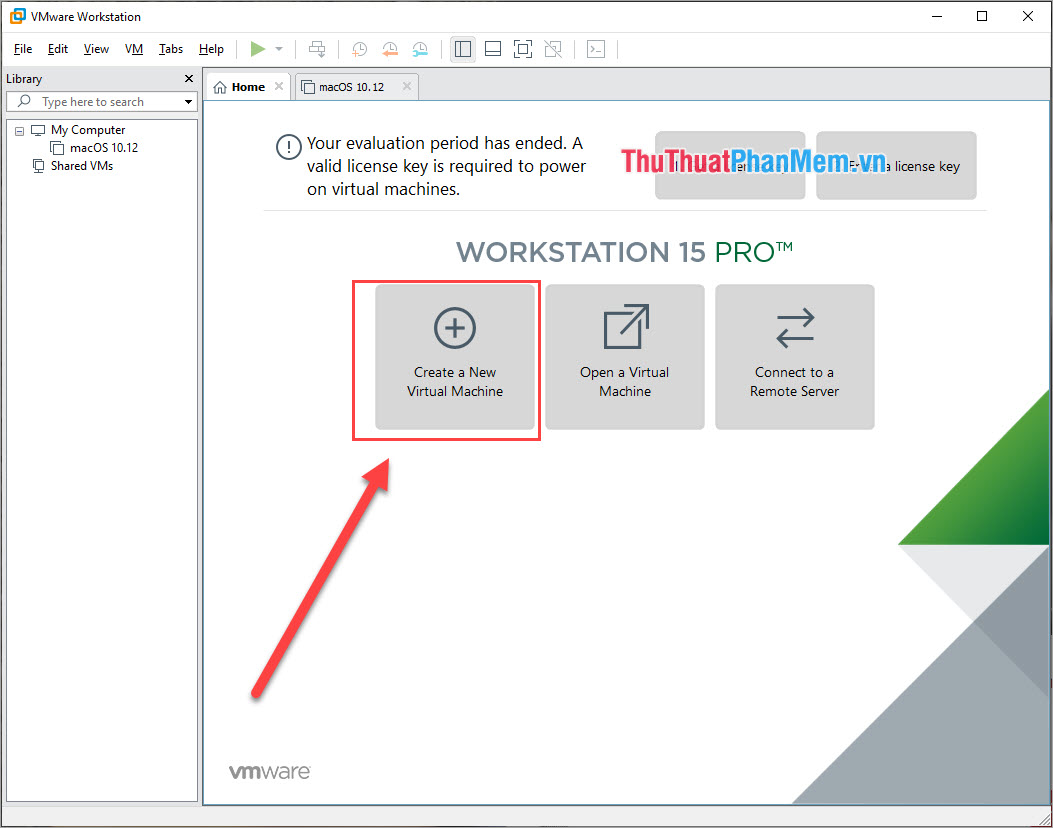
Step 1: You proceed to start VMware and select Create a New Virtual Machine to create a new virtual machine.
Step 2: We are the basic users should choose Typical (recommended) for easier and faster installation.

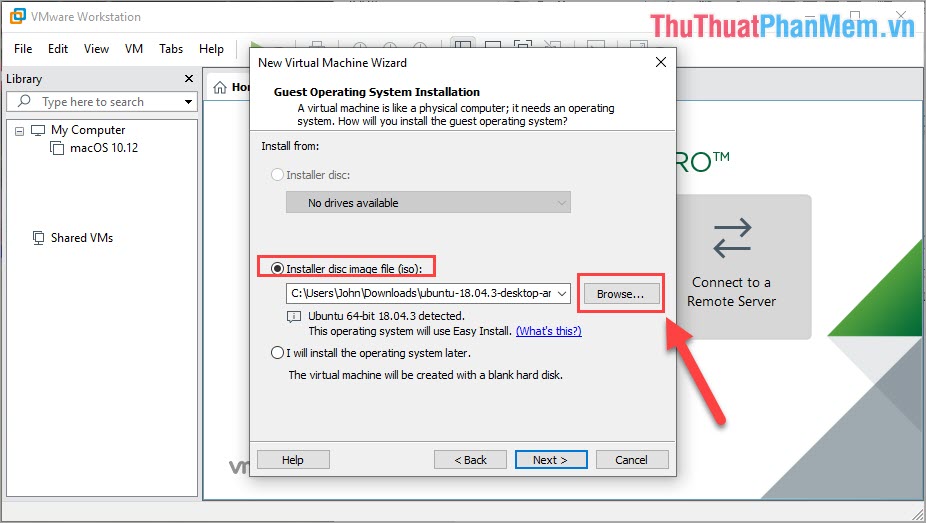
Step 3: At this point, you can import ISO file directly into VMware, so you should choose Installer disc image file (iso). Next, select Browse . to select the Ubuntu ISO file we just downloaded.
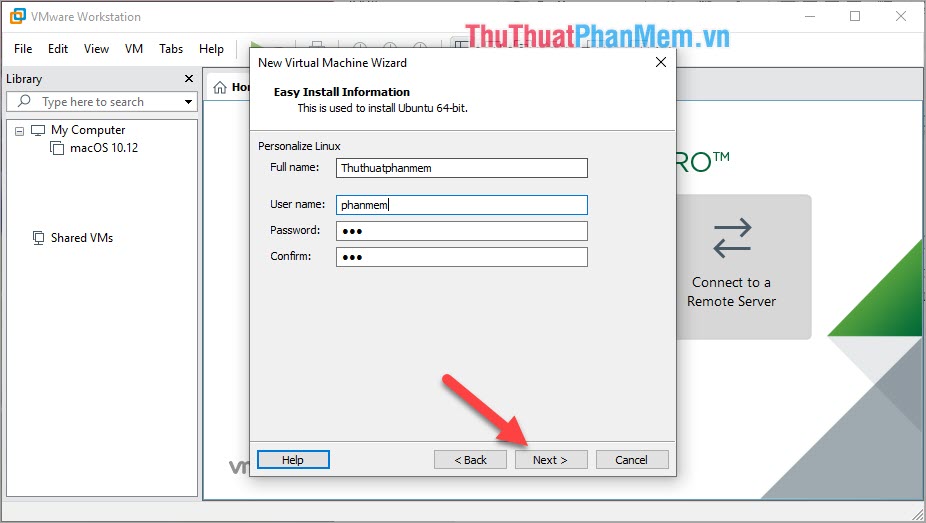
Step 4: The VMware virtual machine will ask you to name the user for the Ubuntu operating system when installing.
- Full name: Your full name
- User name: The name of the user
- Password: Password
- Confirm: Retype the password
After completing you click Next to proceed with the installation.
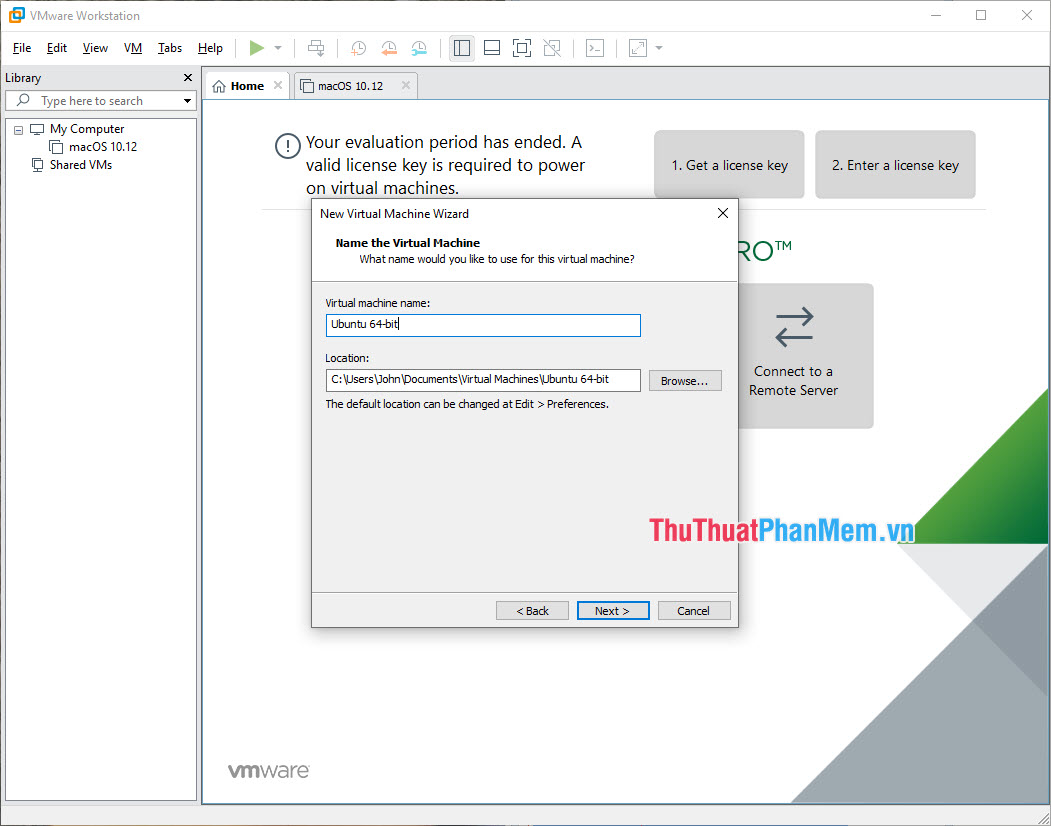
Step 5: Next, you name our installation and choose where to store all the data of Ubuntu. Normally, the default will be to save data on the C: drive of the computer.
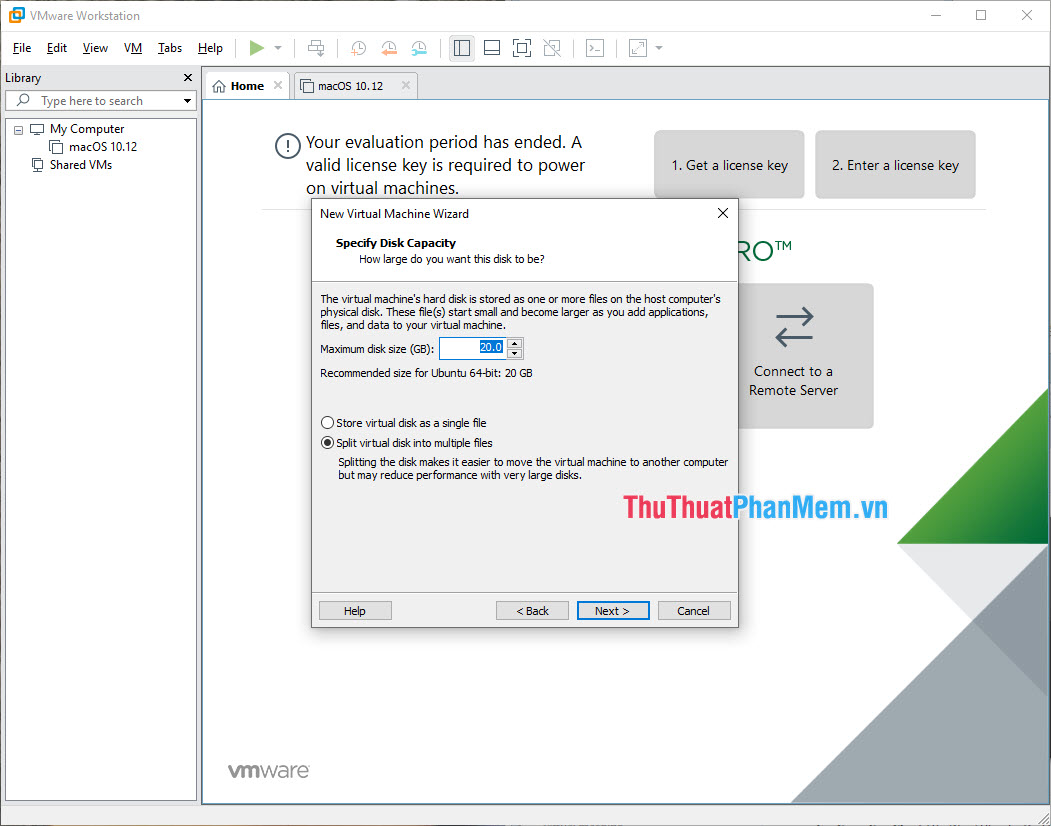
Step 6: Next, you set the capacity for Ubuntu. With Ubuntu operating system to use comfortably, you must install from 20GB or more. And note that you have to choose Split virtual disk into multiple files .
Step 7: Finally, you set up the hardware for Ubuntu. For this section you do not need to care much because VMware has automatically optimized the best configuration for Ubuntu to work stably. You choose Finish to complete.

2. How to boot Ubuntu
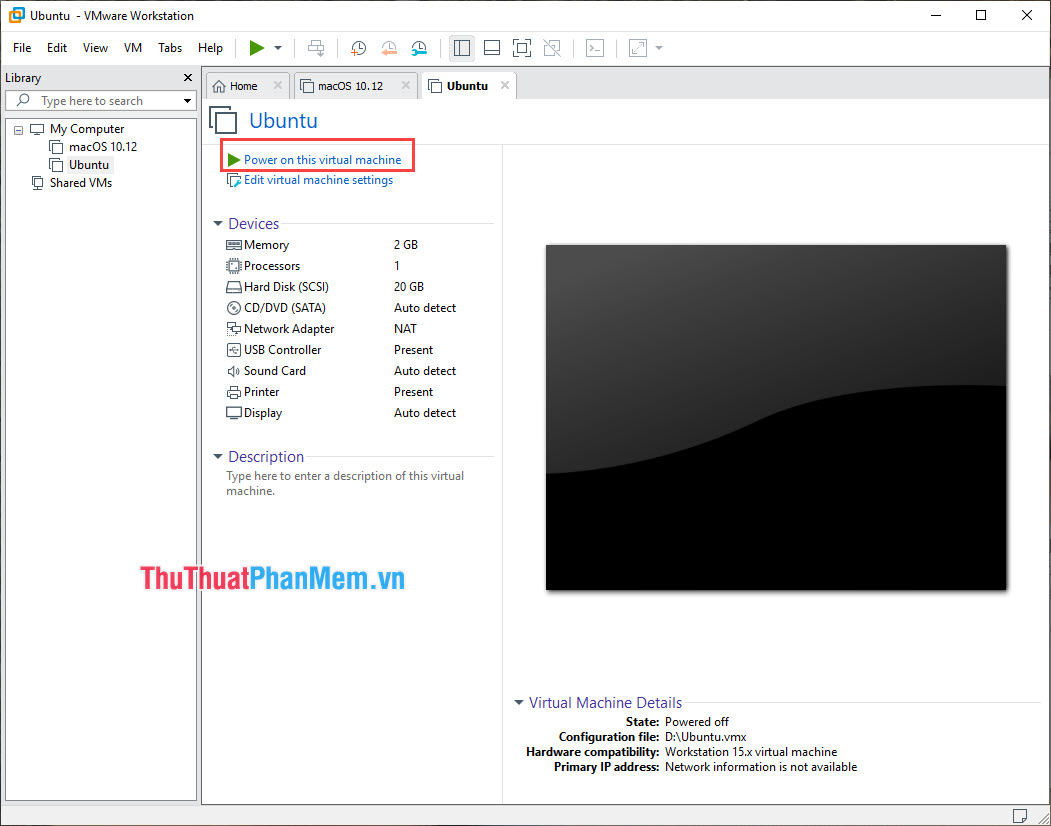
When you have finished installing Ubuntu does not automatically start. You choose Power on this virtual machine .
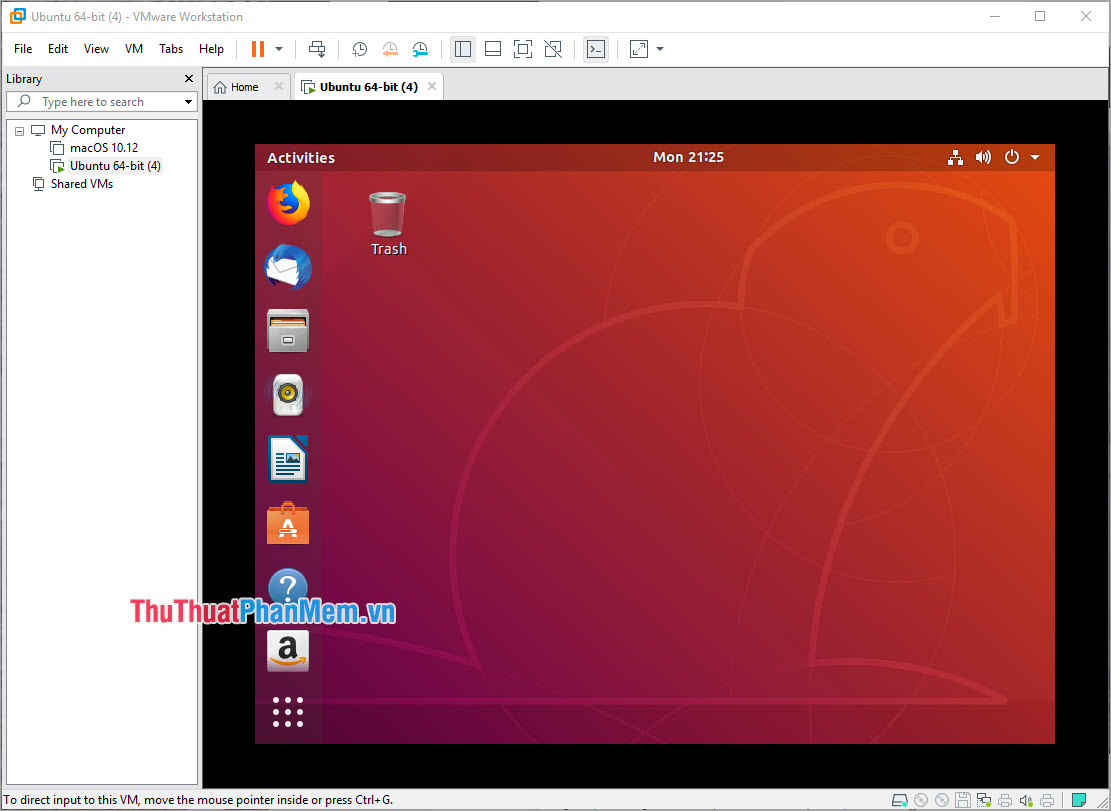
Ubuntu will then automatically boot for you to use.
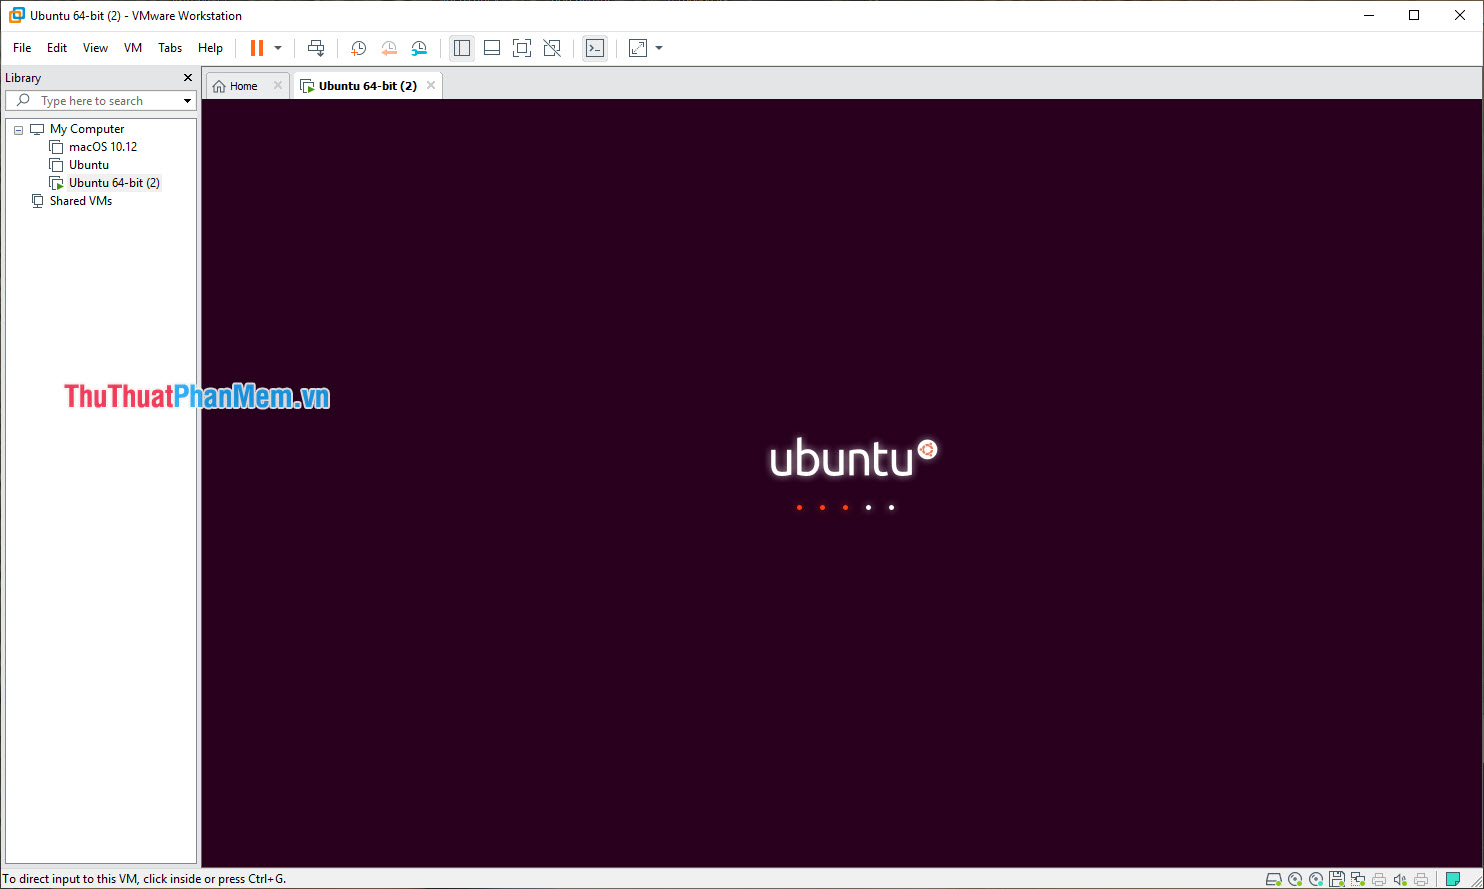
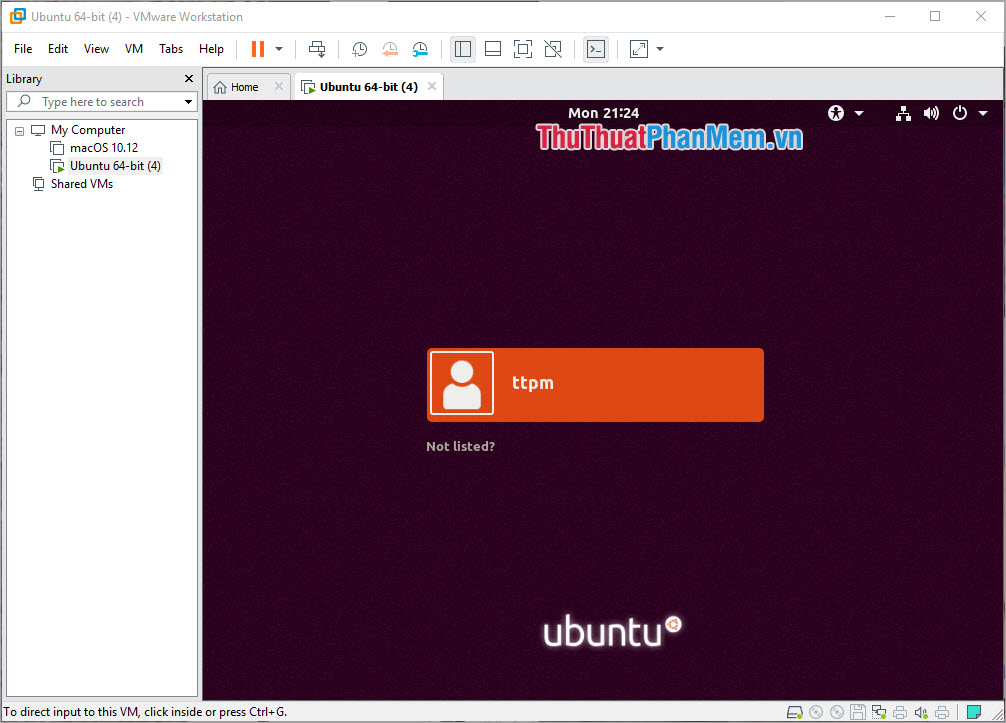
You login to Ubuntu to use this operating system.
So you have successfully installed Ubuntu on VMware quickly and standardly.
In this article, Software Tips showed you how to install Ubuntu on VMware quickly and effectively. Good luck!
Was this article helpful?
Your feedback helps us improve.
Related Articles
 How to install Ubuntu in VMWare, installing Ubuntu on a VMware virtual machine.4 minutes read
 Instructions for installing Ubuntu on VMware Workstation - Part 22 minutes read
 Instructions for fixing errors do not install VMware Tools2 minutes read
 Steps to install windows 11 on virtual machine, how to install windows 11 on VMware6 minutes read
 Instructions for installing Ubuntu on VMware Workstation - Part 14 minutes read
 How to fix Not enough physical memory on VMware4 minutes read
Reader Comments 0
Sign in with email or Google to join the discussion.