PowerPoint 2016: How to save a presentation
Whenever you create a new presentation in PowerPoint, you'll need to know how to save it to access and edit it later. As with previous versions of PowerPoint, you can save the file to your computer.
If you like, you can also save files to a cloud service like OneDrive. You can even export and share presentations directly from PowerPoint.
Save and Save A
PowerPoint provides two ways to save files: Save and Save As. These options work in similar ways, but with a few important differences.
- Save: When you create or edit a presentation, you'll use the Save command to save your changes. You will use this command most of the time. When you save a file, you just need to choose the file name and save location the first time. Then you just need to click the Save command to save it with that name and location.
- Save As: You'll use this command to create a copy of your presentation while leaving the original intact. When you use Save As, you need to choose a different name and/or location for the copied version.
Introducing OneDrive
Most features in Microsoft Office, including PowerPoint, are geared toward saving and sharing documents online. This is done with OneDrive, which is an online storage space for your documents and files. If you want to use OneDrive, make sure you're signed in to PowerPoint with your Microsoft account.
How to save a presentation
It's important to save your presentation whenever you start a new project or make changes to an existing project. Saving your work regularly can prevent your documents from being lost when something goes wrong. You'll also need to pay attention to where you save the presentation so it's easy to find it later.
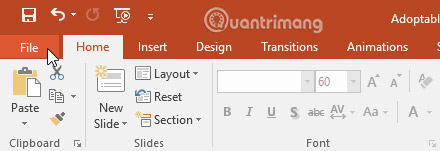
1. Locate and select the Save command on the Quick Access Toolbar.

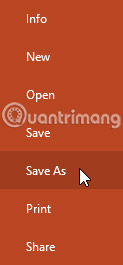
2. If you are saving the file for the first time, the Save As feature will appear in the Backstage view .
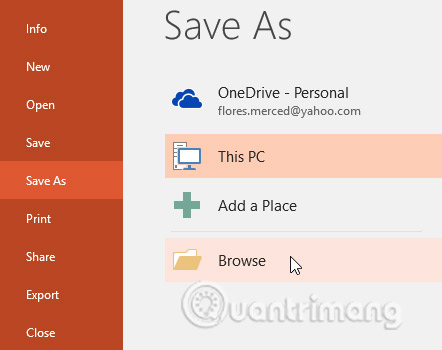
3. Then, you will need to choose where to save the file and give it a file name. Click Browse to select a location on your computer. Alternatively, you can click OneDrive to save files to your OneDrive.
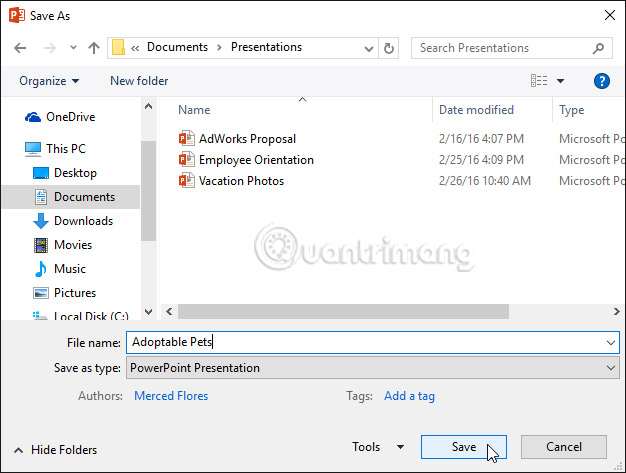
4. The Save As dialog box will appear. Choose where you want to save the presentation.
5. Enter a file name for the presentation, then click Save.
6. The presentation will be saved. You can click the Save command again to save your changes as you modify the presentation.
You can also access the Save command by pressing Ctrl + S on the keyboard.
Use Save As to make a copy
If you want to save another version of your presentation while preserving the original, you can make a copy. For example, if you have a file called Client Presentation, you can save the file as Client Presentation 2 so that you can edit the new file and still refer to the original version.
To do this, you'll hit the Save As command in Backstage view . Just like when saving a file for the first time, you need to choose a location to save the file and name the new file.
How to change default save location
If you don't want to use OneDrive, you may be disappointed that OneDrive is chosen as the default location when saving files. If you find this inconvenient, you can change the default save location so that This PC is selected by default.
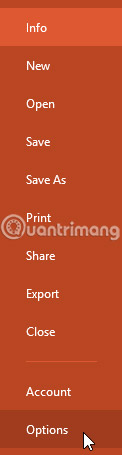
1. Click the File tab to access Backstage view.
2. Click Options.
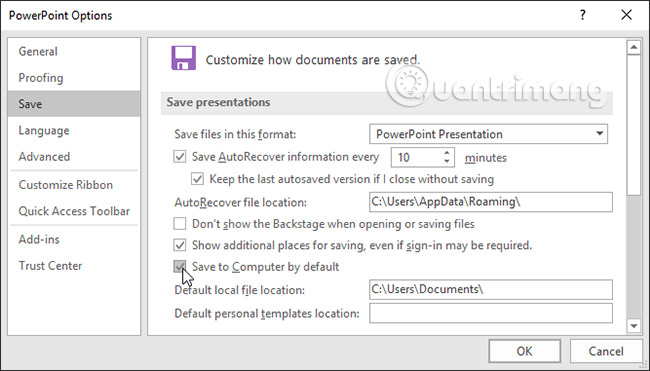
3. The PowerPoint Options dialog box will appear. Select Save, check the box next to Save to Computer by default, then click OK. The default save location will be changed.
Use the AutoRecover feature
PowerPoint automatically saves your presentations to a temporary folder while you're working on them. If you forget to save your changes or if PowerPoint crashes, you can restore files using the AutoRecover feature.
How to use AutoRecover
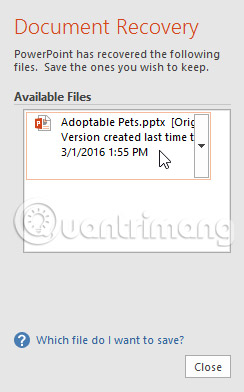
1. Open PowerPoint. If autosaved versions of a file are found, the Document Recovery panel will appear.
2. Click here to open an existing file. The presentation will be restored.
By default, PowerPoint autosaves every 10 minutes. If you're editing a presentation in less than 10 minutes, PowerPoint may not create an automatically saved version.
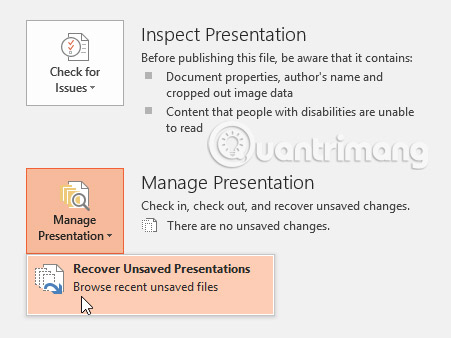
If you don't see the file you need, you can browse all autosaved files from the Backstage view. Just select the File tab, click Manage Presentation, then select Recover Unsaved Presentations.
Export presentation
By default, PowerPoint presentations are saved in .pptx file format. However, there may be times when you need to use another file type, such as PDF or PowerPoint 97-2003. It's easy to export your presentation from PowerPoint in a variety of file formats.
- PDF: Save the presentation as a PDF document instead of a PowerPoint file
- Video: Save the presentation as a video
- Package for CD : Saves the presentation in a folder with Microsoft PowerPoint Viewer, a special slideshow that users can download
- Handouts: Print a handout for your slides.
- Other file types: Save to other file types, including PNG and PowerPoint 97-2003
How to export a presentation
In the example in this article, we will save the presentation as PowerPoint 97-2003 file.
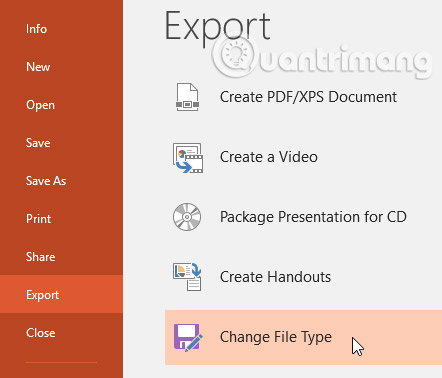
1. Click the File tab to access Backstage view.
2. Click Export, then select the desired option. In this example, we will choose Change File Type.
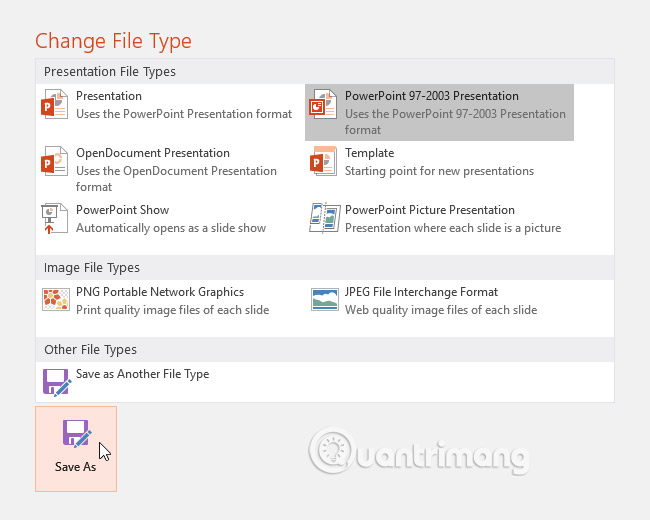
3. Select the file type, then click Save As.
4. The Save As dialog box will appear. Select the location where you want to export the presentation, enter a file name, then click Save.
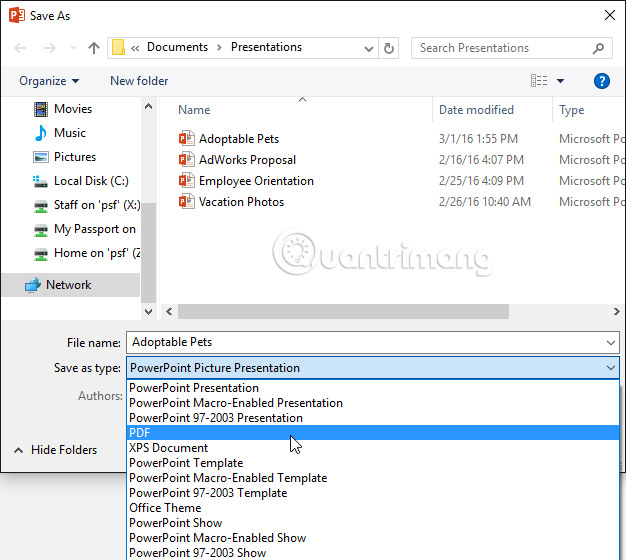
You can also use the Save As type drop-down menu in the Save As dialog box to save the presentation in a variety of file formats. Be careful in choosing a file type so that others can also open it.
Share presentations
PowerPoint makes it easy to share and collaborate on presentations using OneDrive. In the past, if you wanted to share a file with someone, you could send it as an email attachment. Although very convenient, this system also creates multiple versions of the same file, so it is difficult for users to organize and sort.
When you share a presentation from PowerPoint, you're actually giving other people access to the exact same file. This lets you and the people you share with edit your presentation without having to keep track of multiple versions.
To share a presentation, it must first be saved to your OneDrive.
How to share presentations
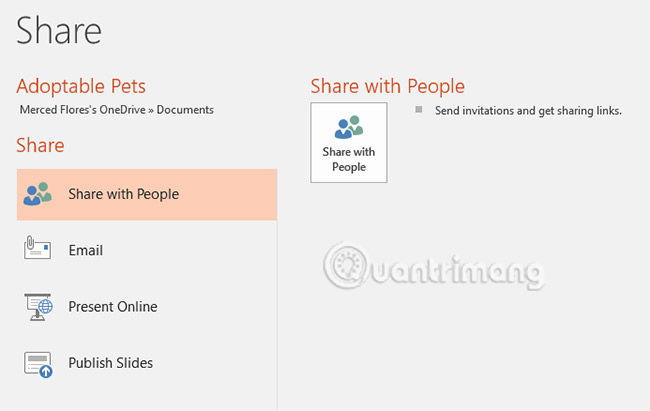
1. Click the File tab to access the Backstage view , then click Share.
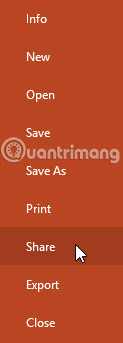
2. The Share panel will appear.
3. Click the interactive buttons below to learn more about different ways to share presentations.
Practice!
1. Open the sample presentation.
2. Use Save As to create a copy of the presentation. Name the new copy Saving Challenge Practice. You can save it to a folder on your computer or OneDrive.
3. Export the presentation as a PDF file.
- PowerPoint 2019 (Part 2): Creating and Opening Presentations
- PowerPoint 2019 (Part 31): Rehearsing and Recording Your Presentation
- Review presentations in PowerPoint 2016
- PowerPoint 2016: Rehearse and Record Your Presentation
- PowerPoint 2019 (Part 11): Presenting Slideshows
- How to Present a PowerPoint
- PowerPoint 2016: Reviewing your presentation
- Making a PowerPoint Presentation: Meet the Key Taboos
- PowerPoint 2016: Basic information about slides
- PowerPoint 2016: Apply transition effects
- PowerPoint 2016: Animate text and objects
- Rehearsal and record presentations in PowerPoint 2016
- Check and protect presentations in PowerPoint 2016
- Review presentations in PowerPoint 2016
- Action buttons in PowerPoint 2016
- Check spelling and grammar in PowerPoint 2016
- Create effects for text and objects in PowerPoint 2016
- Work with charts in PowerPoint 2016


-
 Instructions on how to recover unsaved Word files.
-
How to use Snagit to easily capture screenshots, record videos, and edit them.
-
Excel 2019 (Part 3): Saving and Sharing Workbooks
-
PowerPoint 2019 (Part 3): Saving your presentation
-
Microsoft Word on Windows will automatically save documents to the cloud
-
How to turn off the Save As to OneDrive option on Microsoft 365
 Instructions on how to recover unsaved Word files.
 How to use Snagit to easily capture screenshots, record videos, and edit them.
 Excel 2019 (Part 3): Saving and Sharing Workbooks
 PowerPoint 2019 (Part 3): Saving your presentation
 Microsoft Word on Windows will automatically save documents to the cloud
 How to turn off the Save As to OneDrive option on Microsoft 365