Users can then edit the audio to suit the presentation.
How to Insert Audio from an Existing File
In today's example, we will insert an audio file saved locally on the computer.
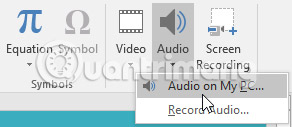
1. From the Insert tab, click the Audio drop-down arrow, then select Audio on My PC .
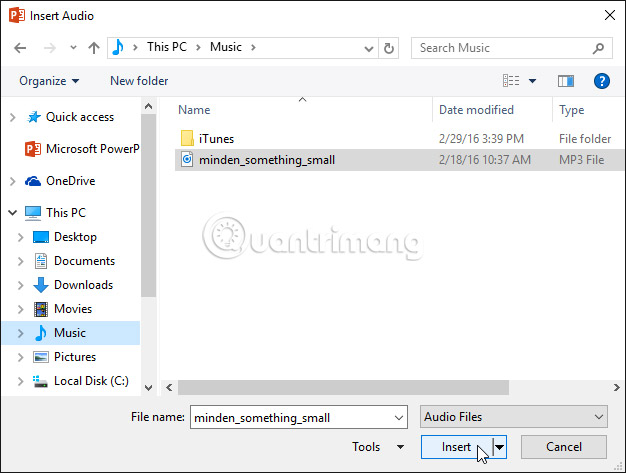
2. Locate and select the desired audio file, then click Insert.
3. Audio files will be added to the slide.

Record Your Own Audio Files
Sometimes users may want to record audio directly into a presentation. For example, you want your presentation to have narrative paragraphs. Before starting, make sure you have a microphone that's compatible with your computer. Many computers have built-in microphones, or if not, plug one into the computer.
How to Record Audio
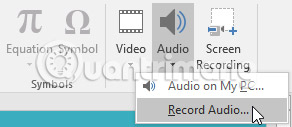
1. From the Insert tab, click the Audio drop-down arrow, then select Record Audio.
2. Enter a name for the recording if desired.
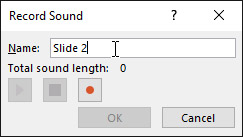
3. Click the Record button to start recording.
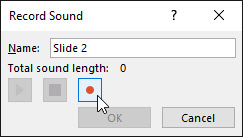
4. When you finish recording, click the Stop button.
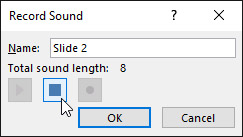
5. To listen to the recording, click the Play button.
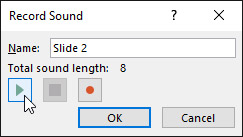
6. Once completed, click OK. The audio files will be inserted into the slide.

Work with Audio Files
Listen to an Audio File First
1. Click on an audio file to select it.
2. Click the Play/Pause button below the audio file. The audio file will start playing and the timeline next to the Play/Pause button will move forward.

3. To move to another part in the file, click anywhere on the timeline.
How to Move Audio Files
- Click and drag to move the audio file to a new location on the slide.

How to Delete an Audio File
- Select the audio file you want to delete, then press the Backspace or Delete key on the keyboard.
Audio Editing
Users can modify their audio files using commands on the Playback tab. For example, if you want to add a song to a slide, users can cut the file so that it only plays a short part. You can also add fade in and fade out effects, as well as bookmarks to jump to specific points in the audio file.
How to Cut an Audio File
1. Select the audio file, then click the Playback tab on the Ribbon.
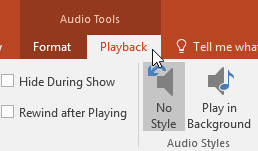
2. Click the Trim Audio command.
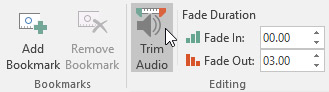
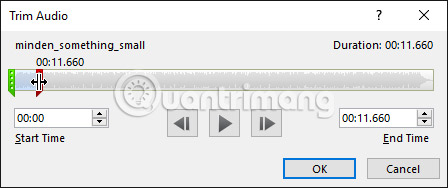
3. A dialog box will appear. Use the green handle to set the start time and the red handle to set the end time.
4. To listen to the audio file, click the Play button.
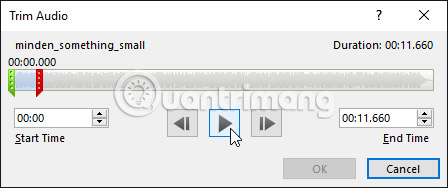
5. Adjust the handles if necessary, then click OK.
How to Add Fade in and Fade Out Effects
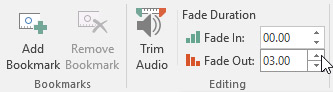
1. On the Playback tab, locate the Fade In: and Fade Out : fields.
2. Enter the desired values or use the up and down arrows to adjust the time.
How to Add Bookmarks
1. Click on the timeline to define the desired section in the audio file.

2. From the Playback tab, click the Add Bookmark command.
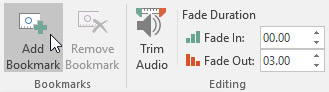
3. Bookmark will appear on the timeline. Click the bookmark to go to that location.

Audio Options
There are other options to control how your audio files play. They are found in the Audio Options group on the Playback tab.
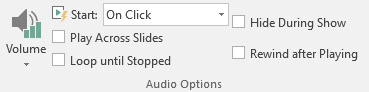
- Volume: Change the volume
- Start: Controls whether the audio file starts automatically or requires a mouse click
- Hide During Show: Hide the sound icon while the slide show is playing
- Play Across Slides: Continue playing audio files on multiple slides instead of just the current slide
- Loop until Stopped : Play back the audio file until stopped
- Rewind after Playing : Return to the beginning after playing
How to Change Sound Icon
By default, an audio file will appear as a speaker icon in the slide. If you want, you can change the icon to another image.
1. Select the audio file, then click the Format tab.
2. Click the Change Picture command.

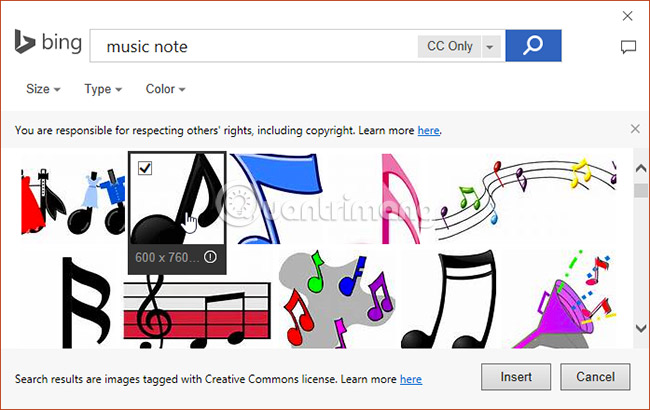
3. The Insert Pictures dialog box will appear. Click Browse to select the file from your computer. Additionally, online image search engines can be used for more options. In today's example, we will search using the phrase 'music note'.

4. Locate and select the desired image, then click Insert.
5. The icon will change to the new image.

For more information about editing and adjusting colors, borders, shapes, and effects, see Format PowerPoint 2016 images.
Practice
1. Open the example practice presentation. Alternatively, right-click this link to get to the example file and save it to your computer. Music source: Something Small (Instrumental) by Minden, CC BY-NC 3.0.
2. On slide 3, insert the example audio file there.
3. Move the file to the bottom left corner of the slide.
4. Trim the audio so that the start time is around 00:15 and the end time is around 00:55.
5. Change the Fade Duration to 02:00 for fade in and 08:00 for fade out.
6. Set the sounds to Start Automatically and Play Across Slides .
7. Change the icon to an online image of your choice.
8. When you're done, your slide will look like this:
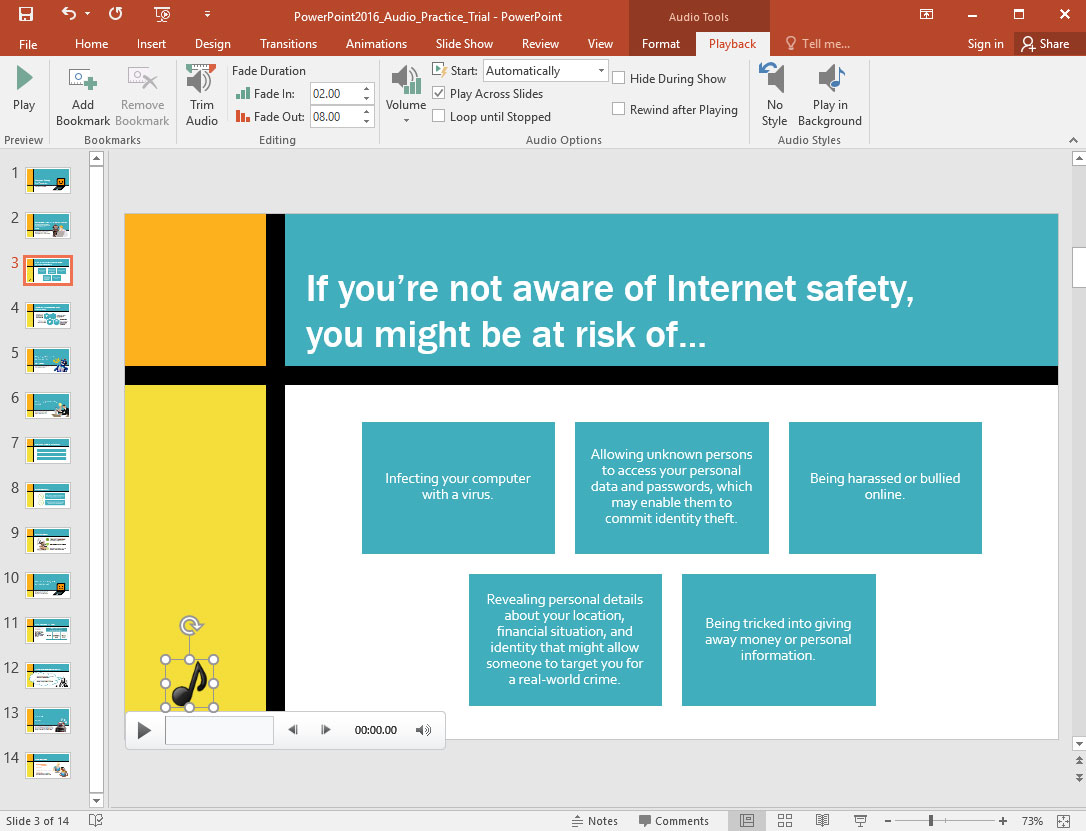
9. Optional step: Play your slideshow from the beginning to test the audio. Your audio will start playing when you move to slide 3, and it will continue to play as you move to the next slide.






Reader Comments 0
Sign in with email or Google to join the discussion.