Table of Contents
Understanding Filter requires more than a headline. The overview below breaks down the key facts, changes, and user impact.
Filter Overview
I Cut the photo border
1. Method 1.
- Open any photo.
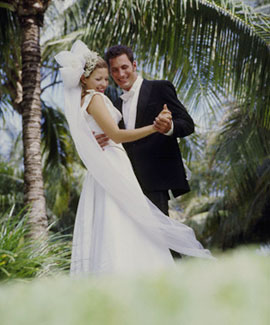
- Select the Rectangular Marquee Tool on the Tools toolbar (or press the M key on the keyboard) - Draw the shape around the selection as shown below

- Select> inverse (or press the key combination: Ctrl + shift + I ) invert the selection

- In the toolbar, click the Edit button in quick mask Mode (or Q key). 
> Now your image will look like this:
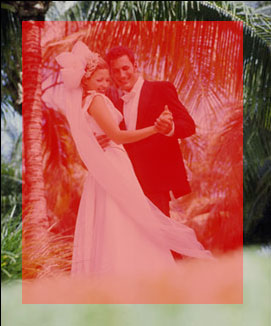
- On the Menu bar> Click Filter> Distort> Ripple
Select the parameters as shown below
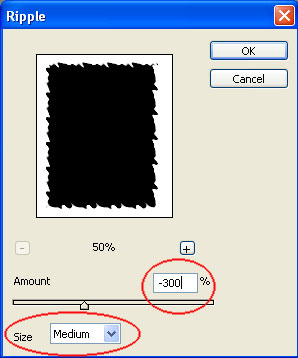
Your photo now looks like it.
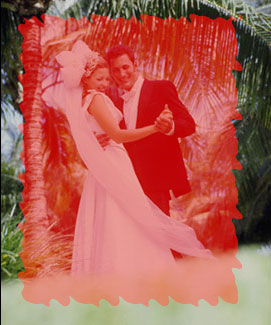
- Click the Edit standard Mode button (Q) on the toolbar 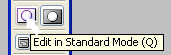 to remove the strange face.
- Press the Delete key on the keyboard to remove the outer edge of the selected image.
- Select> inverse (or press the key combination: Ctrl + shift + I ) to reverse the selection
- Layer> New> Layer via copy (or Ctrl + J ) Copy the selected image area on the original layer. New layer named "Layer 1"
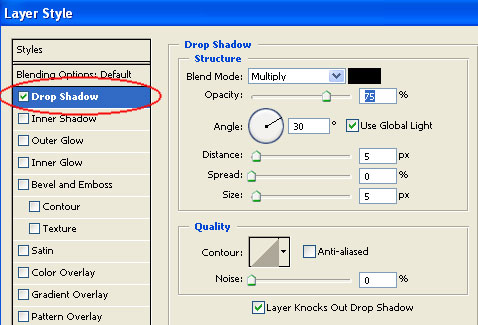
- Right click "Layer 1"> Blending option
In the Layer style table> select Drop shadow > Leave the properties default.
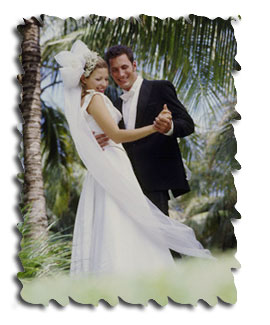
The result is the following picture.
2. Extensive methods and Filter filters.
You take the same steps as the method 1. Only select the Filter application step by step, depending on how you want to crop the image to select the appropriate application.
Here are some examples of filter filter applications.
A. Filter> Artistic> Underpainting
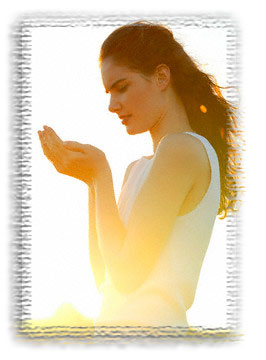
B. Filter> Brush strokes> Sprayed strokes
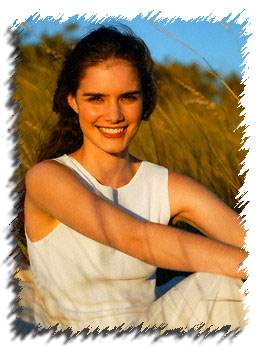
C. Filter> Texture> Mosaic Tiles
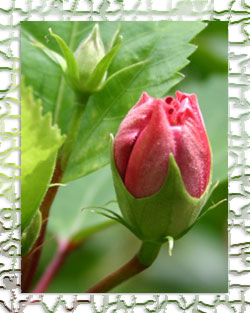
Part I of this exercise will stop here. It is not difficult, is it? Wish you more creativity with your own photos.
FAQ
What happened in Photoshop CS: Cutting Edges and Creating Photo Frames (Part I)?
Understanding Filter requires more than a headline.
What factors influenced Filter?
The overview below breaks down the key facts, changes, and user impact.
What was the practical impact on users?
Filter Overview I Cut the photo border 1.
Related Articles
 Photoshop CS: Cutting Edges and Creating Frames (Last Part): Layer3 minutes read
 How to Create Photo Effects on Photoshop: Create Photo Frames4 minutes read
 How to Crop Photos in Photoshop8 minutes read
 Collage Photos into Frames with Photoshine3 minutes read
 minutes read
 Tutorial for Creating 3D Photo Effects in Photoshop (Part 1)5 minutes read
Reader Comments 0
Sign in with email or Google to join the discussion.