MS Access 2003 - Lesson 5: Chapter 2: Access Learning in 1 hour
Access is a powerful, flexible and easy-to-use database management program. In this chapter, you will start to mention Access's capabilities. Although the title of this chapter is ' Access Learning in 1 hour ', you use Access very quickly. Thus, an hour cannot afford enough time to master the advanced features. But there will be enough time to learn the basic concepts and create a database that can be used immediately.
After finishing this chapter, you will understand the following concepts:
- How to create a database.
- What is the name of the database and where to save it
- How to create a table using the Table Wizard
- Table styles can be created using the Table Wizard.
- Name a table like.
- What is the primary key and how to select the key.
- How to enter information into a new table
- How to exit the Datasheet
- How to change and delete information in the table.
- When is the information actually saved?
Lesson 5: Create a separate database
To create your own database, use the following three methods:
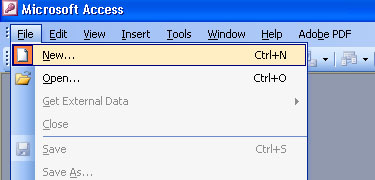
• Click your mouse on the New tool (described on the toolbar, which looks like a blank page)

• Select New Database from the File menu

• Press CTRL + N key combination
Depending on the method selected above, you will see the New dialog box shown in Figure 1

Figure 1: New dialog box
The New dialog box allows you to specify how to create a new database. There are many options on the General tab (Figure 1) and two other tabs in the dialog box. Choices offer many different ways to accomplish. The choice you make in the New dialog box provides such as starting a point or selecting a template for a new database.
The purpose of this discussion is simply the default Database object selected as shown in Figure 1. Then click your mouse on the OK button. Access displays the File New Database dialog box (Figure 2).

Figure 2: File New Database dialog box
The File New Database dialog box looks quite familiar. It is similar to the Open Database dialog box that you know in Chapter 1 ' Getting to know Access '. It is similar to the dialog you use to create files in other Windows programs. To use the File New Database dialog box, simply name the database and the place to store the database on the drive.
Select a name for the Database
You can name any database, but the file name must follow the convention as used for any file name on the disk. Do not include the extension (the filename section on the right of the dot). Access provides extensions based on its rules.
Notice that the File New Database dialog box lists all database files in the current directory. If you want to replace the existing database (overwrite an existing database), all you need to do is enter a name corresponding to the database to overwrite or select the database file from list.
In the general case, you should choose the database name as described above. In this chapter, you will create a database containing the names, addresses, and phone numbers of all your friends, so ' My friend ' is the appropriate name for this database. Enter the phrase 'My friend' in it but DO NOT press the ENTER key immediately.
Where to keep the database?
In the New Database dialog box, you can specify where to store the database. Access allows you to save actual data files anywhere. Can be placed on any drive, path or on a computer network. In case you want to put all relevant databases into a personal folder and database in another folder, you should save the My friends database to the folder containing the personal database. .
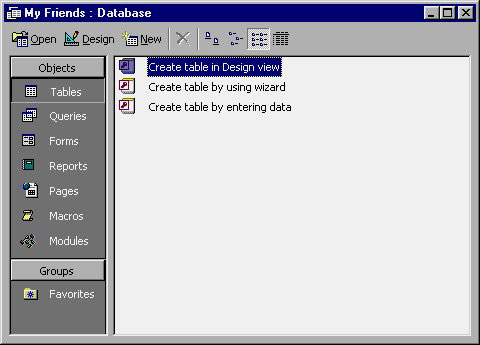
After specifying the name and location of the database, click your mouse on the Create button. Access creates a new database, uses the name provided and displays the Database window as shown in Figure 3. Note that the name of the database is displayed above the Database window.

Figure 3: Database window for a new database.
If you recall chapter 1, Access stores data in tables. From this Database window for a new database, there is no list of tables. In the following sections, you will learn how to create a table.