Table of Contents
Understanding Color requires more than a headline. The overview below breaks down the key facts, changes, and user impact.
Color Overview
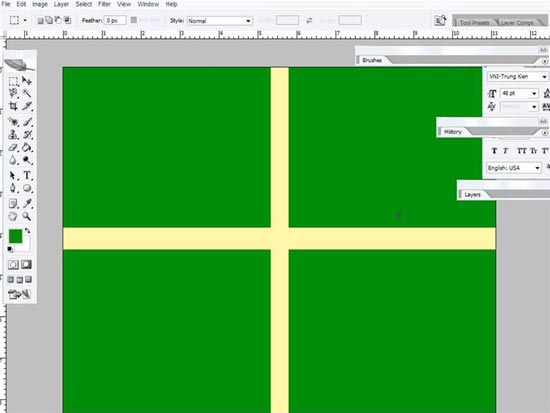
Figure 2.1
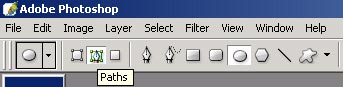
Figure 2.2
3. To type text in a circle, use the Ellipse tool (shortcut U) draw a circle path in the center of the image (on the toolbar that allows you to select Shape layers and Paths, click on Paths (Figure 2.2 ) After the drawing is complete, use the Type tool (shortcut T), place the mouse pointer over the path and click the left mouse button, so we can type the text according to the path into a circle, then cast the shadow for text (right click / blending options, click on the drop shadow name tab) we get the image below

Figure 2.3
4. To decorate more lively cards, you can add apricot flowers (guided drawing) and peach flowers. (To paint peach blossom, similar to apricot drawing, we can use a custom shape called Flower 1, with pink, color code dc2b83). Get the result as shown below.
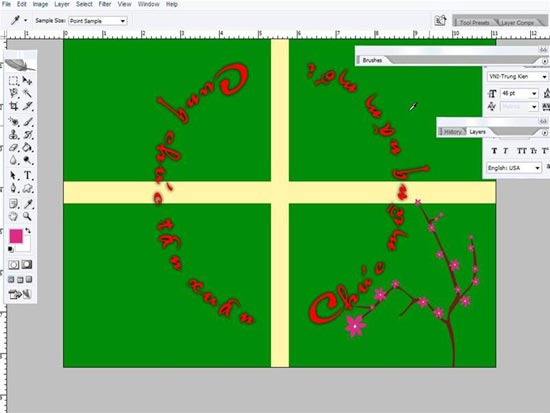
Figure 2.4
Uotmi - Zidean
FAQ
What is the main topic of Making Spring Cards with Photoshop (Part 2): Color?
Understanding Color requires more than a headline.
Why is Color important?
The overview below breaks down the key facts, changes, and user impact.
What should readers remember about Color?
Color Overview Figure 2.1 Figure 2.2 3.
Related Articles
 Making Spring Cards with Photoshop (Part 3): Color4 minutes read
 Make Spring Cards with Photoshop: Draw4 minutes read
 Instructions for Using Photoshop CS6 (Part 5): Create Christmas7 minutes read
 Instructions for Using Photoshop CS6 (Part 7): Creating Christmas13 minutes read
 minutes read
 Close-up of the Screen Coordinates to the Charm2 minutes read
Reader Comments 0
Sign in with email or Google to join the discussion.