Table of Contents
NotebookLM can turn lesson notes, PDFs, slides, web pages, images, audio, and other supported sources into a narrated Video Overview. The result is a source-grounded study aid, not a fully editable video-production project. Teachers should review every generated claim, date, label, and visual before using it in class.
Feature names, formats, visual styles, quotas, and download options can vary by account, plan, region, language, and rollout stage. If Video Overview is missing, check that the notebook contains at least one processed source and that the feature is available for your account.
1. Create a notebook and add the lesson sources
Open NotebookLM, create a new notebook, and select Add source or Upload. Add the materials the video should use, such as a PDF lesson, Google Doc, slide deck, website, image, public YouTube URL, or audio file supported by the service.
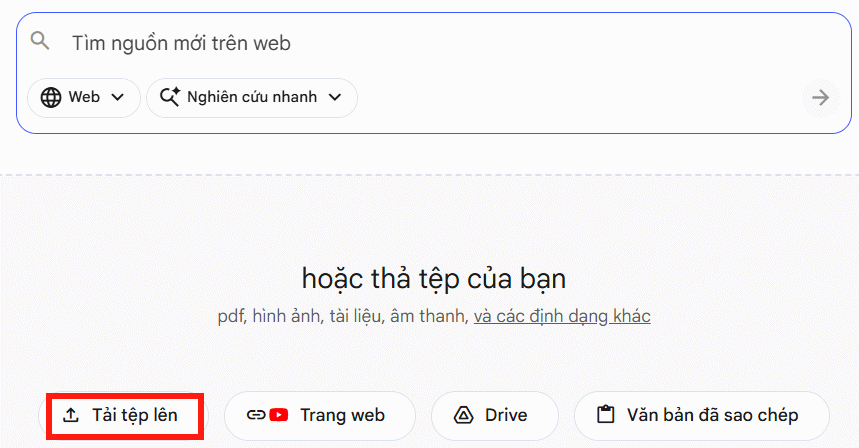
Use clear, authoritative source files. Remove duplicate drafts, outdated notes, answer keys that students should not see, and unrelated material. Upload only content you have permission to use, and do not add confidential student information unless your institution's policy and account controls allow it.
2. Check the sources before generating a video
Wait for NotebookLM to finish processing the material. Review the source list and the generated notebook summary. Ask a few factual questions in chat and open the cited passages to confirm that the right files were imported and parsed correctly.
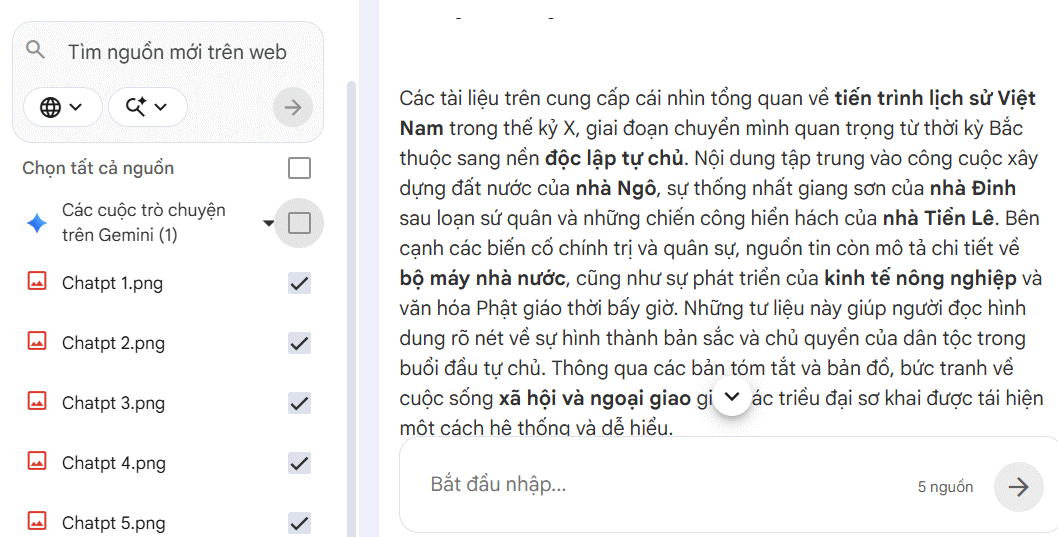
A Video Overview reflects the selected sources. Missing, contradictory, or inaccurate source material can therefore produce an incomplete or misleading explanation.
3. Open Video Overview in Studio
In the Studio panel, find Video Overview. Select the tile to generate a default version, or use its edit or customize control to choose available options before generation.
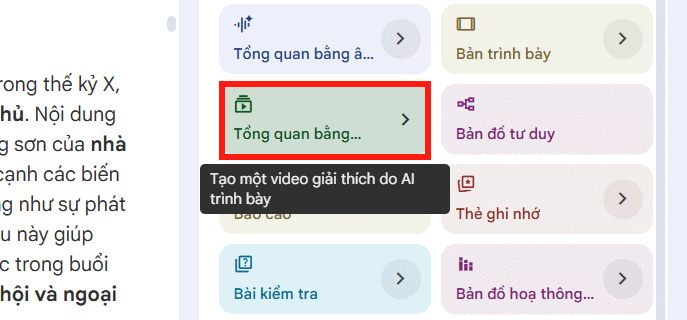
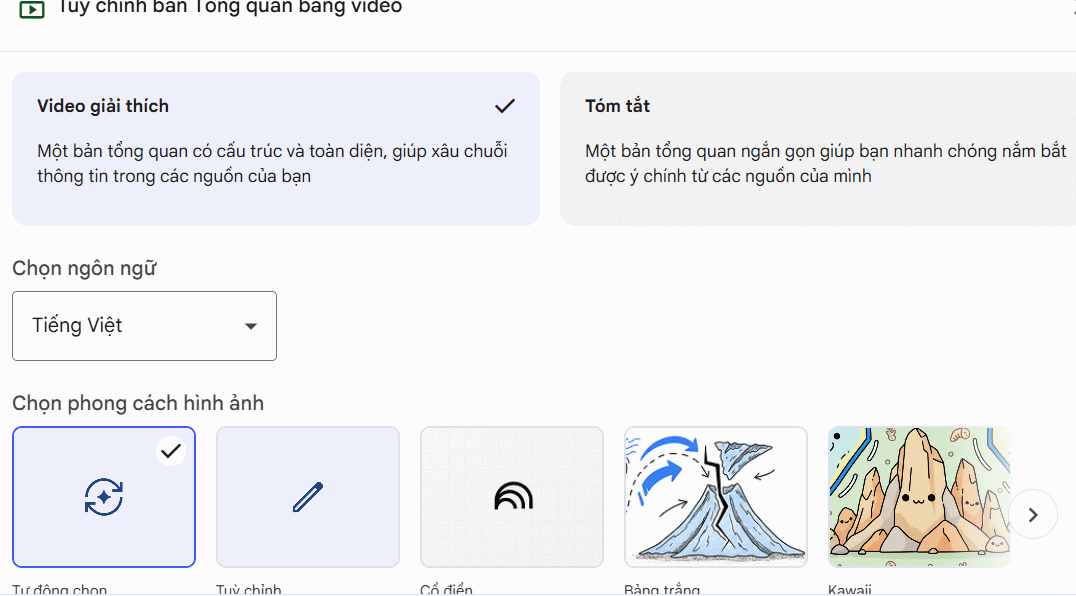
NotebookLM may offer more than one video format. A detailed Explainer is better for teaching a concept, while a shorter Brief is useful for revision or a lesson preview. Cinematic Video Overviews are a separate, limited feature and may require an eligible plan, age, language, or device.
4. Choose a format, style, and focus
Open the customization panel. Select the available format and visual style, then describe the intended audience, learning goal, focus, and exclusions.
A useful instruction is specific about the content but does not ask NotebookLM to invent facts or visuals outside the sources. For example:
Create an explainer for lower-secondary students. Focus on the sequence of events, the roles of the main historical figures, and why each event mattered. Define unfamiliar terms on first use. Use a calm teaching tone and short on-screen labels. Do not add dates or quotations that are not supported by the selected sources.Prompt for a lesson recap
Create a concise review video for students before a quiz. Cover the five concepts highlighted in the lesson objectives. For each concept, give one plain-language explanation and one source-based example. End with three questions students should be able to answer.Prompt for a timeline
Organize the selected sources as a chronological timeline. For each stage, show the date or period only when it appears in the sources, name the central event or person, and explain the significance in one sentence. Keep labels large and easy to read.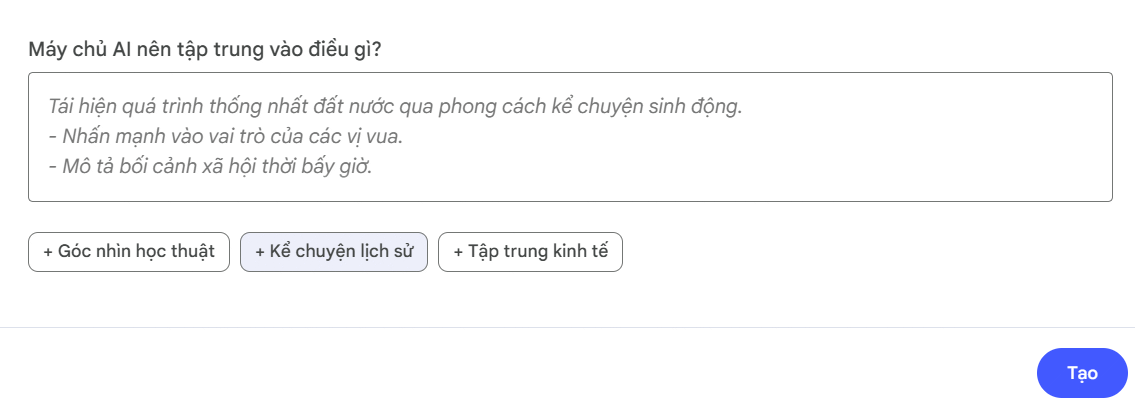
5. Generate and review the Video Overview
Select Generate or Create. Generation can take time, but you can normally continue working in the notebook. When the new Video Overview appears in Studio, open it and watch from beginning to end.
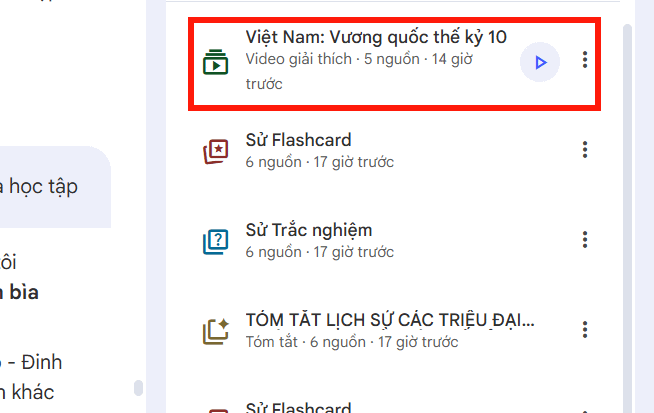
Check the output against the source files:
- Are names, dates, formulas, quotations, and definitions correct?
- Does the narration distinguish evidence from interpretation?
- Do visuals and labels match what is being explained?
- Is important context missing because the prompt was too narrow?
- Is the reading level suitable for the intended students?
- Does the video expose material that should remain private?
If the result is weak, improve the sources or generate another version with narrower instructions. Do not assume that polished narration makes the information accurate.
6. Download or share the video
Open the Video Overview's three-dot menu. If your account offers Download, select it and save the file to the approved class location.
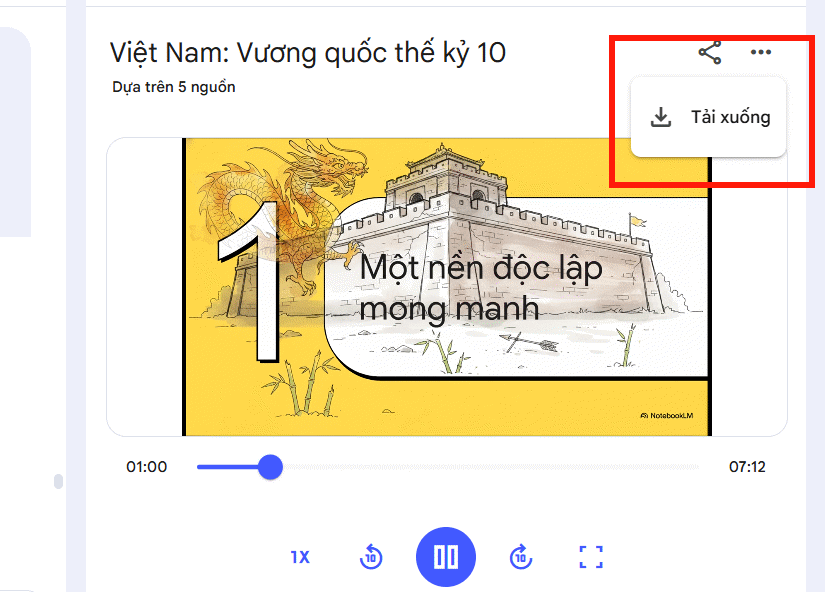
Before distributing the file, confirm that you have the right to reuse the source material and generated visuals. Add your own lesson title, context, correction note, or accessible transcript outside NotebookLM when students need them.
When NotebookLM is the right tool
Video Overviews are useful for lesson previews, revision, visual summaries, and explaining a dense source set. They provide less editing control than a dedicated video editor. If you need a precise storyboard, custom narration, brand assets, transitions, or frame-level edits, compare the workflow with creating presentations and videos in Google Vids.
For a broader view of NotebookLM's current capabilities, see NotebookLM's newer Studio features and the comparison of NotebookLM and ChatGPT.
Related Articles
 Instructions on Converting Videos into Lesson Plans Using NotebookLM4 minutes read
 Guide to Creating Lesson Plans Using NotebookLM4 minutes read
 Guide to Converting Videos into Lectures Using NotebookLM4 minutes read
 NotebookLM's Latest Feature Allows Creating Videos from Notes5 minutes read
 How to Sync Your YouTube Channel with NotebookLM5 minutes read
 How to Write 'Viral' YouTube Subtitles Using the Free NotebookLM Tool7 minutes read
Reader Comments 0
Sign in with email or Google to join the discussion.