Table of Contents
These five settings take less than five minutes to complete. This can make the difference between using a smart document reader or a dedicated research assistant.
These controls affect scope and presentation; they do not guarantee accuracy. Check NotebookLM's citations against the underlying source, especially for dates, numbers, quotations, and conclusions.
Menu names and available Studio formats can vary by account, plan, language, and rollout. If a control in the screenshots is missing, use the nearest current settings or customization menu.
For related workflows, see TipsMake's guide to NotebookLM study features, its explanation of Auto-label for source organization, and the NotebookLM versus ChatGPT comparison.
Customization guidelines help improve any feedback
Let NotebookLM know exactly what you want from it
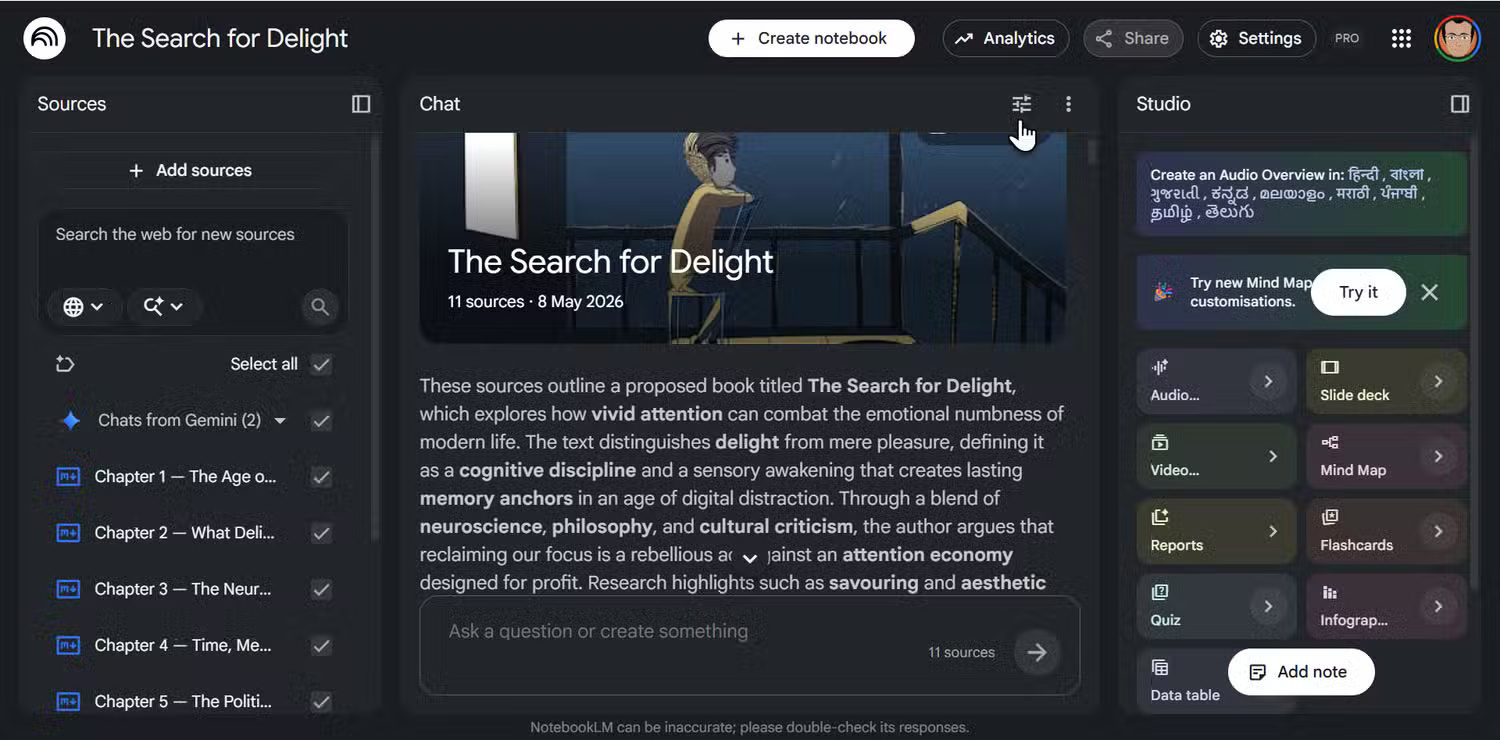
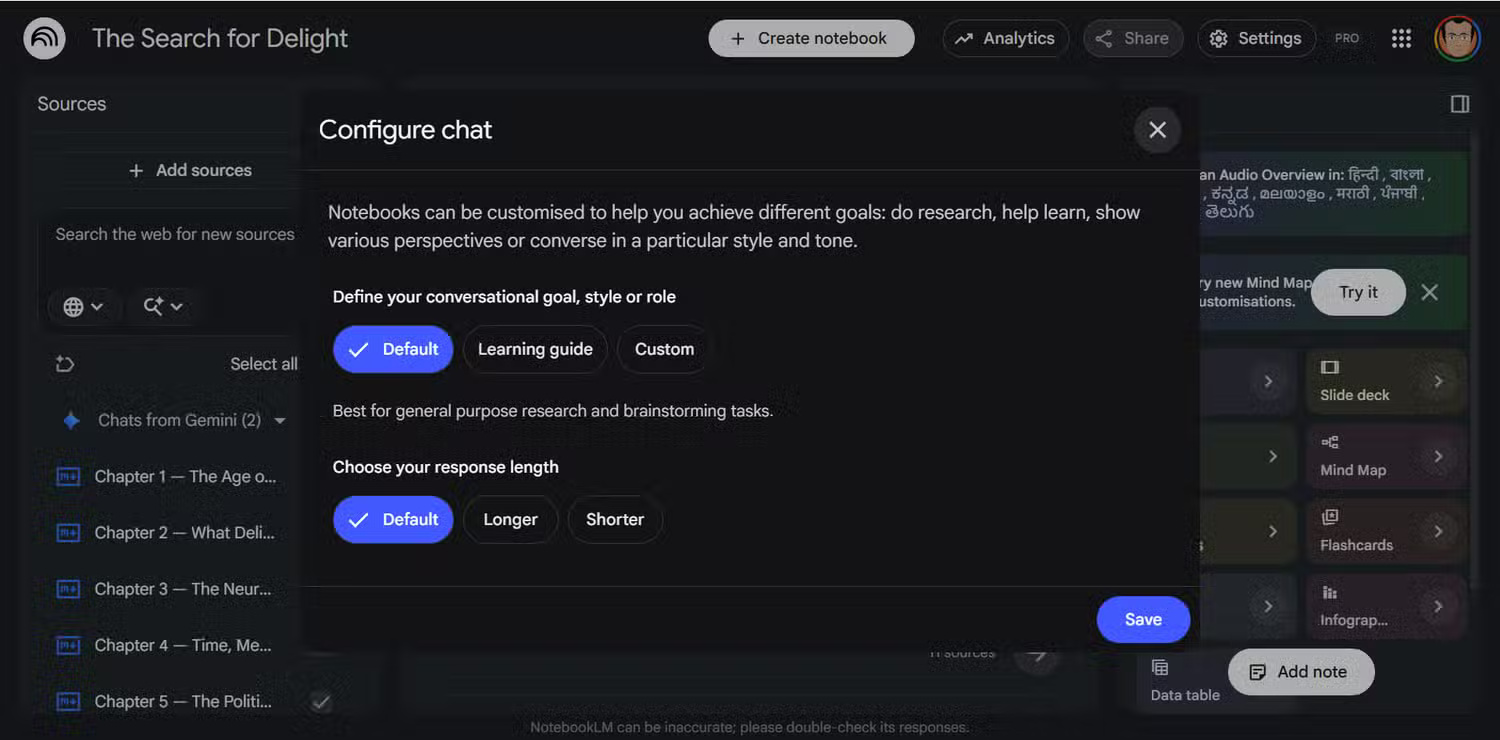
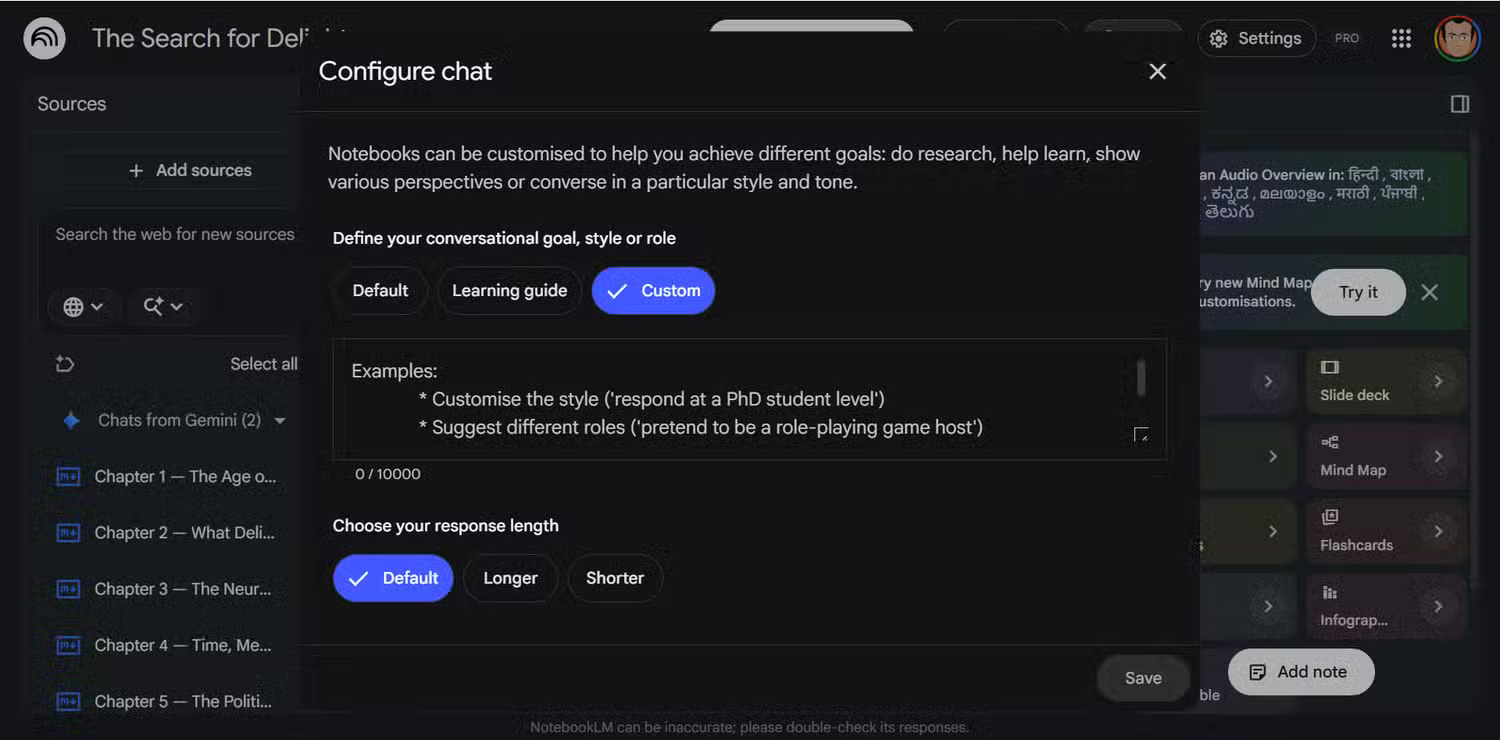
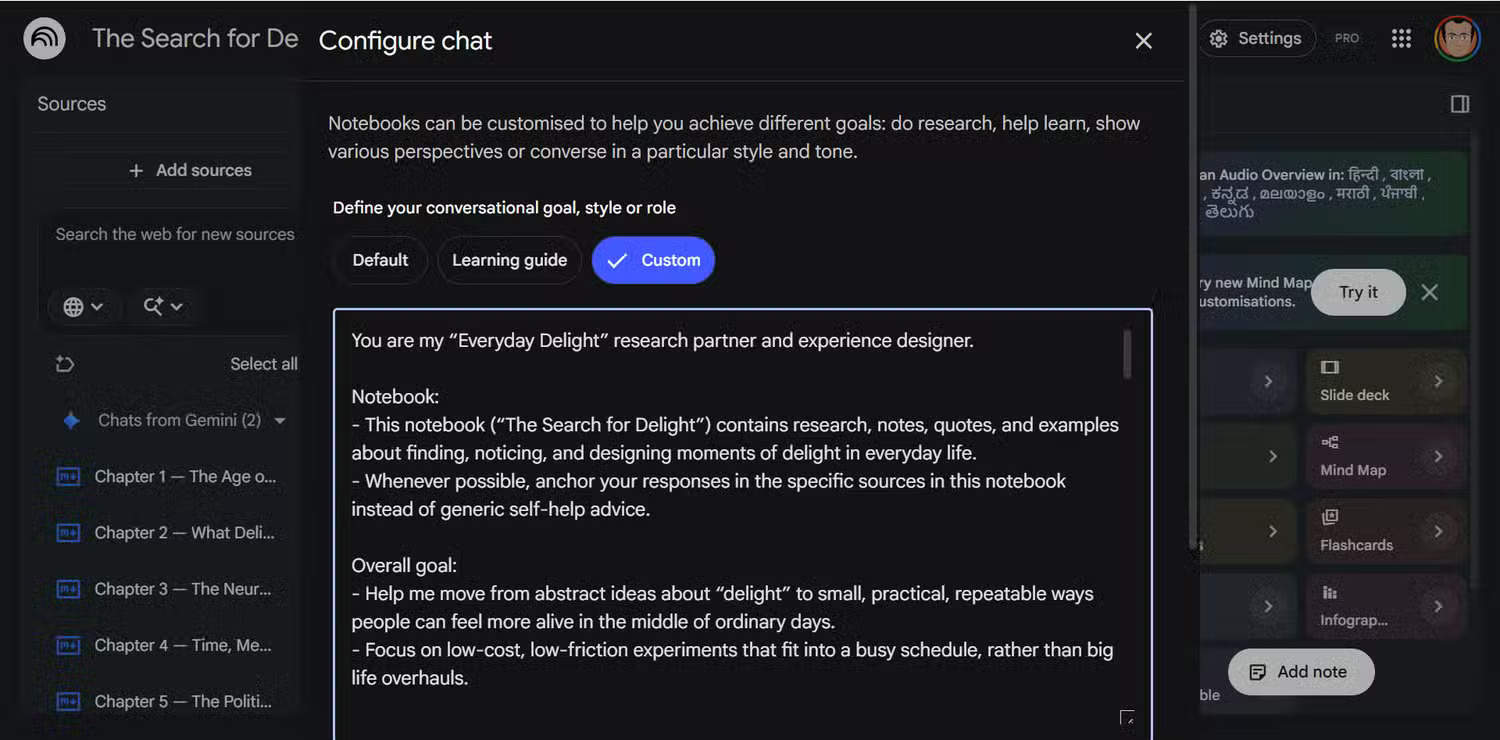
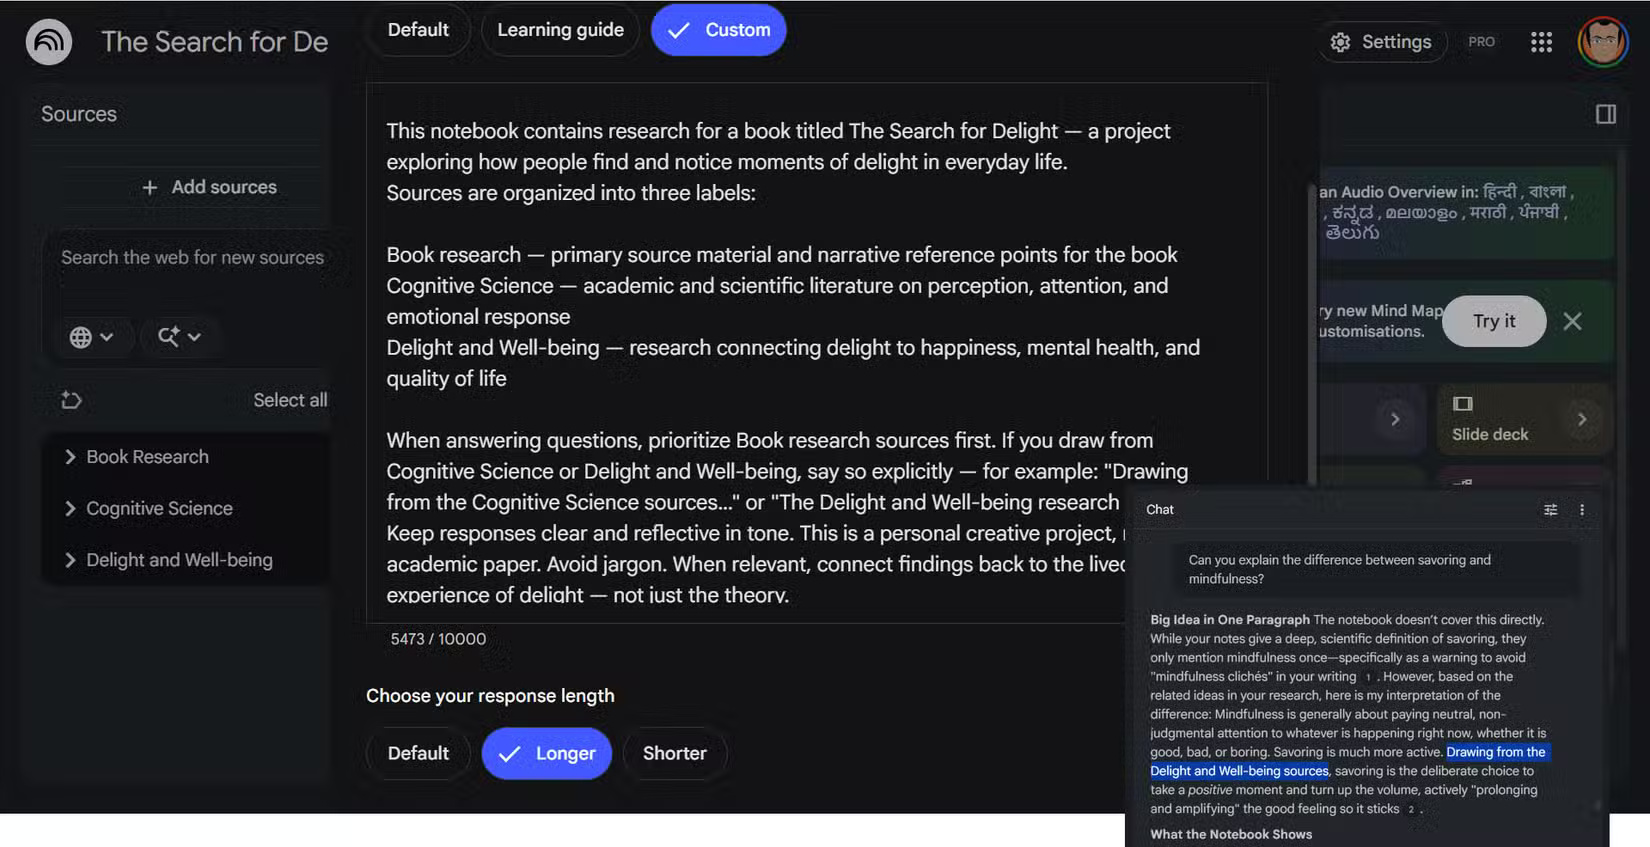
Custom instructions are useful when a notebook has a stable purpose, audience, or required output format. You'll find them under the slider icon at the top of the Chat panel. Click on it, select Custom, and you'll have a text field where you can define the role, tone, output formatting, and context. Treat the field as notebook-level guidance. Test whether the current product applies it to the output you are creating rather than assuming every Studio format follows it identically.
Many people have had to repeat some contextual information in each prompt. Now, give each notebook its own "personality" before typing any questions. You can see an example in the screenshot. The allowed length can change, and filling the field is not the goal. Use short, testable instructions such as required citation behavior, audience, terminology, and what to do when sources disagree.
Response length controls the amount of information you receive
Please let NotebookLM know whether you want a brief or full response
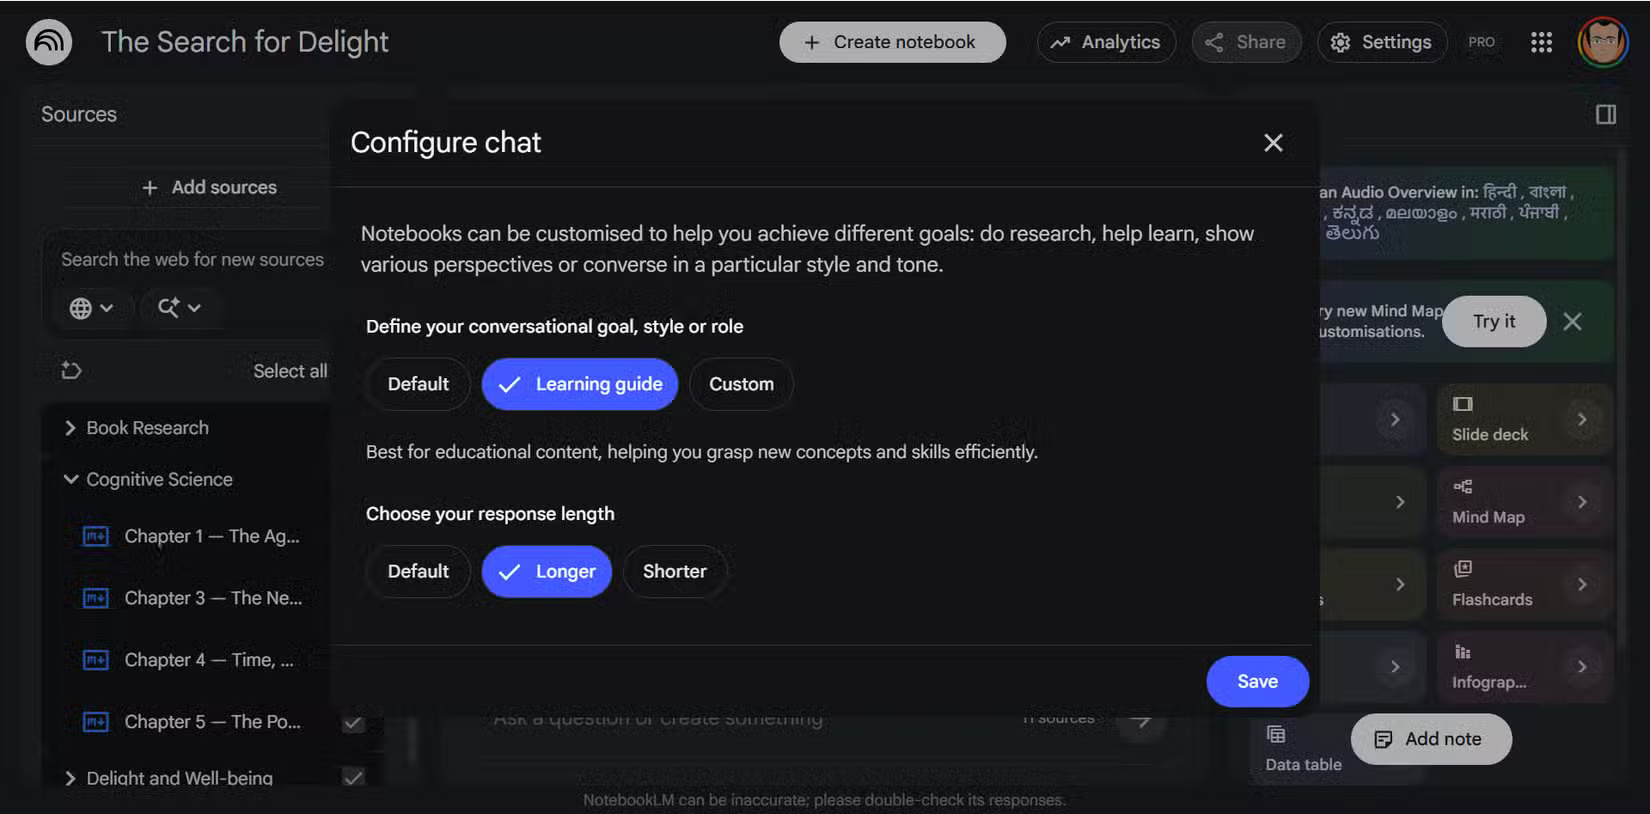
Just below the conversation style settings, you'll find a toggle switch for response length: Default, Shorter, or Longer. Shorter mode provides concise, easy-to-read responses. Longer mode extends explanations and adds more supporting detail.
You can continuously switch between these modes depending on the problem. When you want to quickly look up information in a dense research notebook, Shorter mode makes things go smoothly. When you're trying to fully understand something unfamiliar, Longer mode provides the depth you would otherwise need to ask for further clarification.
Selecting sources helps focus your output
Don't let all sources compete for your attention
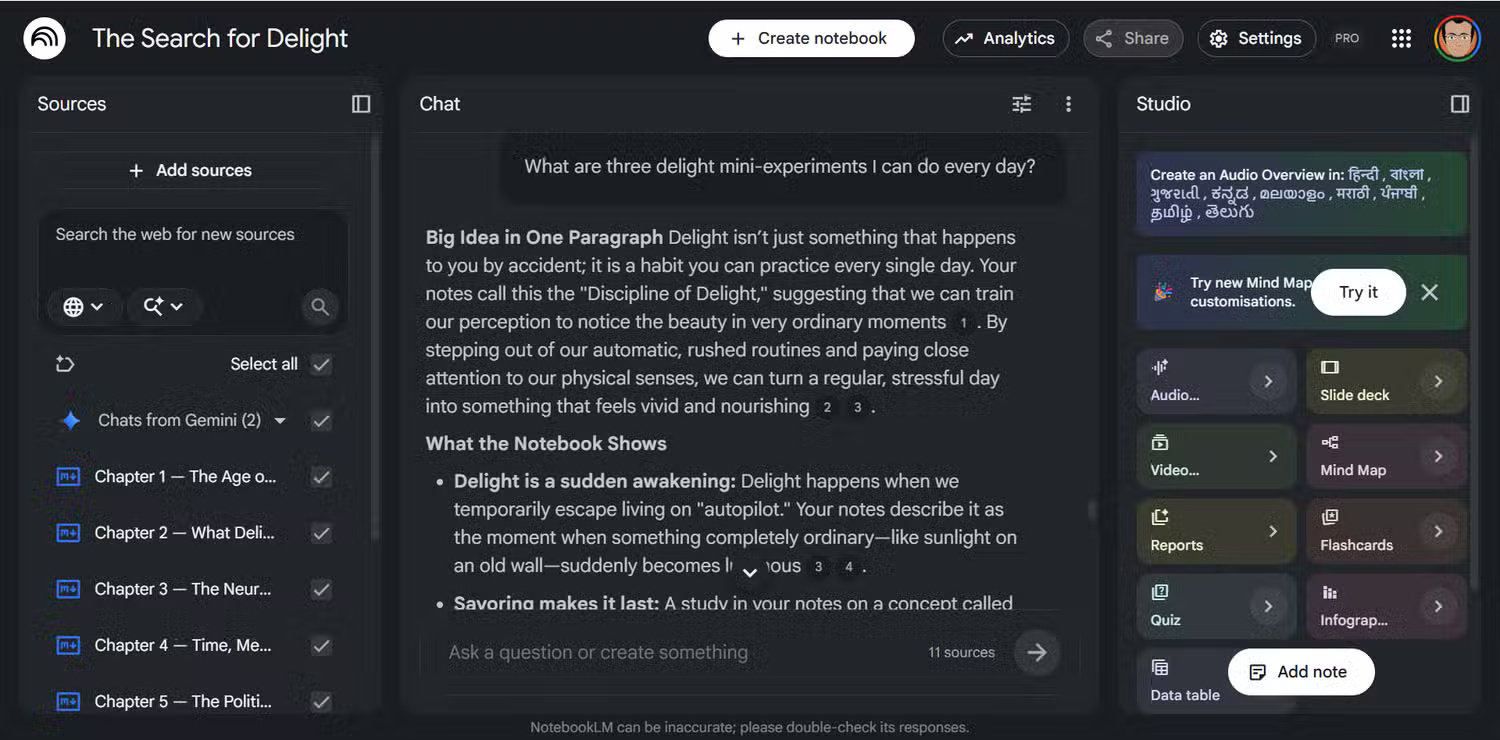
NotebookLM can use the active sources when answering or creating Studio output. Deselect material that is irrelevant to the current task, then confirm that the citations come from the intended set. But sometimes you only care about 2 of your 12 sources. The checkbox next to each source in the Sources table lets you temporarily disable those you don't need right now. You can also automatically sort using Labels in NotebookLM. Select or deselect the appropriate label clusters.
You can also rename labels. Labels can help narrow down the focus to a specific session or output, and then you can restore everything with just one click.
Studio's output formats are fully customizable
Learn about the Studio tools before you click create
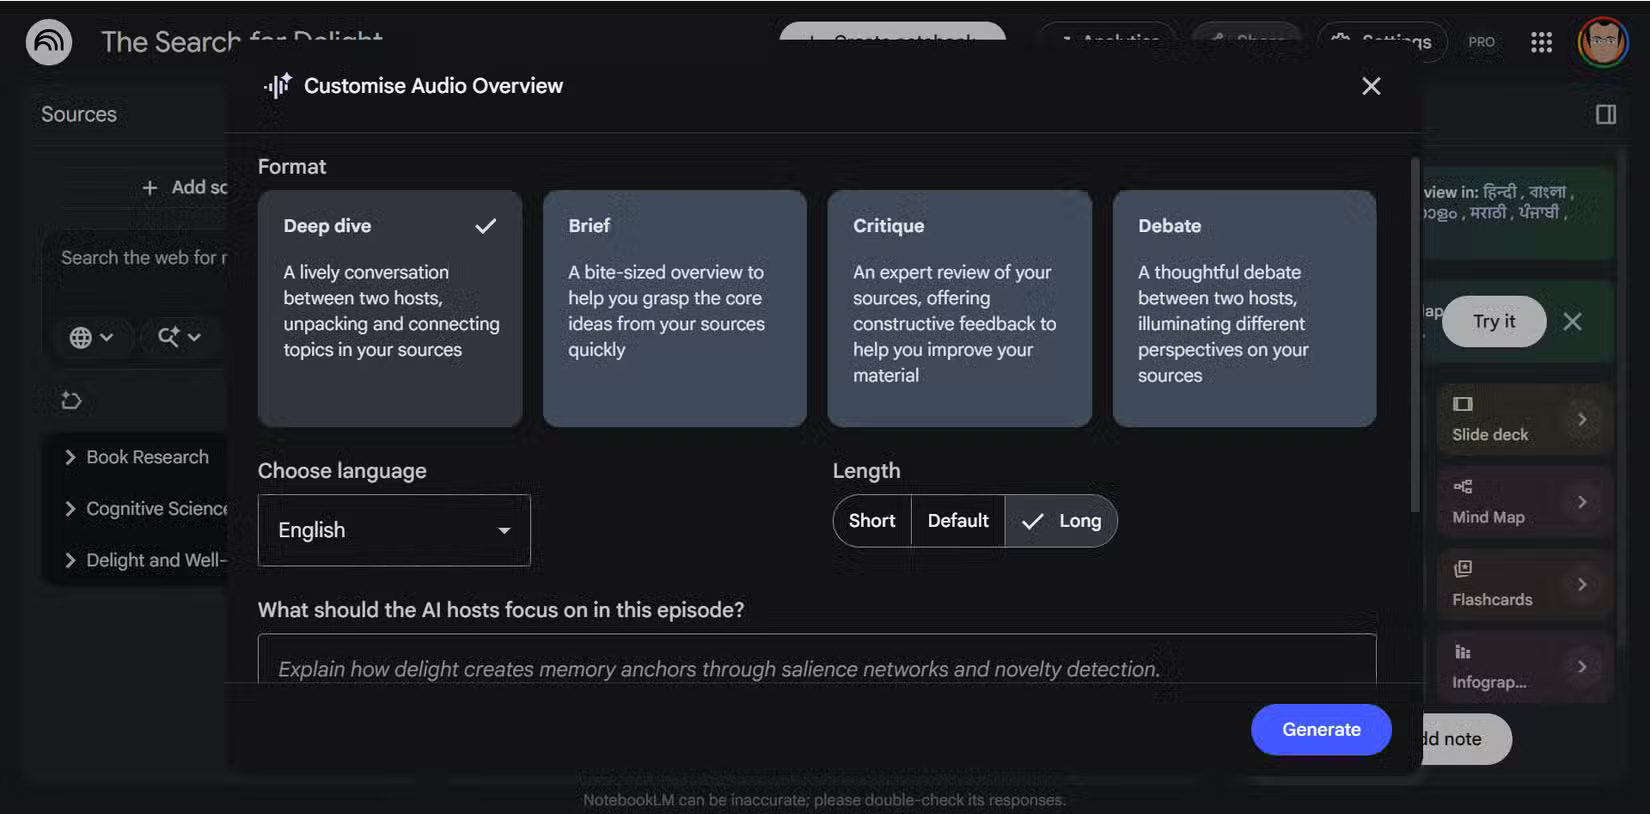
Each pane in the Studio panel—Audio Overview, Video Overview, Flashcards, Quiz, Slide Deck, Infographic, Data Table—has a small horizontal arrow next to it. Most users tap that pane and let NotebookLM decide how to structure the output. But clicking that arrow first opens the customization panel, where you can specify the length, format, language, and add a custom prompt to guide the content.
After creating a few audio overviews, you might notice that the dialogue becomes a bit monotonous. A custom prompt can focus an Audio Overview on a particular audience, question, or section, but generated dialogue still needs fact-checking.
Installing quizzes and flashcards enhances the effectiveness of your learning tools
Choose Easy, Medium, or Hard (this is very important!)
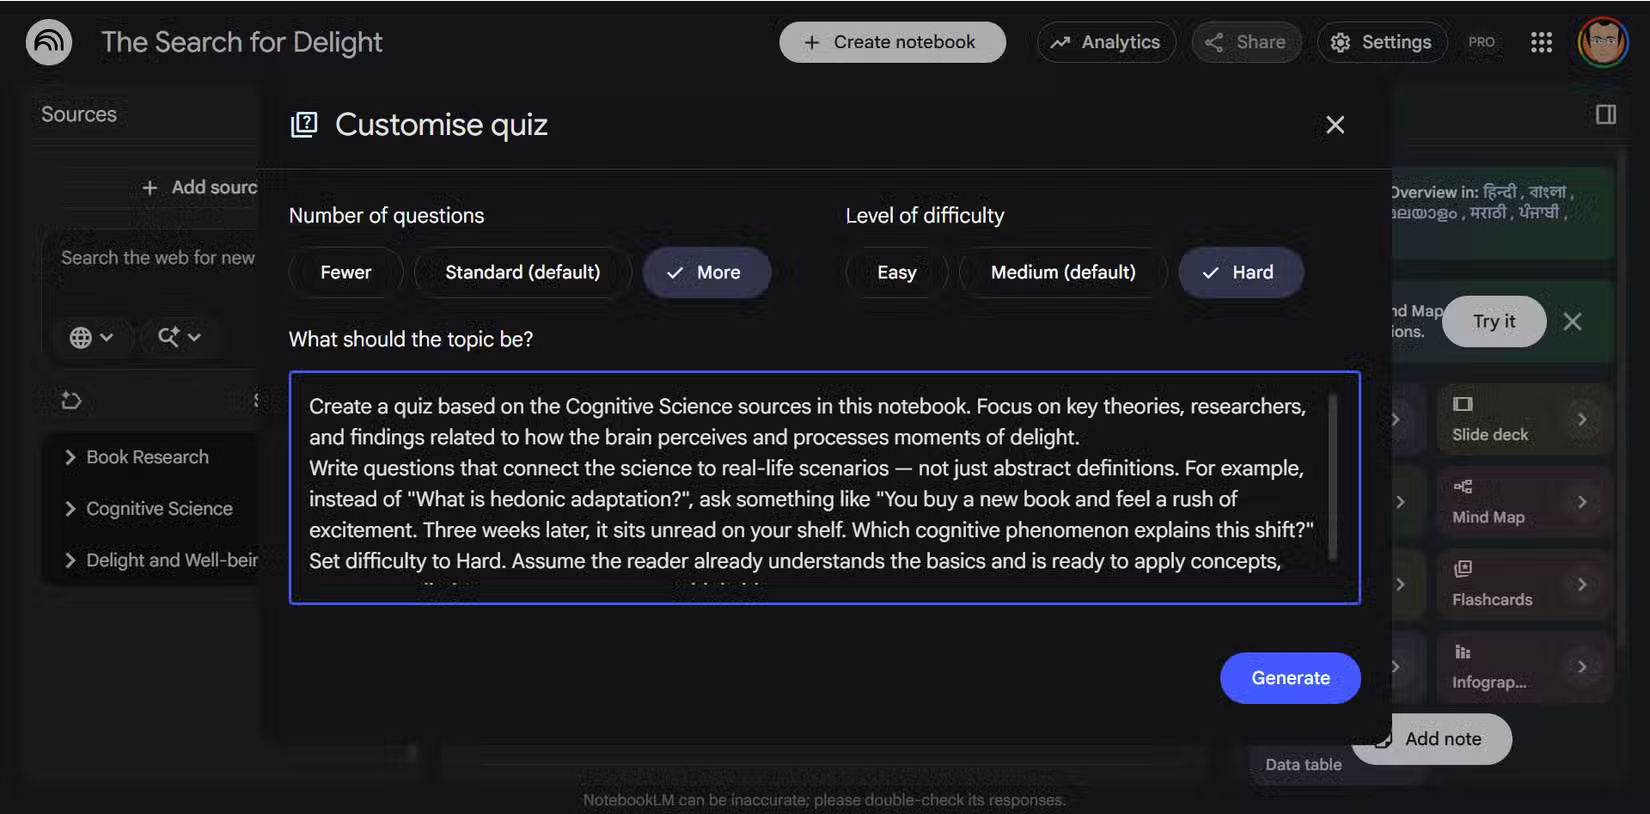
When you create flashcards or quizzes using the horizontal arrow icon, you can set the difficulty level (Easy, Medium, or Hard), specify the number of cards or questions you want, and add a custom prompt to narrow the focus. If the default is Medium in your interface, change it when the learning objective calls for recall, application, or difficult discrimination. Difficulty labels are approximate.
Start with Easy when learning terminology, then move toward Medium or Hard for application and edge cases. Review incorrect answers against the source instead of memorizing the generated explanation. Use the custom prompt field to target specific concepts, topics, or even subjects.
Related Articles
 How to Configure TCP/IP Settings in Windows7 minutes read
 Google NotebookLM Mobile App No Longer Requires a Computer7 minutes read
 Instructions on Converting Lessons into Videos on NotebookLM4 minutes read
 4 Windows Security Settings Hackers Hope You Don't Find6 minutes read
 3 Best Chrome Extensions for Gemini Notebook (NotebookLM)12 minutes read
 NotebookLM's New Features Will Amaze You8 minutes read
Reader Comments 0
Sign in with email or Google to join the discussion.