Instructions for installing Font on Windows
Direction needs to install more fonts, additional fonts for computers in the fastest way..
By default, when installing the operating system, the installer has provided us with some basic fonts, but these are not always enough to meet the needs of using, for example, if you are a designer, you want to Add some fonts to your work or you are sent a text using a different font that you do not have on your computer, then we need to add fonts to your computer.
Font is extremely important, it helps computers and humans can read and understand many different types of text. Fonts include 3 types as follows:
- True Type Font
- Open Type Font
- System Font
This article will guide you to install fonts on the window in the simplest way:
The full font installation helps us to read the full range of commonly available text, to have the most complete font set you can download here. To install the font on Windows, we proceed with the installation in one of the following ways:
Method 1:
Paste the font to be installed into the Font folder of the computer:
Steps to follow:
- Navigate to the directory containing the font to install.
- Copy the font we need to install
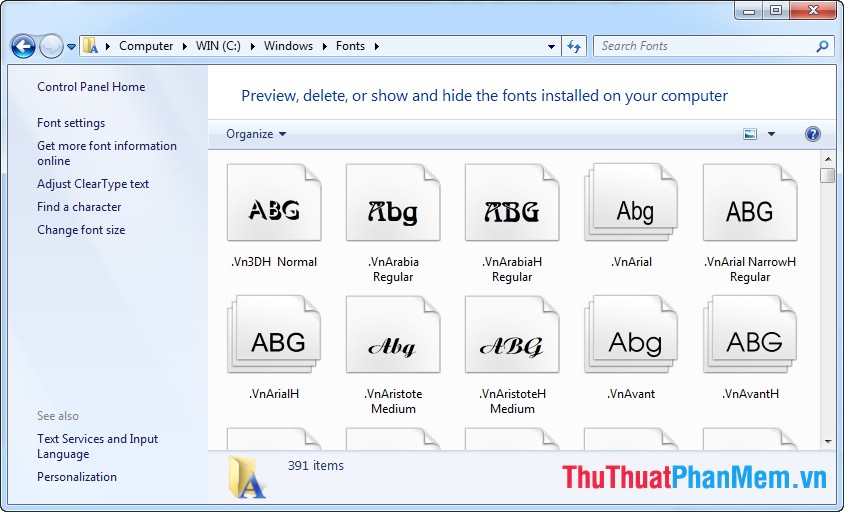
- Paste the font we just copied into the font folder on Windows under the path: C: WindowsFonts

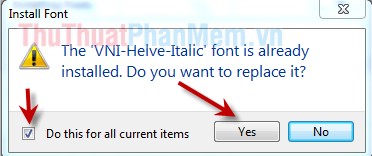
Note: In the process of pasting the font, there may appear a dialog box saying this font already exists so we can choose as shown below to ensure font installation:
Method 2:
Step 1 : Go to Start Menu -> Control Panel
Step 2 : In the Control Panel Window that opens -> choose Appearance and Themes (for Windows XP) or Appearance and Personalization (for Windows 7)

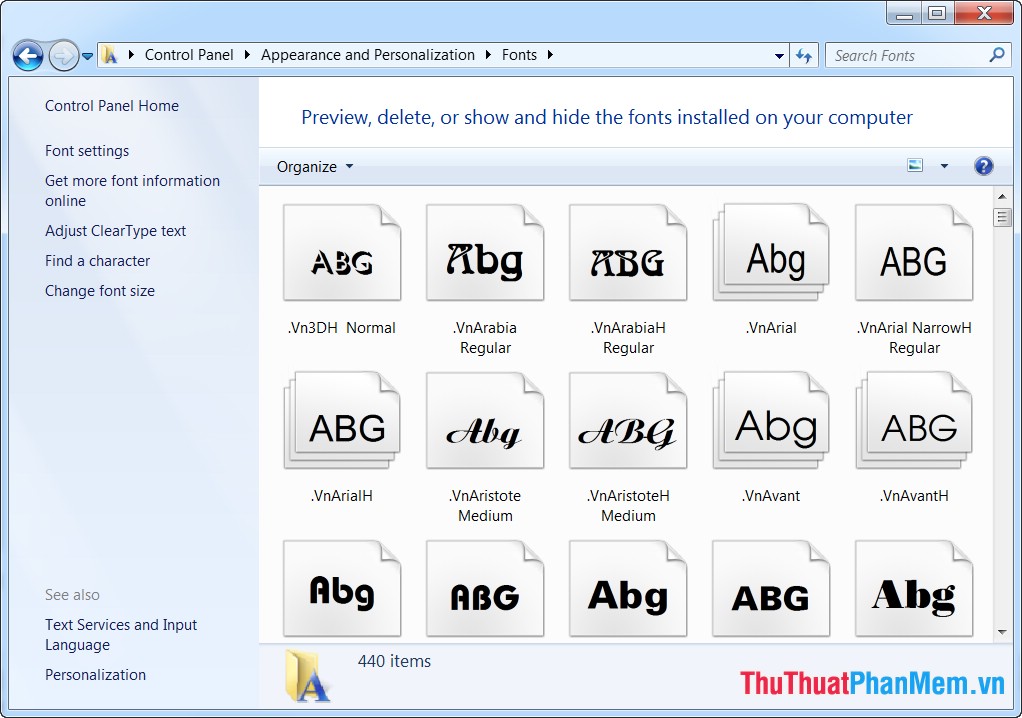
Step 3 : Click on Fonts item
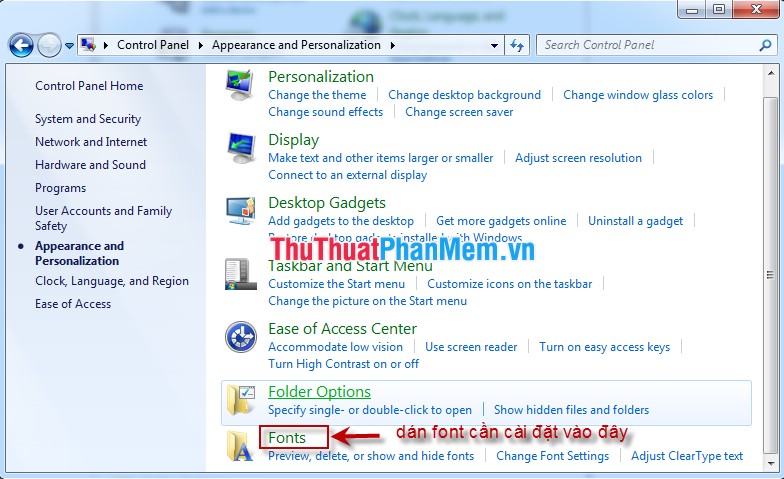
Step 4: Then copy the font to install into this directory
So, I showed you two ways to install fonts on Windows, wish you would install successfully.