Table of Contents
This guide explains how to draw Mind Maps Using PowerPoint, with clear steps, practical tips, and important checks before you begin.
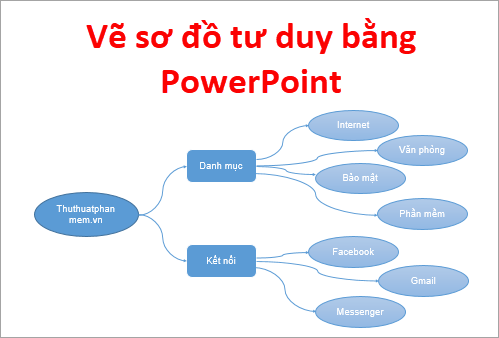
This article is about how to draw a mind map using PowerPoint.
Step 1 : Open PowerPoint, select the template you like at PowerPoint interface, or you can choose Blank Presentation blank page .
Step 2 : Select New Slide -> Blank (create a white slide to draw thinking diagram) or you can also choose the type of slide you want.

Step 3: Draw the main topic image for the mind map.
On the Home tab you see there is a Drawing section which has shapes ( Shapes ), you can directly select the shapes in this section, select the More icon as shown below to expand the shapes.

Or you can choose Insert -> Shapes -> select the shapes you want to draw the main subject image.

At this point, the mouse pointer is a + sign, you hold down the mouse and drag to draw a central theme with a large or small size, depending on your drag When you release the mouse button, at the position you draw will have a main theme image.
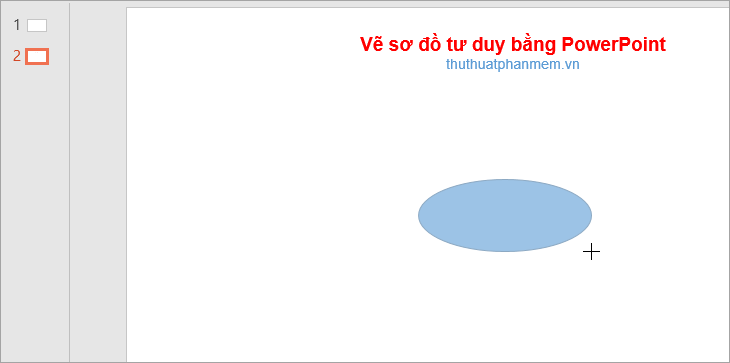
Step 4: Edit the main theme image.
1. Move the position for the main topic image: hold down the mouse button and drag to the position you want to set the main topic image.
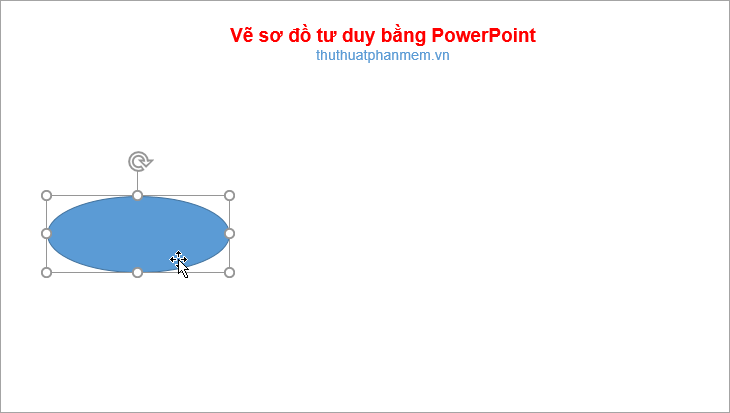
2. Resize the main subject image: place the mouse pointer on the 4 round buttons at the four corners, or the 4 round buttons on the four sides of the topic then press and hold or drag in or out to zoom out or zoom out to main topic image.
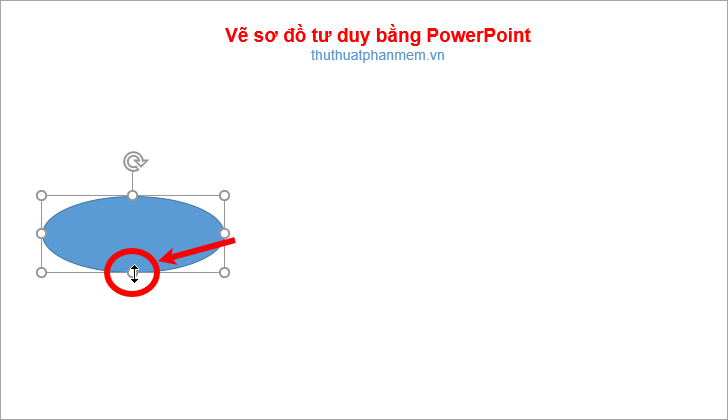
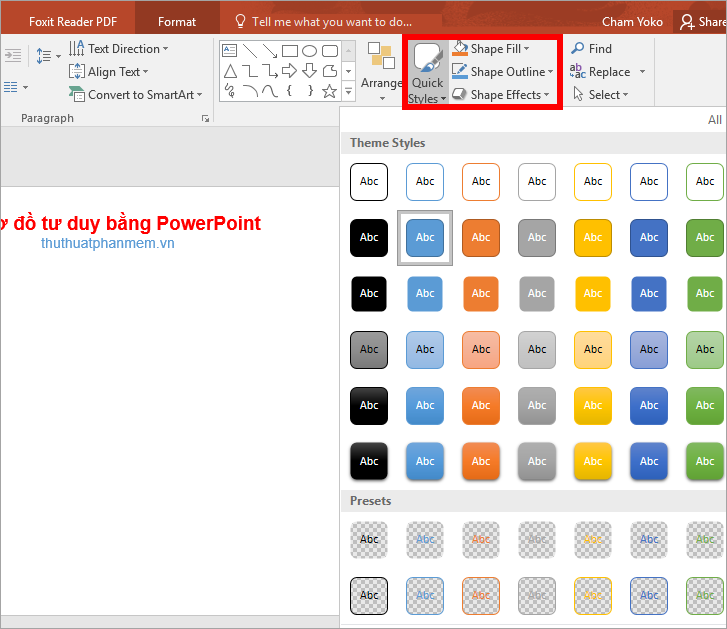
3. Edit shapes, colors, effects for the main theme: select the theme image and choose the style in the Quick Styles section, fill ( Shape Fill ), border color ( Shape Outline ), shape effects ( Shape Effects ) in the Drawing section of the Home tab (or you can edit in the Format tab ).
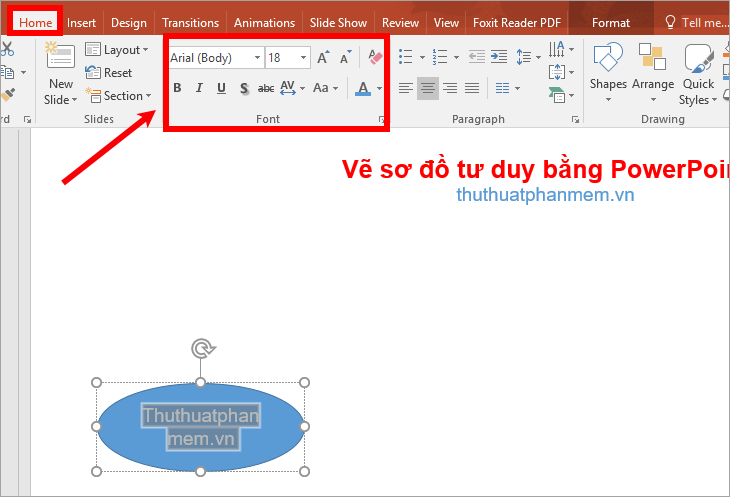
4. Add a name for the main theme image: select the subject and enter the theme name you want, then select (highlight) the topic name and edit the font, font style, font size, font color in the card Home -> Font.
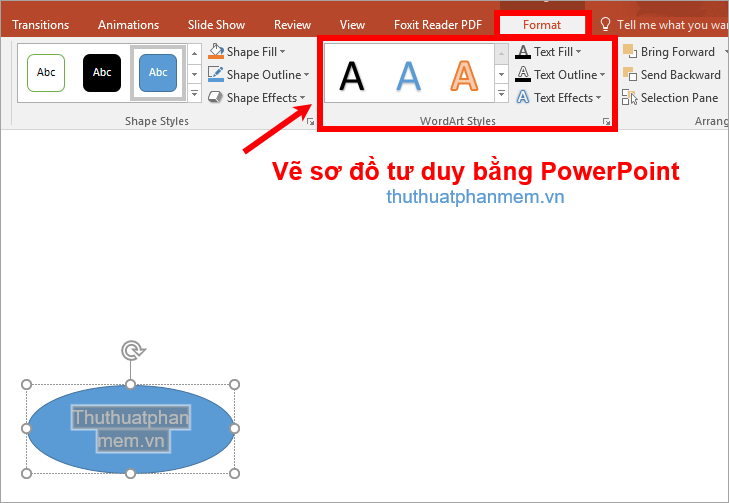
5. Create word art for the name of the main subject image: select the topic name and select the art font type in Format -> WordArt Styles
Step 5: Draw the sub-themes.
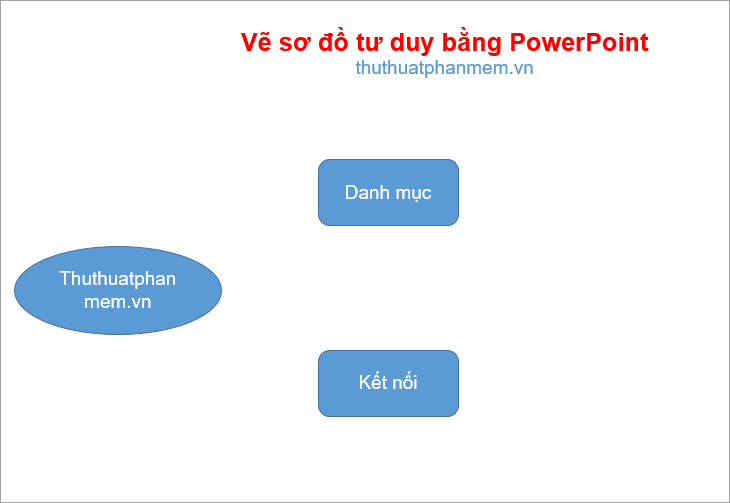
Draw the sub-subject image, select the shape of the shape in the Shapes section of Drawing (or choose Insert -> Shapes and select the style of the sub-topic), then draw the shape on the interface, edit and add text for the sub-topics. similar to drawing the main theme. You can draw as many sub-themes as you like, and edit the position of the sub-themes accordingly.
Step 6: Draw the lines between the subject shapes.
The topics in the mind map need to be connected by connecting lines, you can use straight lines, curves, straight arrow lines, curved arrow lines, etc. to connect the topic shapes with together. Select the ramp in the Shapes section of the Home tab (or choose Insert -> Shapes -> select the seam).
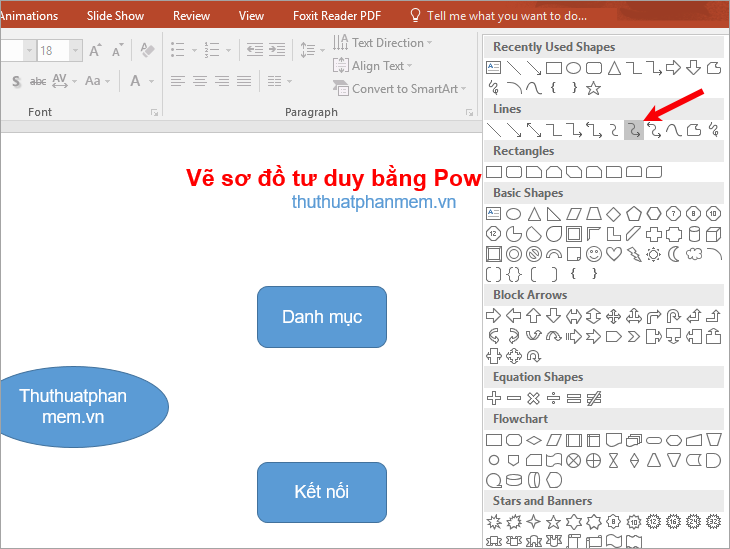
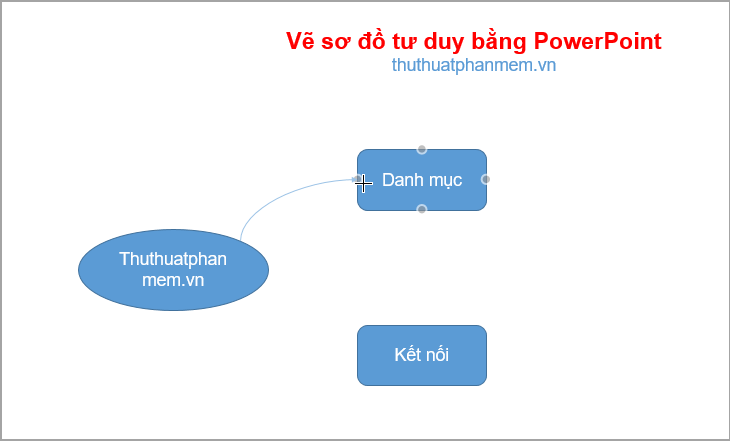
The mouse turns into a + symbol, hold down the mouse from the main topic image and drag it to the sub-topic. You do the same with the other roads.
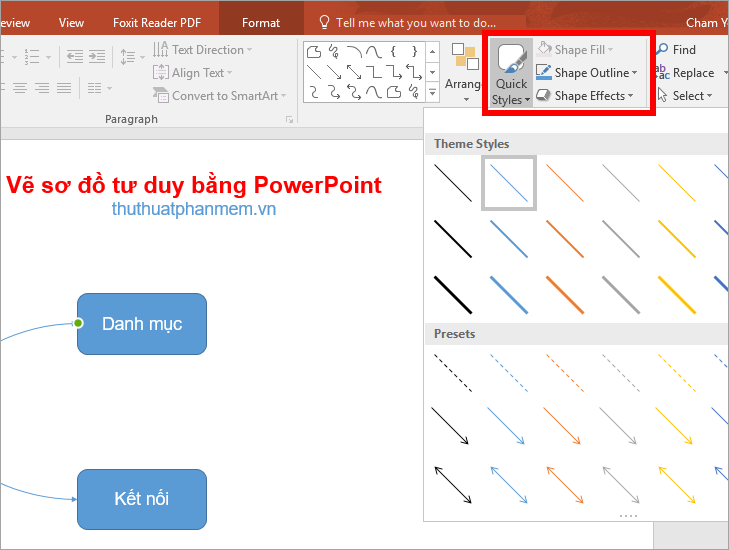
To change the seam style and color of the seam, select the seam and choose the type of seam in the Quick Styles section, the color, the size of the seam in the Shape Outline section , the effect in the Shape Effects section in the Drawing section of Home card.
Step 7: Add smaller topics for subtopics, you can also add topic images and add similar seams. Then you edit, move the position accordingly to have a complete mind map.
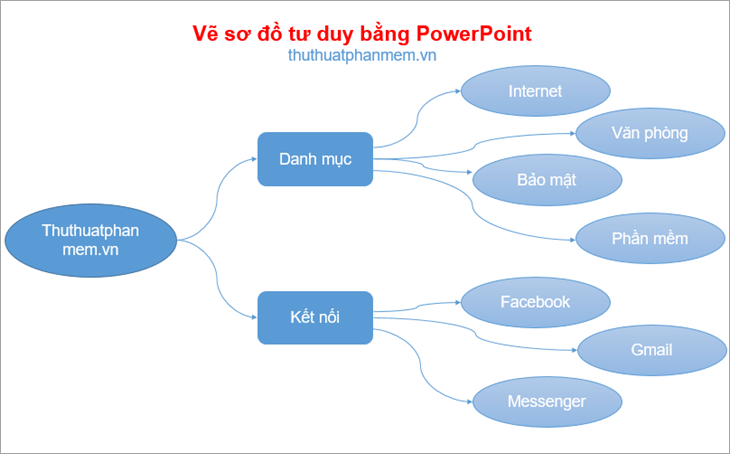
So, you know how to draw mind maps with PowerPoint. From now on if you want to draw a simple mind map, you can use PowerPoint directly. Or you can refer to how to draw a mind map with Mindjet MindManager software here: http://TipsMake. vn/cach-ve-so-do-tu-duy-bang-mindjet-mindmanager/
Good luck!
FAQ
What should I know about Draw Mind Maps Using PowerPoint?
Focus on the key features, requirements, limitations, and practical use cases explained in this guide.
How do I get the best results with Draw Mind Maps Using PowerPoint?
Follow the recommended steps, use current software or information, confirm compatibility, and review settings before major changes.
Are there any risks or limitations?
Potential limitations depend on compatibility, data quality, cost, privacy, support, and how the product or method is used.
Related Articles
 Draw a Beautiful, Professional Mind Map in PowerPoint: Step-by-Step Guide4 minutes read
 Mind Mapping in PowerPoint4 minutes read
 How to Draw Mind Maps with Word6 minutes read
 How to Create Mind Maps Using AI4 minutes read
 How to Draw Beautiful Mind Maps with IMindMap4 minutes read
 How to Create Mind Maps for Lessons Using Gemini5 minutes read
Reader Comments 0
Sign in with email or Google to join the discussion.