How to use Windows Tweaker 5 to customize Windows
To personalize your Windows operating system at your disposal, you can use Windows Tweaker 5.
Through each upgraded version of Windows, new features are updated as well as improved systems. However, it is possible that those upgrades have yet to please users, such as unnecessary features or options, which are almost unnecessary to use during Windows. So Windows system tweaking tools will help users fix that problem, like Windows Tweaker 5 utility.
Windows Tweaker 5 will allow you to adjust, remove unnecessary options and functions on Windows. From there, we can easily personalize the Windows system at our discretion.
The following article will apply to Windows 10. Other operating system versions do the same.
- Introducing the "All in One" custom tool on Windows 10
- Unlock hidden features on Windows 10 with some Registry tricks
- Some tips to customize Taskbar on Windows 10 effectively
Personalize Windows with Windows Tweaker 5
Step 1:
First, visit the link below to go to Windows Tweaker 5 download page.
- https://sidmkp96.deviantart.com/art/Windows-Tweaker-5-0-303135198
There are 2 options for users to choose from, including the installed and portable versions. You click on the link in Installer is available to proceed to download Windows Tweaker 5 to your computer.

Step 2:
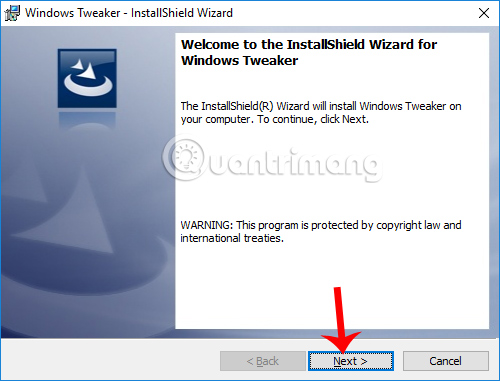
Then, click on the .exe installation file to install the software. In the first interface click on the Next button to move to the next installation step.
Step 3:
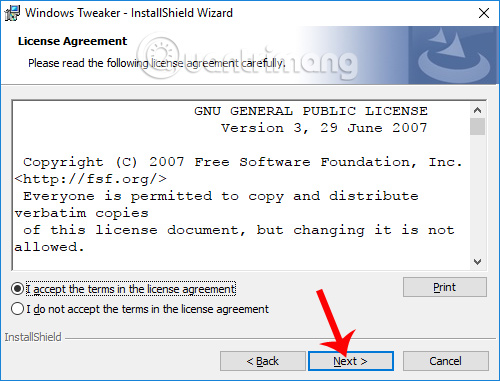
Next, you need to agree to the terms of using the software as shown below and then click Next to continue.
Step 4:
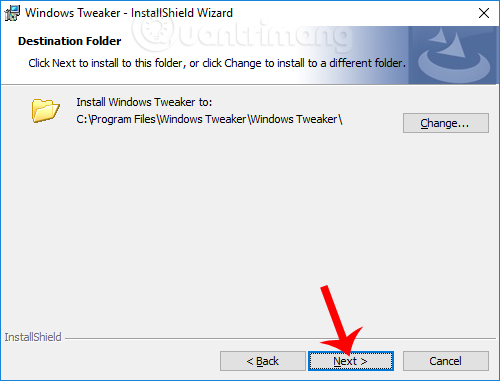
Switch to this interface, if you want to change the Windows Tweaker 5 installation folder, click the Change button . Or you can click on Next next.
Step 5:
Finally click the Install button to install the utility on the computer.
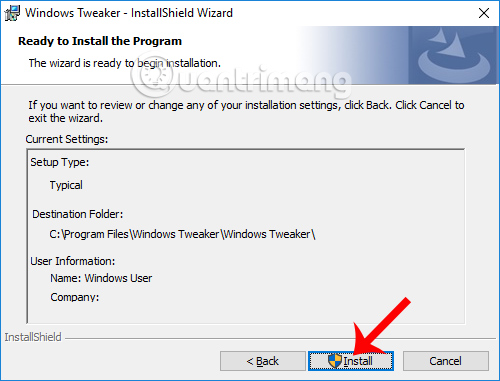
The user waits for the installation process to complete on the computer.
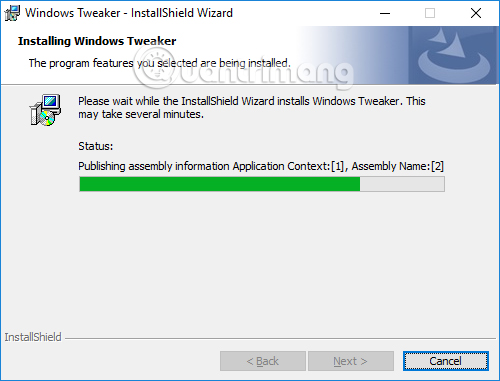
Step 6:
Click on the program icon on the computer's interface to launch. Windows Tweaker 5 has a simple interface, settings tabs are divided into specific groups that are easy to use. Each setting tab will have different select groups.
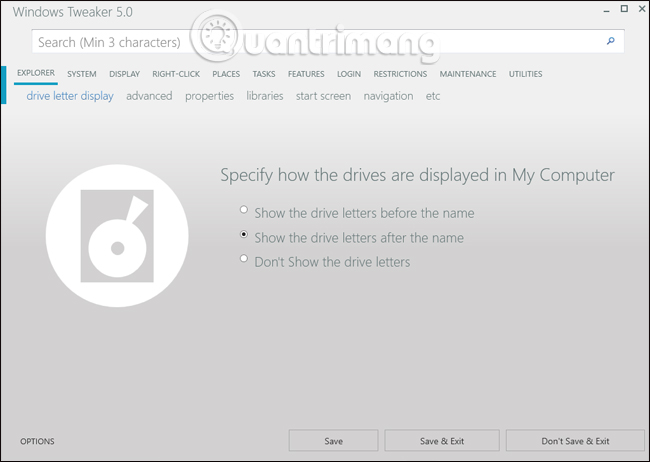
When you click on any tab, you'll see Windows Tweaker 5 lists a lot of options, including hidden options on the Windows operating system that the manufacturer has hidden in the settings window.
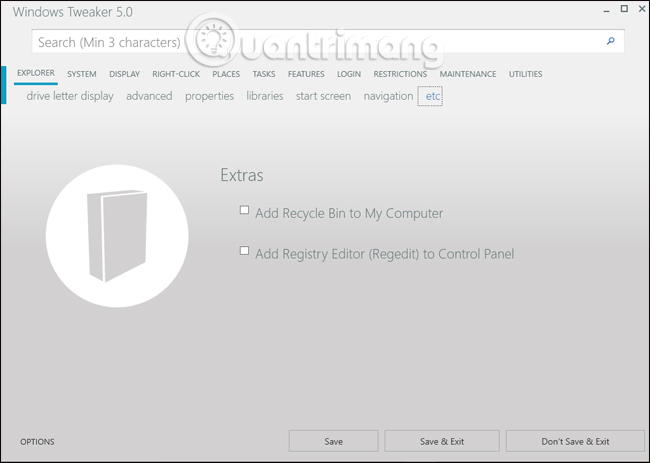
Step 7:
Going into the setup group you will see that the settings for the Windows system are very diverse. When you click on the Right-click tab, there is a list of hidden settings that show options in the right-click menu, computer ownership information, etc. If you want to use or remove any choice, simply click the tick, or uncheck the option.
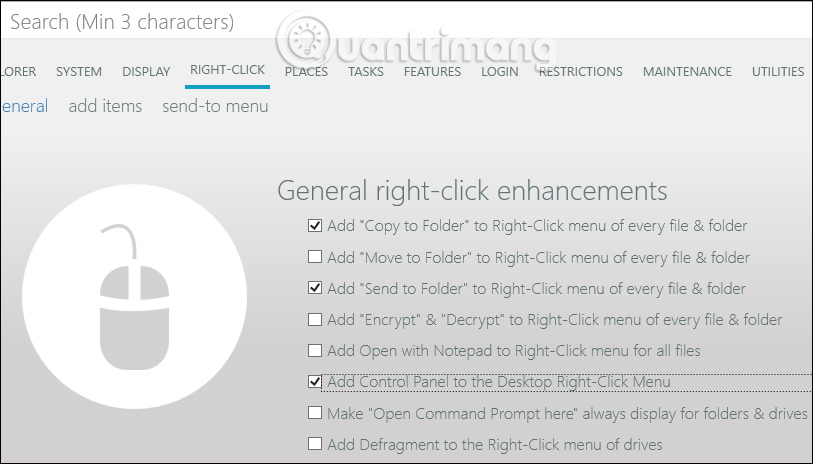
Step 8:
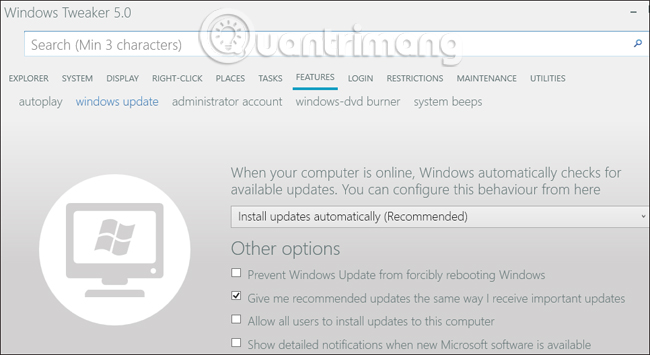
If you click on the Features tab, you will see groups of settings for Windows, such as suspended updates, creating quick access shortcuts from the right-click menu, etc.
Step 9:
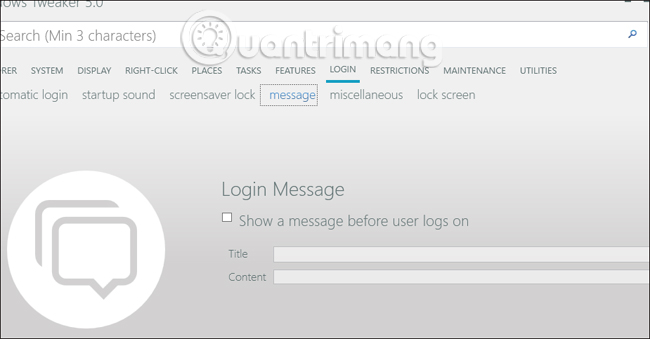
A special thing in Windows Tweaker 5 is that it will provide users with some customization without the intervention of the new Registry to use.
If in the past, to edit more in the system will need a Registry, but with Windows Tweaker 5 everything is set up so that users can set up immediately without doing it manually as before.
Step 10:
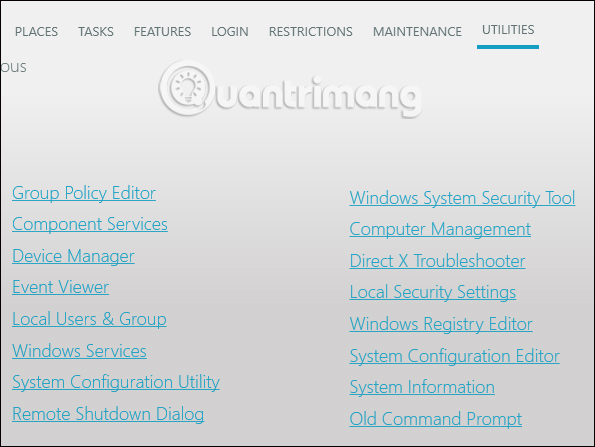
Clicking on the Utilities tab appears a list of 38 shortcuts to the tools built into the system, or scattered across Windows. Each shortcut will be sorted by specific function groups to select and use quickly when needed.
Step 11:
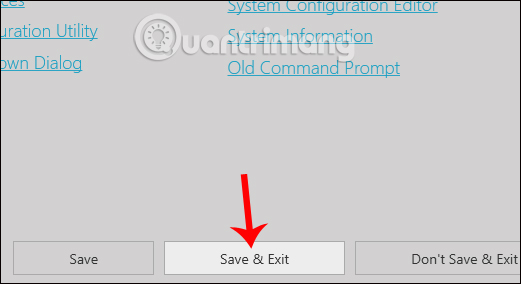
After you have finished adjusting the personalized interface on Windows, click Save & Exit below to save the changes.
Finally, to make the changes done, restart the computer. Windows Tweaker 5 offers 2 options to reboot the system, including Restart Now reboot immediately and Restart Later restart later, in case you are performing other tasks on the computer.
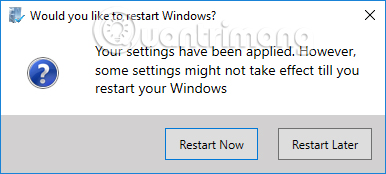
Above is how to use Windows Tweaker 5 tool to customize the personal interface, system on Windows. Utility provides users with specific customizations, grouping into functions on the computer. And every option will be displayed right on the Windows Tweaker 5 interface to perform, without the need for Windows Registry intervention.
I wish you all success!