How to Use Story Remix
Part 1 of 3:
Starting a Video
-
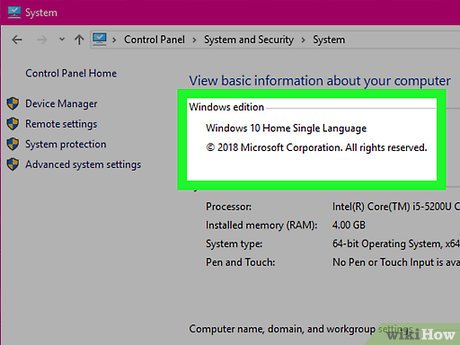
 Upgrade to Windows 10 Creators Update. This update has an updated Photos app that has the Story Remix.
- If you are running a version prior to Windows 10, you can upgrade by following these directions.
- If you are running a version of Windows 10, you can upgrade by following the directions here.
-
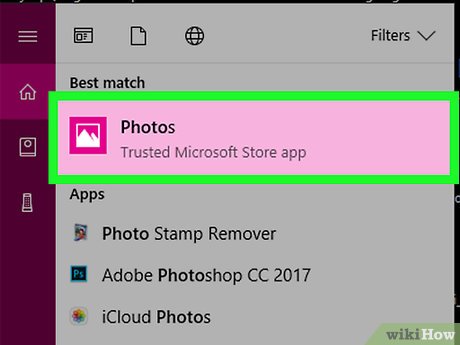
 Launch Photos. In the Photos app, tap "Create", then choose "Custom video" or "Automatic video".
- For "custom video", you will need to choose the photos/videos before you can start editing.
- For "automatic video", you still choose the photos/videos, but the editing is done automatically and can be changed instantly by tapping the "Remix" button.
-
 Add the video and photo clips. Drag the pictures and videos from the panel on the left side and release when the clips are in the timeline.
Part 2 of 3:
Editing Your Video
-
 Choose the volume of individual clips (if they are video). Click on the speaker in the clip to select it, then drag the volume slider on the clip to the desired volume. You can also right-click, then choose "Volume".
 -
 Choose "Trim" to trim the video clip or change the duration of the photo. You can choose a desired length.
 -
 Choose "Resize" to crop the photo/video. Choose whether you want to remove the pillar bars or fit the entire photo/video.
 -
 Choose filters. Tap the "filters" button, then choose the appropriate filter.
 -
 Choose text effects. Choose the clip, then click on "Text", then click on the desired text effect, then type a caption. You can also right-click on the desired clip, then choose "Text".
 -
 Add camera motion. Choose the motion button, then choose how you want the clip to pan.
 -
 Name your video. Tap the pencil icon to name/rename your video.
 -
 Undo and redo. If you make a mistake, click on Undo or Redo in the corner or press Ctrl+Z and Ctrl+Y.
 -
 Add 3D effects. Choose "3D effects", then choose the desired 3D effect.
Part 3 of 3:
Finishing Your Video
-
 Change the theme. This changes the text, the music, the overall effect, and more.
 -
 Change the music volume. At the top toolbar, tap "Volume", then adjust the overall volume.
 -
 Add music. Tap "Music", then choose from a few automatic looping songs or choose your own.
- You can also choose to synchronize the video to the music.
-
 Change the aspect ratio. Choose from 4:3, 16:9, or portrait mode.
 -
 Save to OneDrive. Tap "Add to cloud" to save the project to OneDrive for editing later.
 -
 Export the video. Tap "Export or share", choose a video quality, and you are done. You can now upload your video to YouTube or share it with your family or friends.
Share by
Isabella Humphrey
Update 04 March 2020


