How to Mirror Your Screen on Windows
Method 1 of 2:
Using Miracast Wirelessly
-
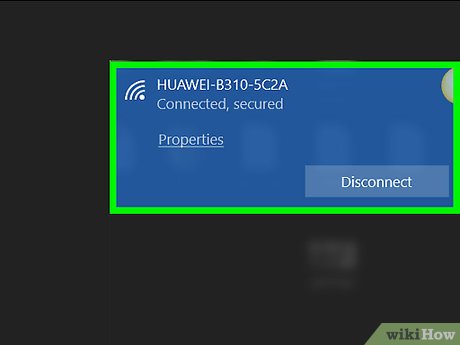
 Make sure your screen receiver is set up and connected to Wi-Fi. Your receiver display must be connected to the same wireless network as your computer to use Miracast's screen mirroring feature.
- If you're not sure how to connect your computer to a wireless network, you can look it up for Windows 10, Windows 8 or Windows 7 here.
- Setting up your projector, monitor or TV will vary from device to device. You can refer to your display's manual for specific instructions.
-
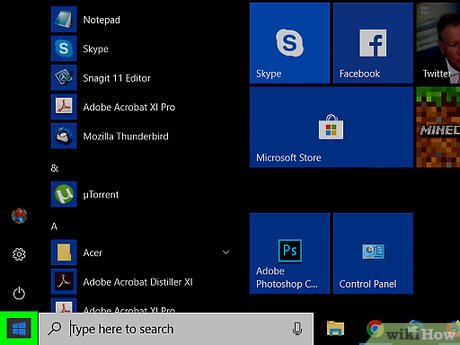
 Open your computer's Start menu. Find and click the Windows icon in the lower-left corner of your computer's desktop to open the Start menu.
 -
 Click the gear icon on the bottom-left corner. This button is located above the Power icon in the lower-left corner of your Start menu. It will open your Windows settings in a new window.
 -
 Click Devices in the Settings window. This will open your device and connection settings.
 -
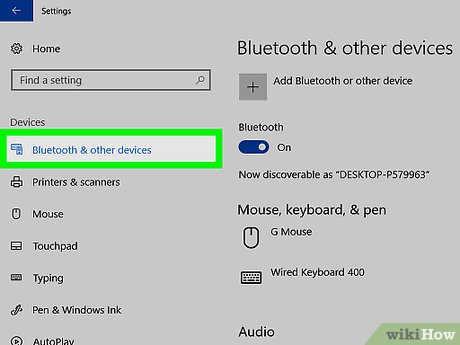
 Click Bluetooth & other devices on the left menu. This option is at the top of the navigation panel on the left-hand side of your Settings window.
- On most versions of Windows, the Devices menu will automatically open up to the Bluetooth & other devices menu.
-
 Click + Add Bluetooth or other device. This option is at the top of the Bluetooth & other devices page. It will open your connection options.
 -
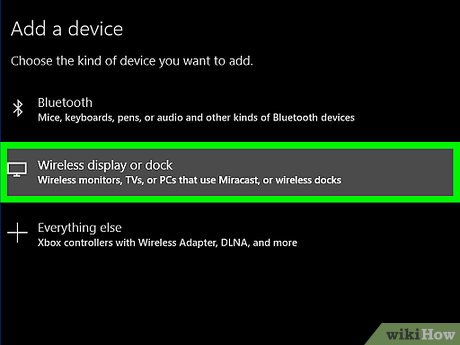
 Select Wireless display or dock on the "Add a device" menu. This will scan your network, and list all the available display devices you can use to mirror your screen.
- Make sure your screen receiver is turned on, and connected to the same wireless network as your computer. Otherwise, you won't see it on the menu here.
-
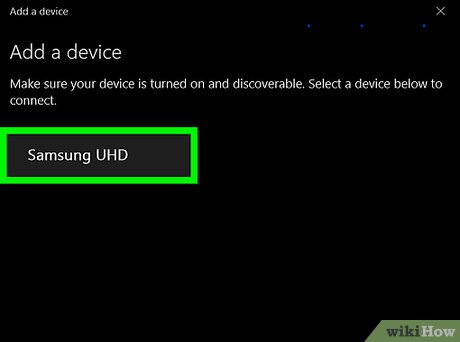
 Click your display's name on the "Add a device" menu. This will connect to the selected device, and mirror your computer's screen to your projector, monitor or TV.
- You may be prompted on your receiver display to confirm the connection coming from your computer.
-
 Click the Done button. This will close the "Add a device" menu. You can now view your computer's screen on your projector, monitor or TV.
Method 2 of 2:
Using an HDMI Cable
- Get an HDMI cable. HDMI helps you transmit and project your computer's uncompressed audio and video output in high-definition.
- If you don't already have an HDMI cable, you can buy one online or at an electronics store.
- Most computers and displays come with a built-in HDMI port. If one of your devices doesn't have an HDMI port, you can purchase an adapter, or use a different cable such as Mini DisplayPort to HDMI.
- Plug one end of the cable into an HDMI port on your computer. You can usually find an HDMI port on the side or on the back of a laptop or desktop computer.
- Plug the other end of the cable into your display. Find an HDMI port on your TV, monitor or projector, and plug the other end of the cable into here.
- Both ends of the HDMI cable look the same. You can plug either end into your TV, monitor or projector.
- Switch your TV or projector to the HDMI input. Once the HDMI input is selected on your display, your computer's screen will be automatically mirrored on your TV or projector.
- If your display has more than one HDMI port, you will need to select the correct input port here.
- Setting up your display's input will vary depending on your TV or projector. You can refer to your display's manual for specific instructions.
Share by
Lesley Montoya
Update 04 March 2020
