How to Use Preview Like a Pro in Mac OS X 10.6
If you are thinking of buying Photoshop or another expensive photo editing program, first consider a program built right in to your Mac. If you are buying Photoshop so you can take the background out of a photo, highlight a certain part of....
Method 1 of 3:
Taking the background out of images
-
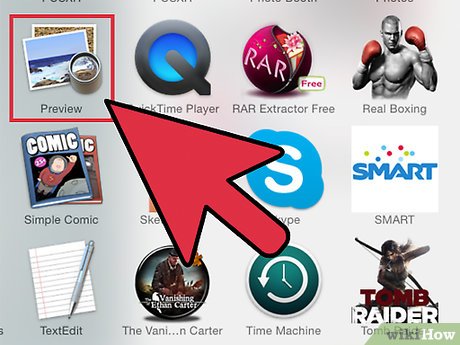 Open Preview.
 -
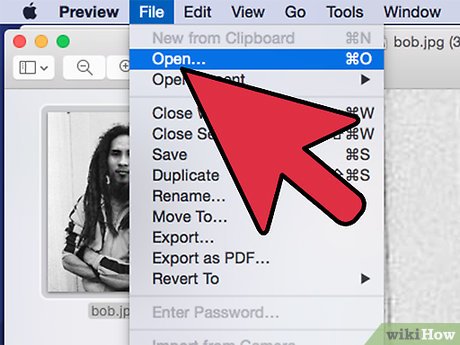 Use Preview to open your image. Go to File>Open and choose the image you wish to open.
 -
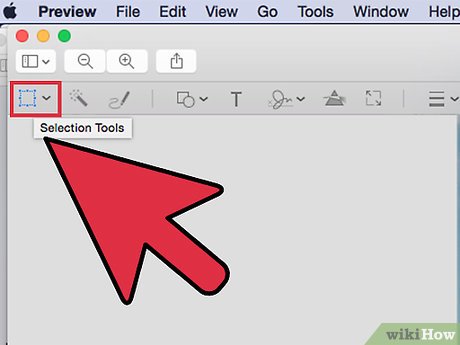 Click the "Select" drop-down menu.
 -
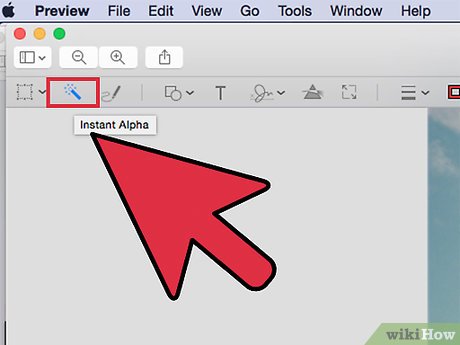 Choose the "Instant Alpha" button.
 -
 Click wherever you want to erase the background.
 -
 You will notice that part of your picture turns red.
 -
 Drag until most of your background is red.
 -
 When you have most of the background selected, hit the "Delete" key.
 -
 This won't erase all of the images background, but it should get most of it.
 -
 Now it comes down to personal preference on which tool to use to clean up the rest of the background.
Method 2 of 3:
Isolating a part of a picture
-
 Drag a rectangle (or circle if that's what you want) around the area you want to keep.
 -
 Hit the "Invert Selection" button under the "Edit" menu.
 -
 Hit "Delete"
Method 3 of 3:
Annotating on a Picture/PDF
-
 Open your picture.
 -
 Hit the "Annotate" button
 -
 Make your selections!