Table of Contents
This updated guide examines How to Use Mega Sync Client on Windows and organizes the essential facts, background, and practical takeaways in clear American English.
Part 1of 4:
Downloading and Installing MEGA Sync Client
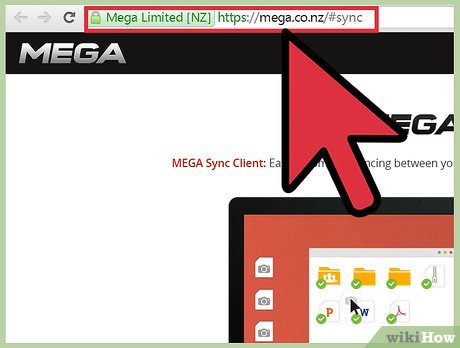 Go to MEGA. Visit https://mega.co.nz/#sync to reach the download link for the Windows app.
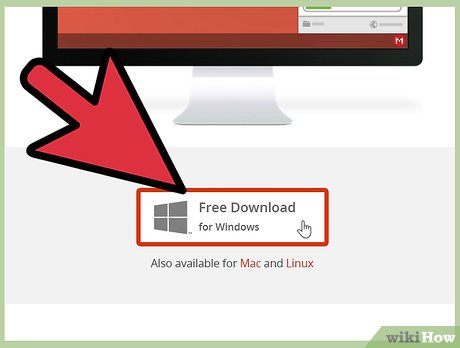 Download MEGA Sync Client. Click the box with the Windows logo and text 'Free Download for Windows.' The setup file will be downloaded.
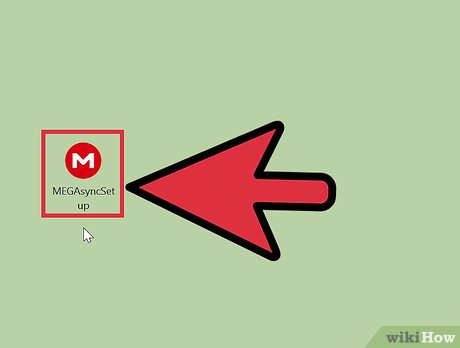 Install MEGA Sync Client. After the download, look for the setup file on your computer. The filename should be 'MEGAsyncSetup.exe.' Double-click on this file to begin the installation.
Part 2of 4:
Setting Up MEGA Sync Client
 Log in. Before the installation completes, you will be asked for your MEGA account. The program will use this to fetch your files from your MEGA cloud drive. Key in your email address and password, then click the 'Next' button.
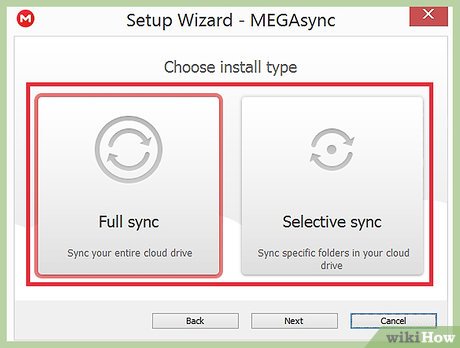 Choose the install type. Once your account has been verified, you will be asked to choose between a 'Full account sync' or a 'Selective sync.'
- 'Full account sync' syncs your whole MEGA cloud drive to your local computer. 'Selective sync' only syncs selected folders from your MEGA cloud drive.
- Click on the radio button for your choice and click the 'Next' button.
 Finish the setup. Once everything's configured, click the 'Finish' button. Your MEGA cloud drive will now be automatically synchronized or mirrored to the specified local folder.
 Let MEGA sync. As long as MEGA Sync Client is running, it will reside in your notification toolbar on the lower right corner of your desktop. You can identify it by its logo of a red circled 'M.' While it's running, it will automatically sync all the files on your local MEGA folder and on your MEGA cloud drive.
Part 3of 4:
Managing MEGA's Local Files
 Add files. If you want to add files to your MEGA account for storage, backup, and syncing, just use the normal Windows operations to add files into the MEGA folder. You can drag files into the folder or use the keyboard shortcuts to copy or move.
- All the files you put into this folder will automatically be uploaded and stored in your MEGA cloud drive.
 Move files. Similar to Step 1, the normal Windows operations are used to move and copy files in and around your MEGA folder. You can click on a file and do the basic copy (CTRL + C) or cut (CTRL + X) then paste (CTRL + V) actions.
- All the changes you in your local MEGA folder will be updated and reflected in your MEGA cloud drive.
 Delete files. Similar to Step 1, the normal Windows operations are used to delete files in your MEGA folder. You can click on a file and press 'Delete' on your keyboard. You can also click and drag the file to your Recycle Bin.
- All the files you removed from this folder will also be removed from your MEGA cloud drive.
Part 4of 4:
Managing MEGA's Local Folders
 Add folders. If you want to add folders to your MEGA cloud drive for better file organization and structure, just use the normal Windows operations to add folders into the main MEGA folder. You can right-click on the folder and select 'New' then 'Folder' from the context menu. A new folder will be created, which you can now name.
- The new folders you create locally inside the MEGA folder will also be uploaded and reflected in your MEGA cloud drive. Once the folder has been created, you can add, move, or copy files into it, as in Part 3.
 Move folders. Similar to Step 1, the normal Windows operations are used to move and copy folders in and around your MEGA folder. If you don't want to add files one by one to your MEGA folders, you can move or copy a whole folder.
- All the files inside that folder will also be moved or copied together. All the changes you in your local MEGA folder will be updated and reflected in your MEGA cloud drive.
 Delete folders. Similar to Step 1, the normal Windows operations are used to delete folders in your MEGA folder. You can click on a folder and press 'Delete' on your keyboard. You can also click and drag the folder to your Recycle Bin.
- All the files inside the folder you've deleted will also be removed from your local MEGA folder and from your MEGA cloud drive.
FAQ
What is How to Use Mega Sync Client on Windows about?
It provides a structured overview of mega, explains the main context, and highlights practical takeaways for readers.
Why does this topic matter?
Understanding the main concepts helps readers evaluate the issue, avoid common mistakes, and make better-informed decisions.
How should readers use this information?
Use the guidance as a practical starting point, confirm details that may have changed, and follow current product, safety, or security recommendations.
Related Articles
 MEGA - Free Data Storage Service6 minutes read
 How to Download Mega Legendary iOS and Android5 minutes read
 Mega Battle Codes (July 2026): Gift Codes and How to Redeem9 minutes read
 Fishing Battle Game Guide for Beginners7 minutes read
 5 Best Torrent Clients for Windows8 minutes read
 How to Enable G-Sync on Windows 113 minutes read
Reader Comments 0
Sign in with email or Google to join the discussion.