How to Create and Apply a Custom Mouse Cursor Using a Photo in Windows
While the default mouse cursor on Windows does the job, it's fairly plain, ordinary and maybe not so cool. By customizing your cursor, you can choose something a lot more fun and personalized. You can use any photo you like to form this...
Table of Contents
Part 1 of 3:
Editing your cursor
-
 Locate the photo you want to use. The example in this article will be this peace sign, and it is transparent in the background because it's a .png file format. It is recommended that you to use .png files for better results later.
 -
 Load the photo editor you will use. The one used in the tutorial is GIMP.
 -
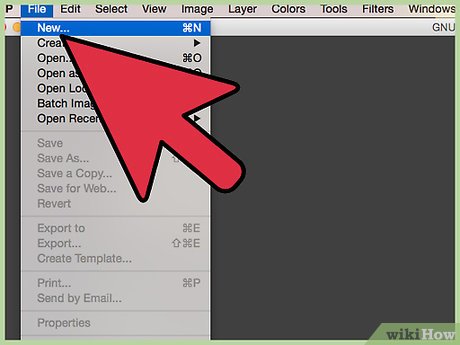 Click on File> New>.
 -
 Set the width to 45px and height to 50px. Make sure that in the additional options menu, it is set to transparency. Click OK.
 -
 Zoom in to 400% to see a wider view.
 -
 Click File> Open as layers.
 -
 Locate the picture that you'll use from the folder where it is saved. Click Open.
 -
 By going to the left side of the GIMP, resize the picture to the appropriate size of it by selecting the Scale Tool. Begin the editing process, manually editing the image to be the exact way you want it to appear.
 -
 Once you are done editing, add a pointer. For example, this might be an arrow. Draw a triangular shape. Note that to work effectively as a cursor, the point must be in the top left of the image.
 -
 Open the Paint Tool that can be found in the Tools Dialogue box.
 -
 Delete the background layer of your image in the right side of the screen. Click on the layer named Background and click the garbage bin icon on the lower right of the layers dialogue box.
 -
 You've finished editing. If you're using GIMP, click File> Export.
- Note: simply saving the image in GIMP won't work, as it will be in the .xcf format. Instead, Export it.
Part 2 of 3:
Converting your image
-
 Go to your browser.
 -
 Go to https://digitalcoding.com.
 -
 Look for Image Converter on the Developer Tools. Click it.
 -
 Go to Convert Image to Panel and locate the .cur or Microsoft Cursor.
 -
 Leave the width and height blank because you've already resized it. Now go to Filters, Sharpen it.
 -
 Click on Upload Image to Convert. Upload your edited image.
 -
 Wait before downloading. When you see a check mark (green), this means that your file is ready to download. Click Download. It will just take a couple of seconds.
 -
 You will see your file on the bottom of your browser, if using Chrome.
Part 3 of 3:
Changing your cursor
-
 Click on Start.
 -
 Search for "Mouse pointer looks" on the search bar.
 -
 Click the first one to appear.
 -
 A popup dialogue box will appear, showing you the current pointer of your desktop. To change it, go to Browse and browse for your converted image.
 -
 Note that the default folder downloaded files from the internet is to the Downloads folder. Thus, go to Browse> Desktop.
 -
 Go to System Folder.
 -
 Go to Downloads.
 -
 Click your downloaded file and click Open.
 -
 Uncheck the box. On the pop up box again, make sure that the box that says "Allow themes to change mouse cursors." is left unchecked or else the default cursor will be back again after you restart you your computer.
 -
 Click Apply and OK. And you're now done to changing you mouse cursor to your own custom one. Enjoy your customized cursor.
Was this article helpful?
Your feedback helps us improve.
Related Articles
 The basic steps of fixing cursor cursors flutter in Windows7 minutes read
 Instructions for creating mouse pointer highlights on Windows6 minutes read
 Replace the mouse cursor with funny pictures2 minutes read
 How to change mouse cursor on Google Chrome5 minutes read
 Instructions to change mouse cursor on Windows 112 minutes read
 Instructions to change the interface of the mouse cursor on Windows3 minutes read
Reader Comments 0
Sign in with email or Google to join the discussion.