Instructions for activating TFTP and Telnet Client on Windows 10
TFTP or Trivial File Transfer Protocol allows users to transfer files or transfer files from a remote computer. However, by default TFTP is disabled on Windows 10/8/7, so if you want to use TFTP you must enable the option.
Table of Contents
TFTP or Trivial File Transfer Protocol allows users to transfer files or transfer files from a remote computer. However, by default TFTP is disabled on Windows 10/8/7, so if you want to use TFTP you must enable the option.
Enable TFTP and Telnet Client on Windows 10
To enable TFTP and Telnet Client on Windows 10, follow the steps below:
1. Press Windows + X key combination to open the Power User menu. Here you click Control Panel to open the Control Panel window.

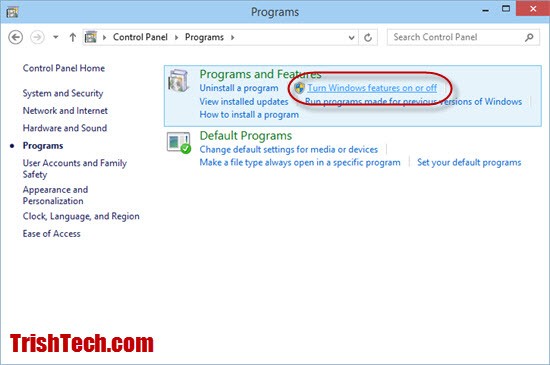
2. On the Control Panel window, find and click Programs.

3. On the next window, click the Turn Windows features link on or off under Programs and Features.
4. At this time, the Windows Features window appears. Here you find and select the TFTP Client and Telnet Client and click OK.

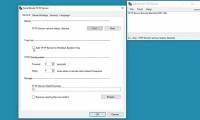
5. The activation process of Telnet and TFTP clients on Windows 10 will take some time. After finishing on the screen will display a Command Prompt window, you enter the tftp and telnet commands into it to check if these options are working properly.
Refer to some of the following articles:
- Backspace key on Windows 10 can only delete 1 character, this is how to fix it
- Summary of some ways to fix Windows 10 crash, BSOD error and restart error
- Unusually high CPU error correction due to TiWorker.exe on Windows 10 / 8.1 / 8
Good luck!
Was this article helpful?
Your feedback helps us improve.
Related Articles
 What is TFTP? Detailed instructions on how to use TFTP Client in Windows8 minutes read
 The best TFTP server for Windows5 minutes read
 Learn about Telnet protocol5 minutes read
 How to Activate Telnet in Windows 73 minutes read
 How to Enable Telnet on Windows 73 minutes read
 Automate TELNET commands using VB Script4 minutes read
Reader Comments 0
Sign in with email or Google to join the discussion.