How to upgrade Windows 10 to Windows 11 without losing data
If you are still struggling to know how to upgrade Windows 10 to Windows 11, do not ignore this article. Below, TipsMake will guide you in detail for 2 ways to upgrade Windows 10 to Windows 11.
Upgrade Windows 10 to Windows 11 directly with a Microsoft account
This method will apply to those who already have a Microsoft account. Most of these days, every Windows laptop user has a Microsoft account. If you don't have an account, you can search and refer to how to create a very simple Microsoft account in other articles.
Once you have an account, follow the steps below to upgrade Windows 10 to Windows 11:
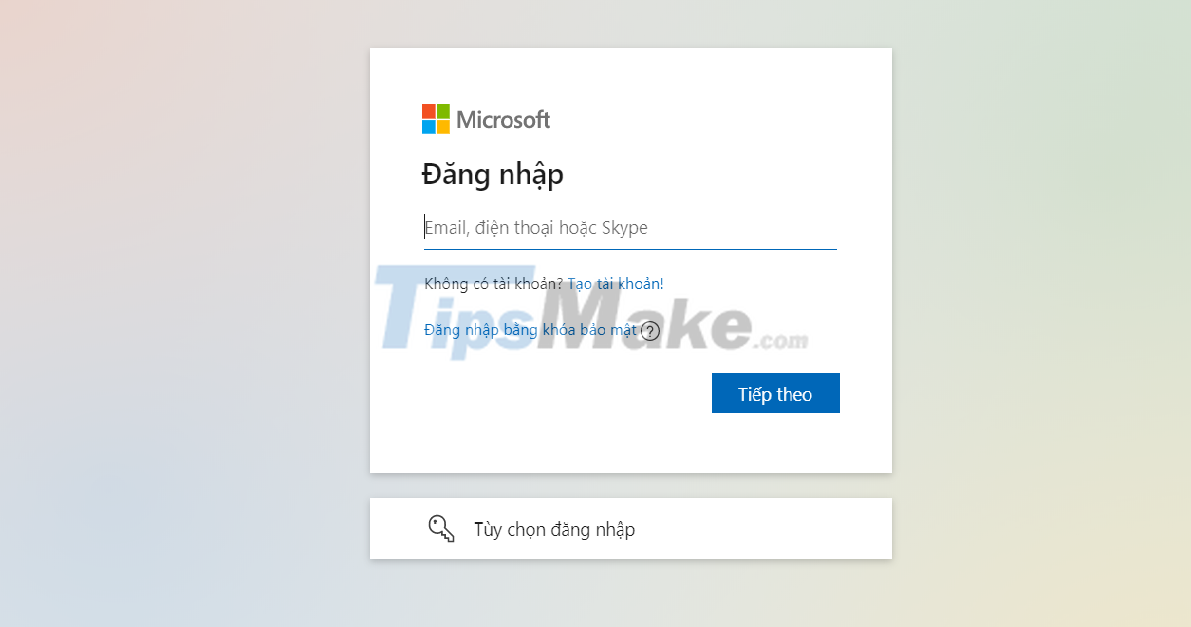
Step 1: Sign in to your Microsoft account
Step 2: After you have logged in, go to the main interface, select Start => select Settings => then, select Update & Security. In the Update & Security section, select Windows Insider Program => select Get Started as shown.

Step 3: Next, wait a few seconds for the system to load. When the interface changes, select the Link an account command. Then, select the Microsoft account you just signed in under the phrase Use this account => select Continue

Step 4: The screen switches to the Pick your Insider settings interface => click on the first Dev Channel item (currently, Microsoft only allows Windows 11 on this channel) => select Confirm
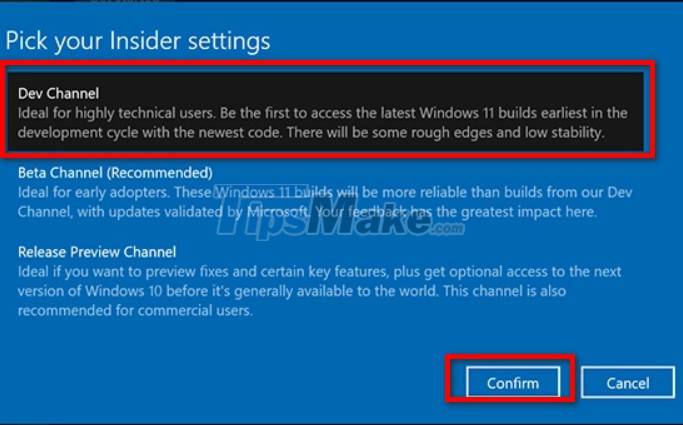
Then, you can choose Restart Now to restart the computer at that time or select Restart Later to have the computer restart later.
Step 5: Proceed to check the settings on the machine again.
Go back from the beginning, select Start => go to Settings => Select Update & Security => Go to Windows Insider Program to check if your settings are correct Dev Channel or not.

Step 6: Next, you go back to the Start menu => select Settings => Select Update & Security => click Windows Update => select Check for Update => Then wait a while for Windows 10 update to the new version. When the Windows 11 Insider Preview Build version 22000.51 appears, select Download to download.

Depending on your computer's processor and network speed, download and update speeds may be fast or slow. During the Windows 11 update process, the computer will automatically restart.
When the computer is updated successfully, you will see a new interface display, the buttons on the screen also change, but the previous data is still intact on Windows 11.
Upgrade Windows 10 to Windows 11 with ISO file
In addition to how to upgrade Windows 10 to Windows 11 with a Microsoft account, you also have another way to use the ISO file to upgrade.
With how to upgrade Windows 10 to Windows 11 with an ISO file, you just need to follow the simple steps below:
Step 1: Download the ISO file to your computer. If you do not know how to download, you can visit this link to download: Download Windows 11 ISO File
Then, you proceed to extract the file to a new folder as usual.
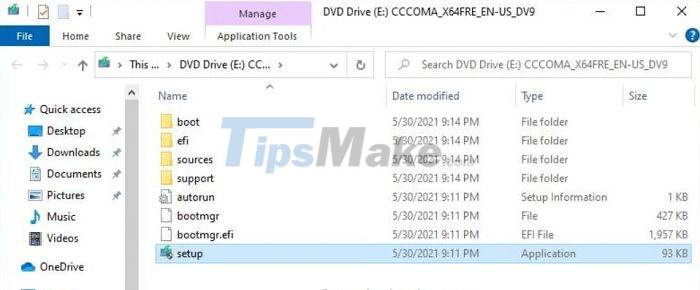
Step 2: After decompressing, go to the extracted folder and select the Set up file => select the Run as Administrator command.
Step 3: When the interface changes, select Change how setup download updates. Then, ccs you will see a display of two options like the picture.
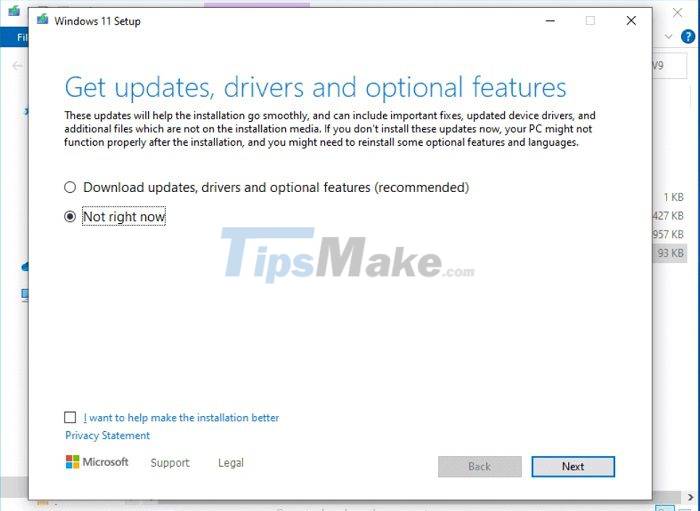
Choose Not right now to upgrade faster
- Download and install updates: If you click this, the system will download and install all updates. However, this option will take a long time and updating right away is not necessary, you can completely update after the upgrade is successful.
- Not right now: Do not install the update right now. You should choose this option because it will take less time to update Windows 11.
Then select Next.
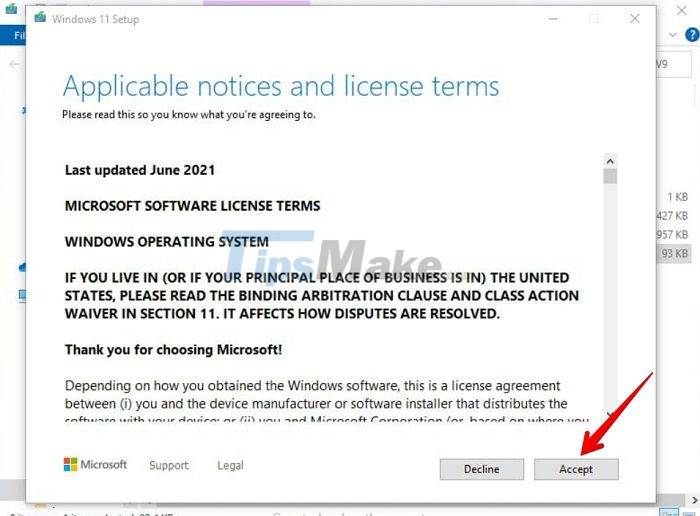
Step 4: At this point, the screen will display a condition window, select Accept to continue performing the upgrade.
Step 5: When the interface redirects, you can choose Install to proceed with the installation because by default, Microsoft still keeps your data. However, you can choose what you want to keep by clicking Choose what to keep.
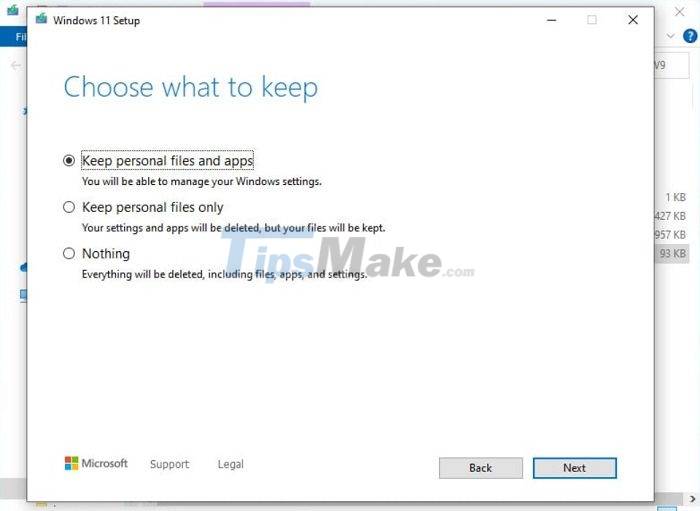
Here, people will have 3 choices:
- Keep personal files apps: Keep all the files, apps that you have installed and also the previous settings of the Windows 10 operating system.
- Keep personal files only: This option allows you to keep only personal files. The installed applications and settings of the old operating system will be completely deleted.
- Nothing: Keep nothing, upgrade to a brand new version of Windows 11.
If you do not want to lose data, you should choose the first option => select Next.
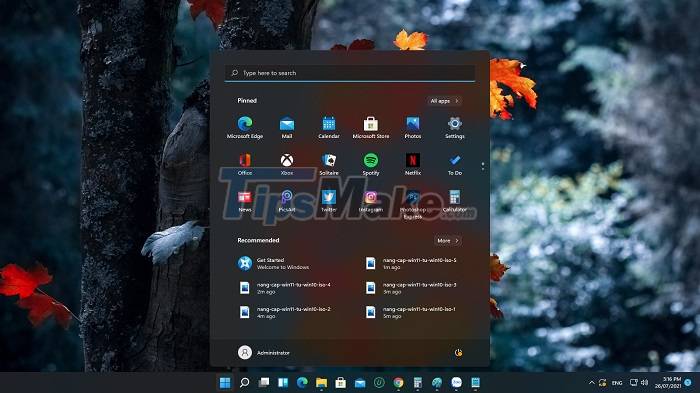
After completing the above steps, the computer will upgrade from Windows 10 to Windows 11. The update speed of the computer will depend on the network speed and processor of the machine. When the upgrade is successful, you will see a different and more beautiful screen interface.
Conclusion: Thus, in this article, TipsMake has specifically guided everyone in detail 2 ways to upgrade Windows 10 to Windows 11. Hope the article provides useful information to you. Good luck!