How to repair Windows 10 with in-place upgrade
If you have problems with Windows on your PC, you can refresh or reset Windows.
Refreshing your PC fixes software problems by reinstalling the operating system while keeping user data, user accounts and important settings intact. All other pre-installed customizations will be restored to factory status. In Windows 10, this feature does not hold the Windows applications that users buy.
Reset the PC to reinstall the operating system, delete all user data and accounts (e.g. data, Classic Windows apps, and Universal Windows apps) and restore pre-set customizations to export status shop.
However, you can perform a Windows 10 repair installation by performing an In-place upgrade without losing any data other than the installed Windows Updates.
- You will only be able to perform a Windows 10 repair installation from within Windows 10, not at startup or in Windows Safe Mode.
- You will need at least 8.87GB + of space currently using free space on your Windows hard drive.
- The installation media (ISO or USB) must be the same version and same or build newer than the currently installed Windows 10 version. Otherwise, a repair installation will not be performed.
- The installation media (ISO or USB) must be in the same language as the currently installed Windows 10. Otherwise you will lose all data.
- If you use 32-bit Windows, you must use USB or 32-bit ISO.
- If you use 64-bit Windows, you must use USB or ISO 64-bit.
Note: If Windows is locked by BitLocker, you need to pause or disable BitLocker for the Windows drive before performing the repair installation. When the installation is completed, you can continue or re-enable BitLocker.
Before starting to perform a Windows 10 repair installation, make sure to temporarily turn off Secure Boot in the UEFI firmware installation. When the installation is complete, you can enable it again if you like.
- System Protection will reset to the default state turned off. You should re-enable it after completing the repair installation to create a restore point.
- You will lose custom font.
- You will lose custom system icon.
- You need to reset the Wifi connection.
- You need to perform the Windows update again with the next build number that was used for the repair installation.
- Windows.old will be created.
- You may need to reload the language, including the display language, if you have changed it.
Starting with Windows 10 build 18298, Microsoft made some design adjustments to Windows 10 Setup when running setup.exe from the Windows 10 ISO file.
This guide will show you how to perform a Windows 10 repair installation by performing an In-place upgrade without losing anything.
- 20 useful troubleshooting tools for Windows 10
- 10 common errors in Windows 10 and how to fix them
- How to use Windows Repair to fix Windows errors
Note : You need to be logged in as an administrator to perform a Windows 10 repair installation.
How to perform Windows 10 repair installation by performing In-place upgrade
Step 1 . Log into the administrator account in Windows 10.
Step 2 . You need to disable or uninstall installed third-party security or AV programs to prevent it from tampering with Windows 10. Upgrading can be reinstalled after completing Windows 10 setup.
Step 3 . Perform Step 4, Step 5 or Step 6 below depending on the installation media you use to install Windows 10 repair.
Step 4 . Perform install repair Windows 10 with ISO file
If not, download the Windows 10 ISO file, then mount the ISO file and run setup.exe to start Windows 10 Setup.
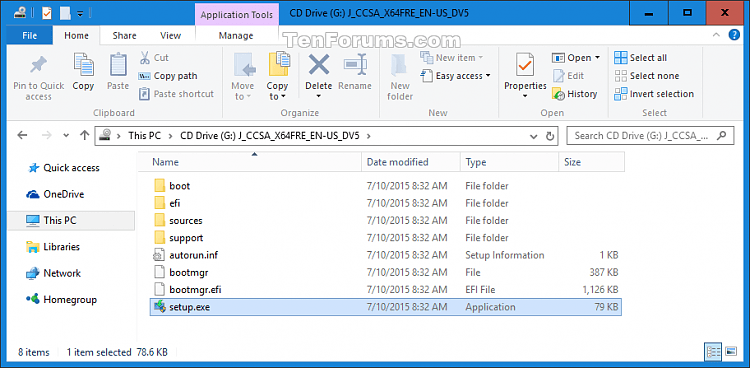
If prompted by UAC, click Yes .
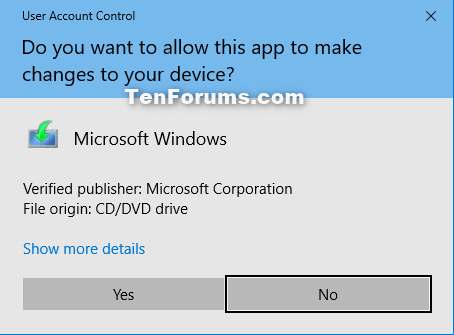
Skip to Step 7 .
Step 5 . Perform Windows 10 repair installation with USB installation media
Note: Some users reported not being able to perform a repair installation when using USB in Windows 10 version 1903. If you also have this problem, use the ISO file.
If not, create a USB flash drive to install Windows 10. Connect and open a USB flash drive, run the setup.exe file to start Windows 10 Setup. If notified by UAC, click Yes . Then go to Step 7 .
Step 6 . Perform Windows 10 repair installation with the Media Creation Tool.
Note : Do not use the Media Creation Tool to perform a repair installation if an older Windows 10 build is installed and want to keep it because the Media Creation Tool does not support the older build.
Visit the link below to go to the Microsoft page, click Download tool now .
https://www.microsoft.com/en-us/software-download/windows10 
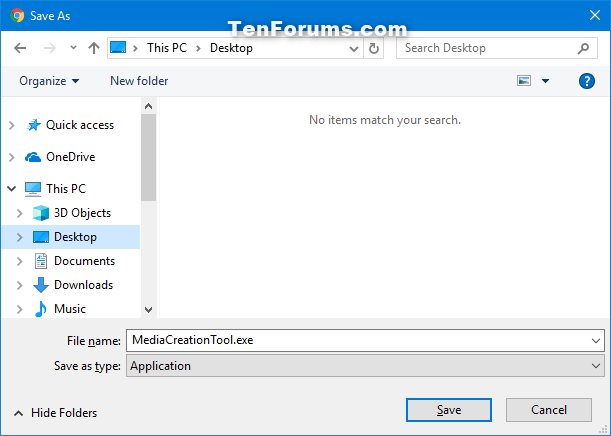
Save the MediaCreationTool.exe file to the desktop and run it.
If prompted by UAC, click Yes .
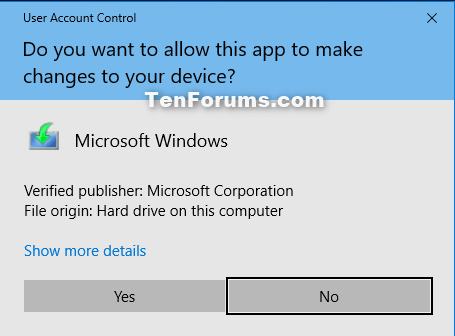
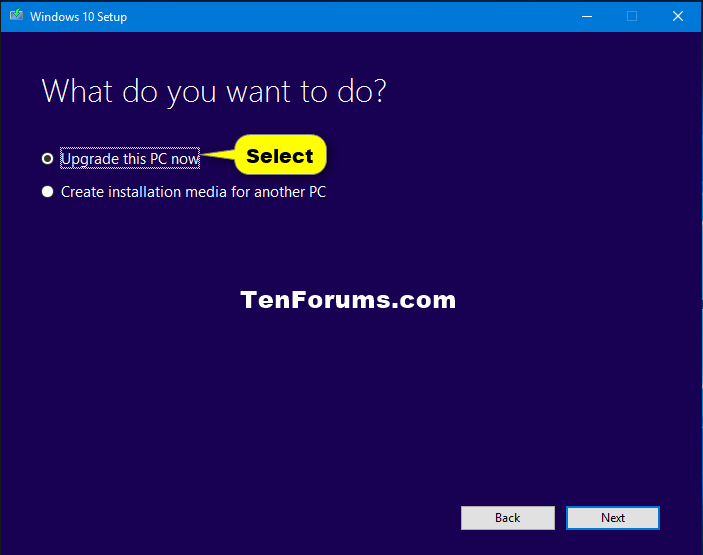
Click Accept to accept the application notification and license terms. Select Upgrade this PC now and click on Next . Windows 10 will begin downloading. Skip to Step 10 .
Step 7. Windows 10 Setup starts to prepare.

Step 8 . Click the Change how Windows Setup downloads updates link .
Note : If following Step 6 with the Media Creation Tool, go to Step 11 .

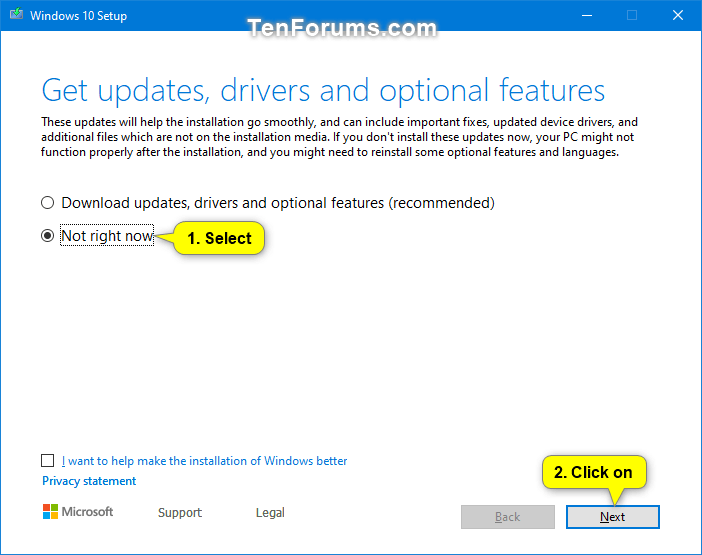
Step 9 . Select Not right now and click on Next .
Step 10 . Windows 10 Setup will start preparing everything.
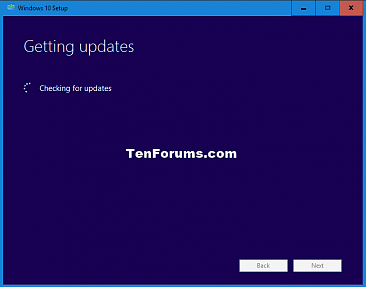
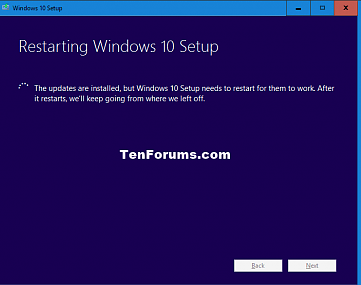

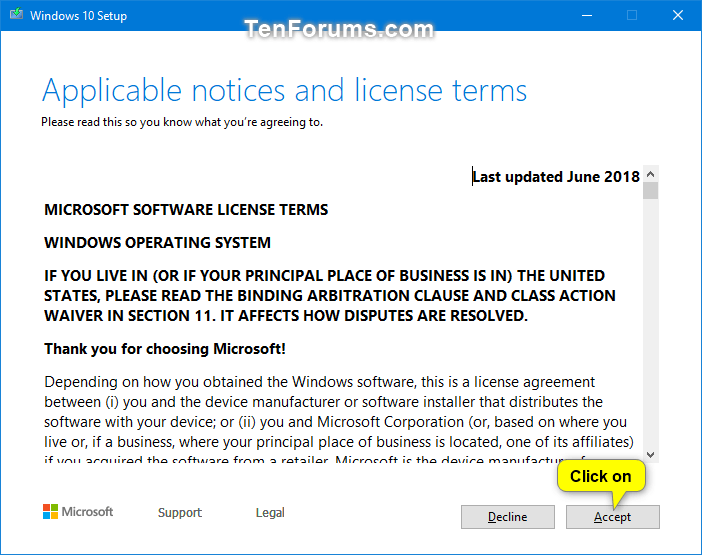
Step 11 . Click Accept to accept the license terms.
Step 12 . Windows 10 Setup will check and install available updates and ensure they are ready to install.


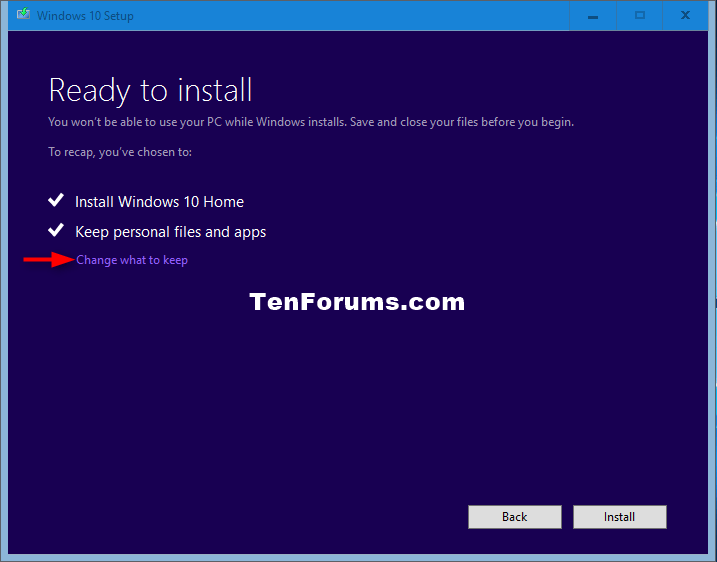
Step 13 . Click Install to start the Windows 10 repair installation.
Note : If there is only the Nothing option, the installation media is not the same as the version you have installed.
If you want to change the data you want to keep, click the Change what to keep link , select the data to keep, click Next and return to step 12 above.
If you do not select Keep personal files and apps , you will lose all personal data.

Step 14 . Windows 10 Setup will begin to perform an installation to repair Windows. This process takes some time to complete.


Step 15 . You can now log into Windows 10.

Step 16 . When the user logs in for the first time, you will see an animation for the first time you log in before going to the desktop.
Step 17 . Make sure the correct time zone, date and time settings.
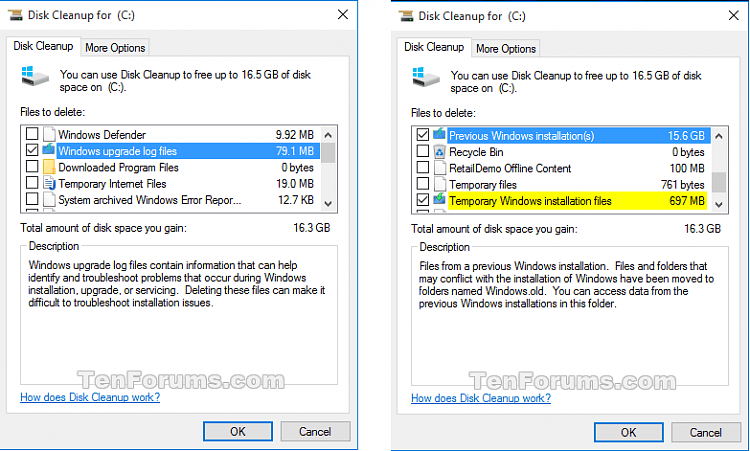
Step 18 . If you want, you can use Disk Cleanup to delete Windows upgrade log files, Previous Windows installation (s) and Temporary Windows installation files to free up a lot of space on your hard drive.
Note: This step will delete the C: $ Windows. ~ BT and C: Windows.old folders.
If you delete the Windows.old folder, you cannot go back to an earlier version of Windows.
I wish you successful implementation!